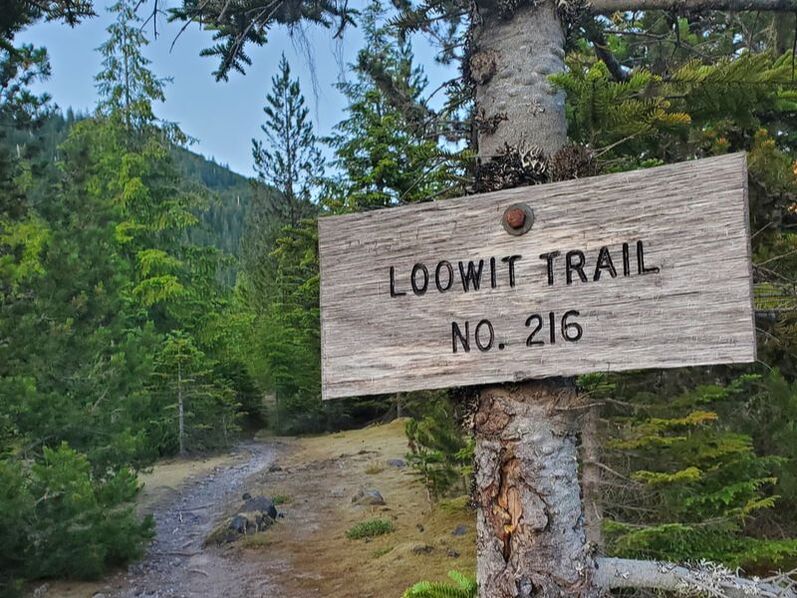
Loowit Trail
Mount St. Helens Volcanic National Monument
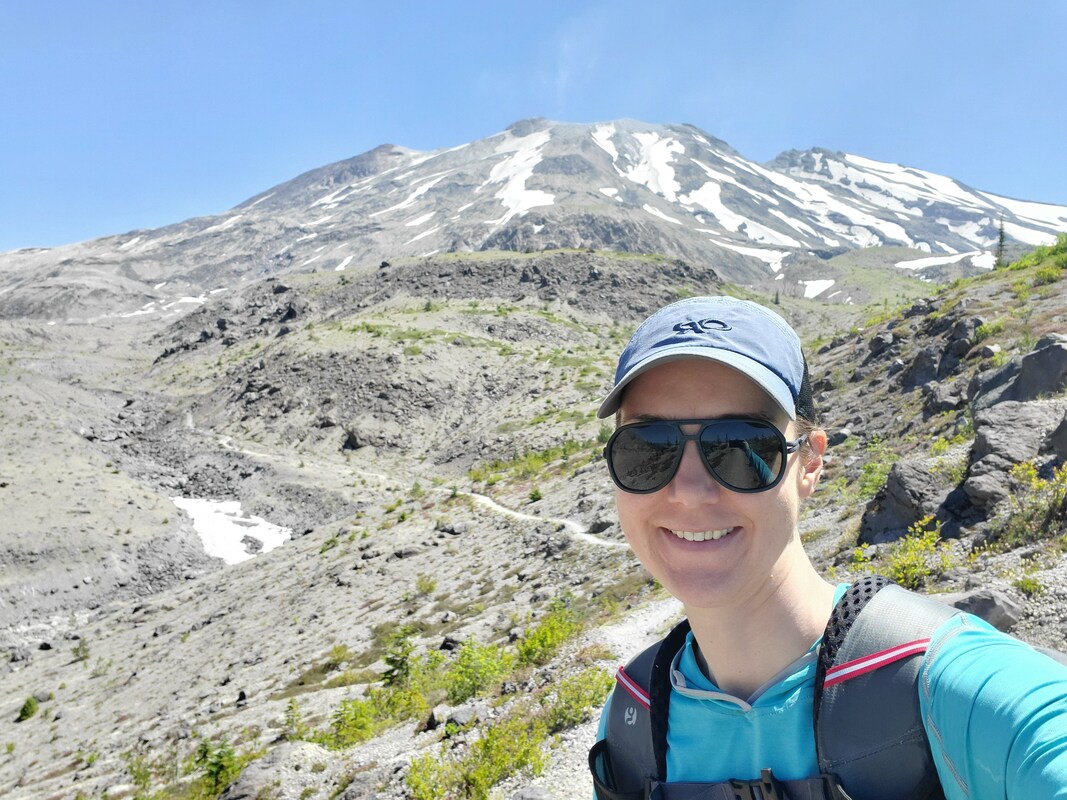
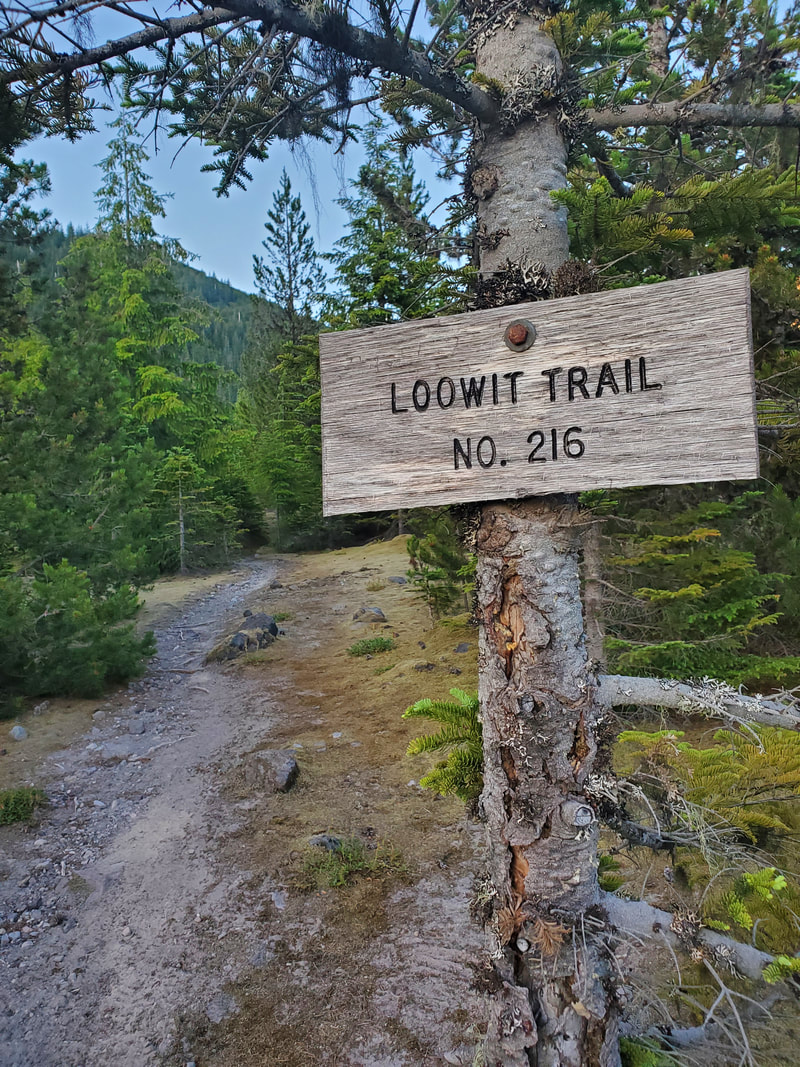
The Loowit Trail circumnavigates Mount St. Helens for roughly 28 miles (including approach trail) and provides a 360 degree perspective of the volcano that very recently erupted in 1980. The Loowit Trail takes its name from the original native tribal name for the mountain, Louwala-Clough or Loowit, which means smoking mountain. Over the 4th of July weekend I completed the trail in two days and one night. I guess you can say I celebrated my 4th of July holiday with one of the biggest fireworks of all time! For the very short version, check out the 360 degree views via my blog post 360 Degree Virtual Tour Around Mount St. Helens (Loowit). For the full story, keep reading here!
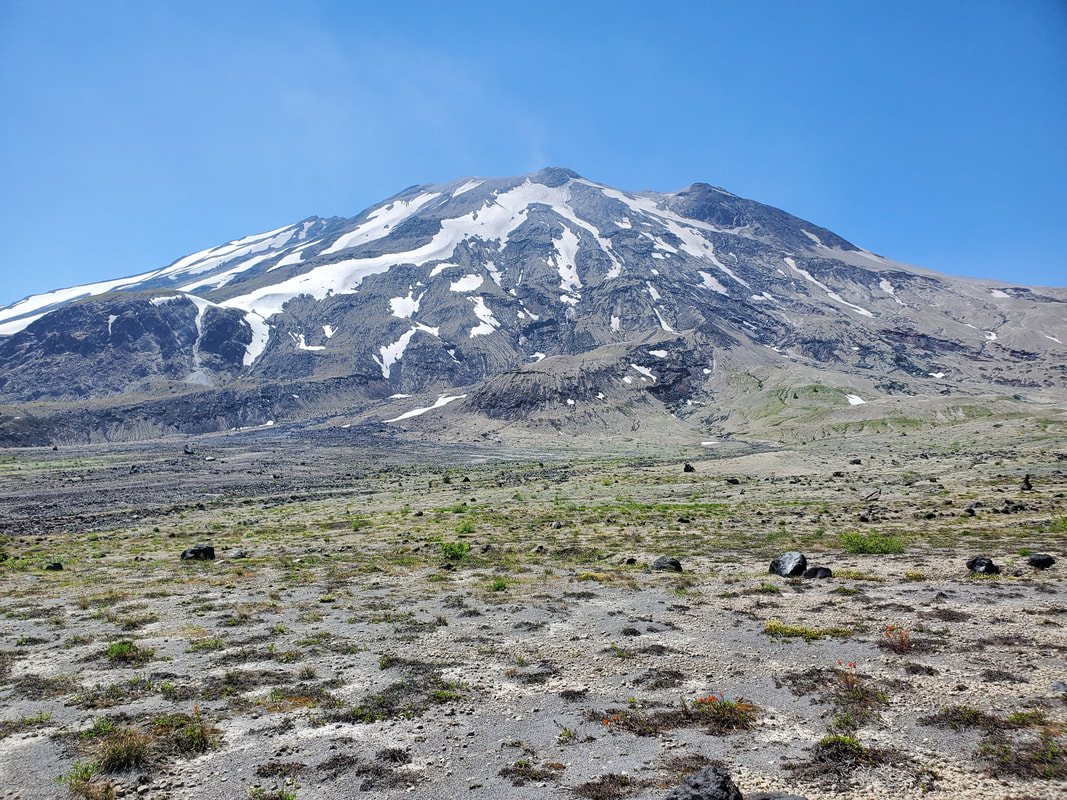
I was intrigued to backpack the Loowit Trail because it is modern history. In the Pacific Northwest there are plenty of volcanos and even other loop trails around a few of them too. But there are none with such recent eruption history as Mount St. Helens. How often do you get to walk across the blast zone where lava flow and rockslides decimated everything in its path just 41 years ago? That is recent in terms of volcanic history which tends to speak in millions of years! Mount St. Helens is still very much in the process of regeneration and I knew it would be a unique experience to observe the destruction and the recovery from all sides of the mountain. Of course, Mount St. Helens remains an active volcano too!
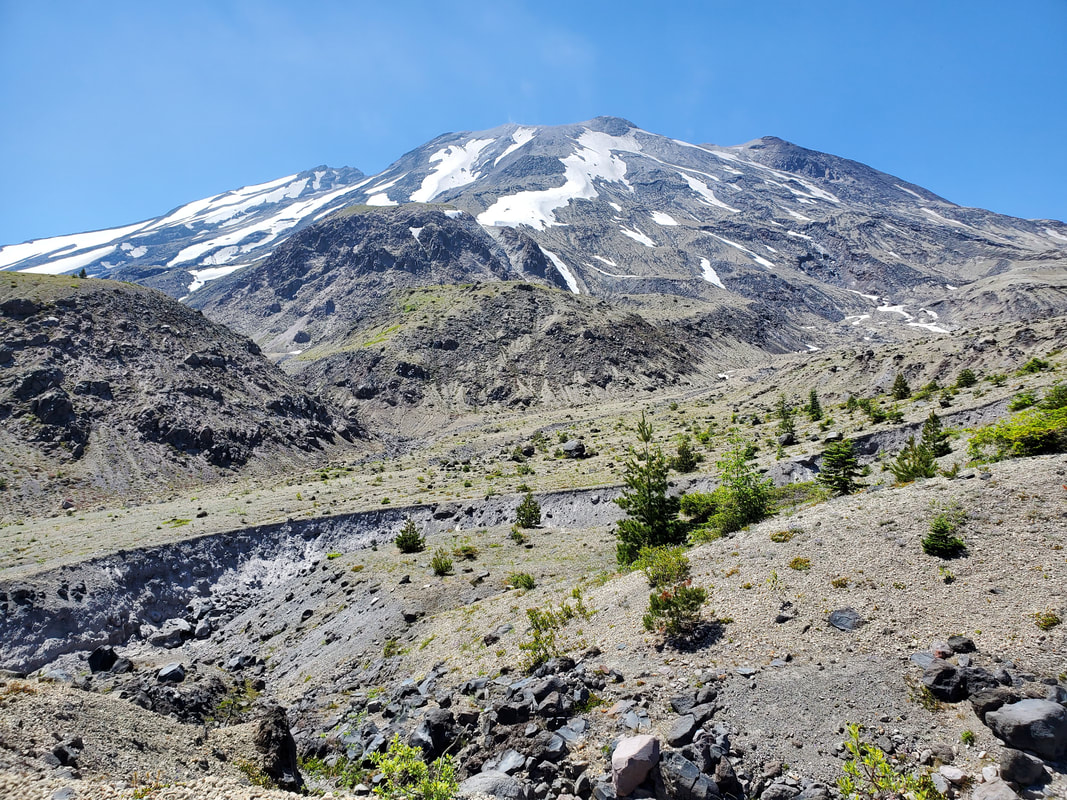
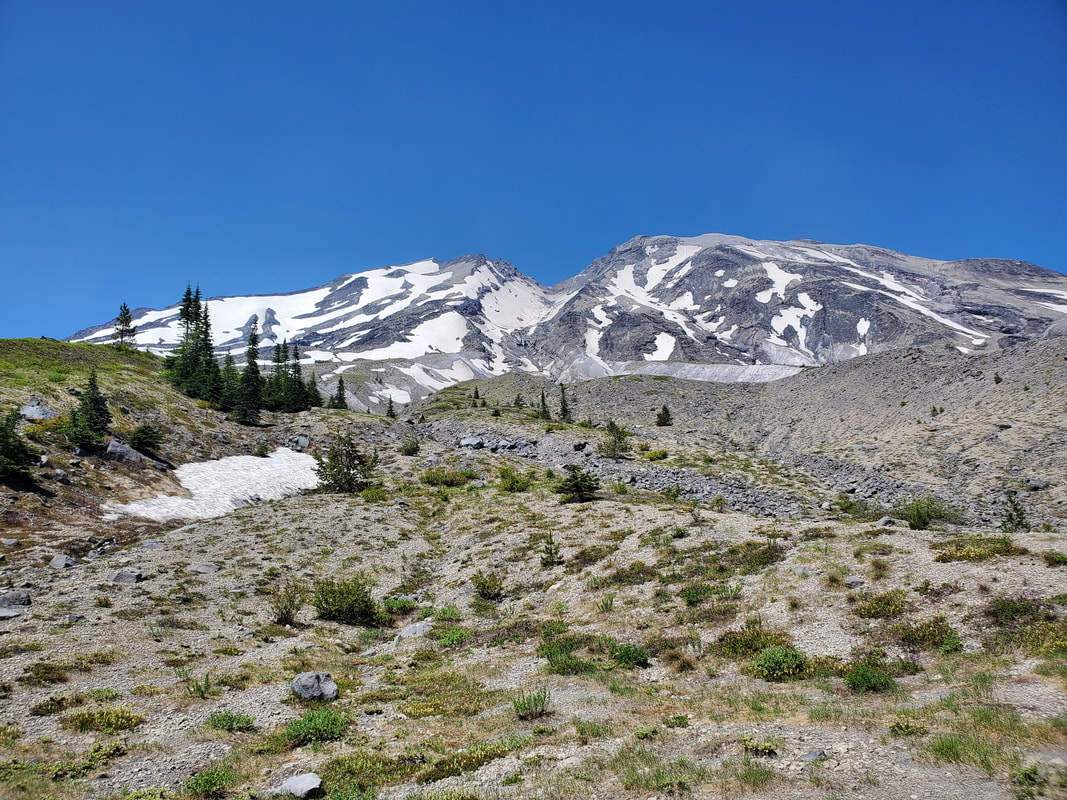
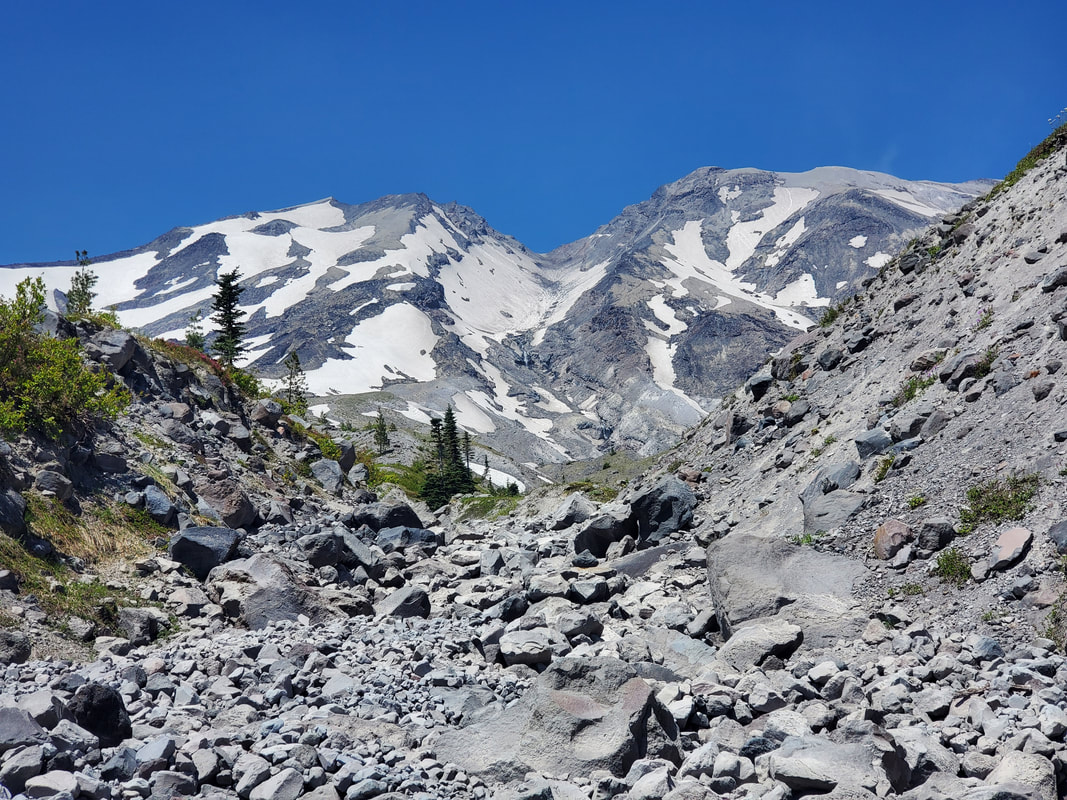
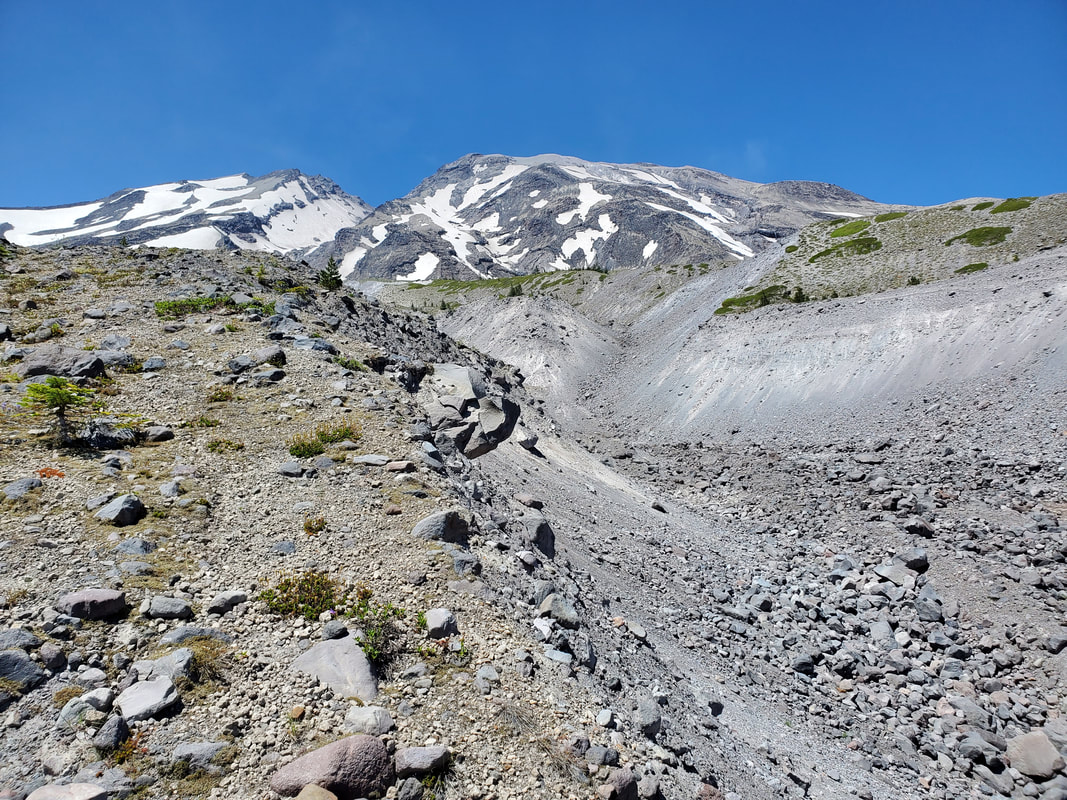
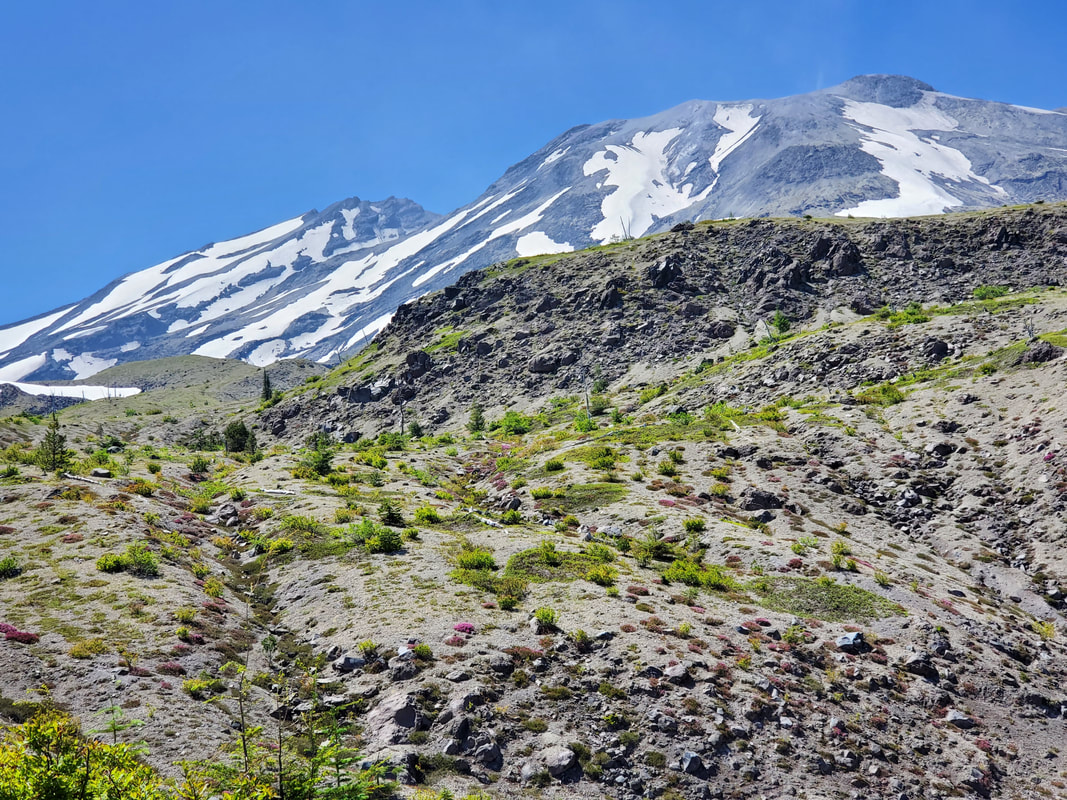
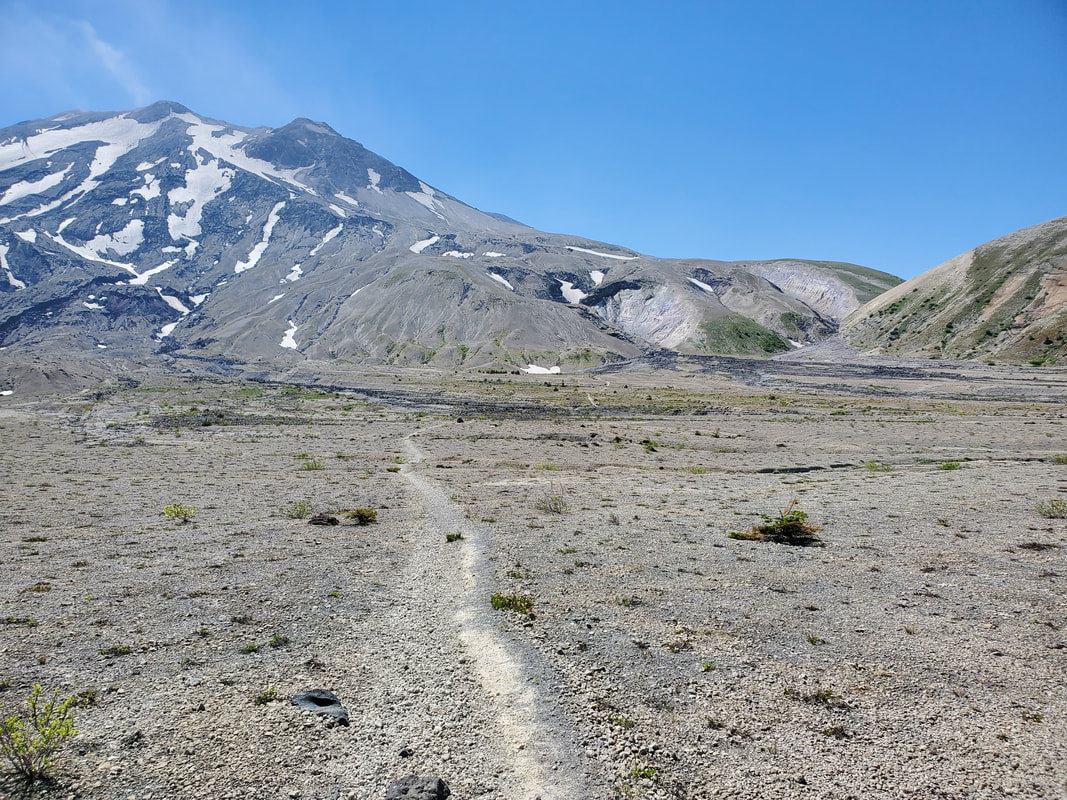
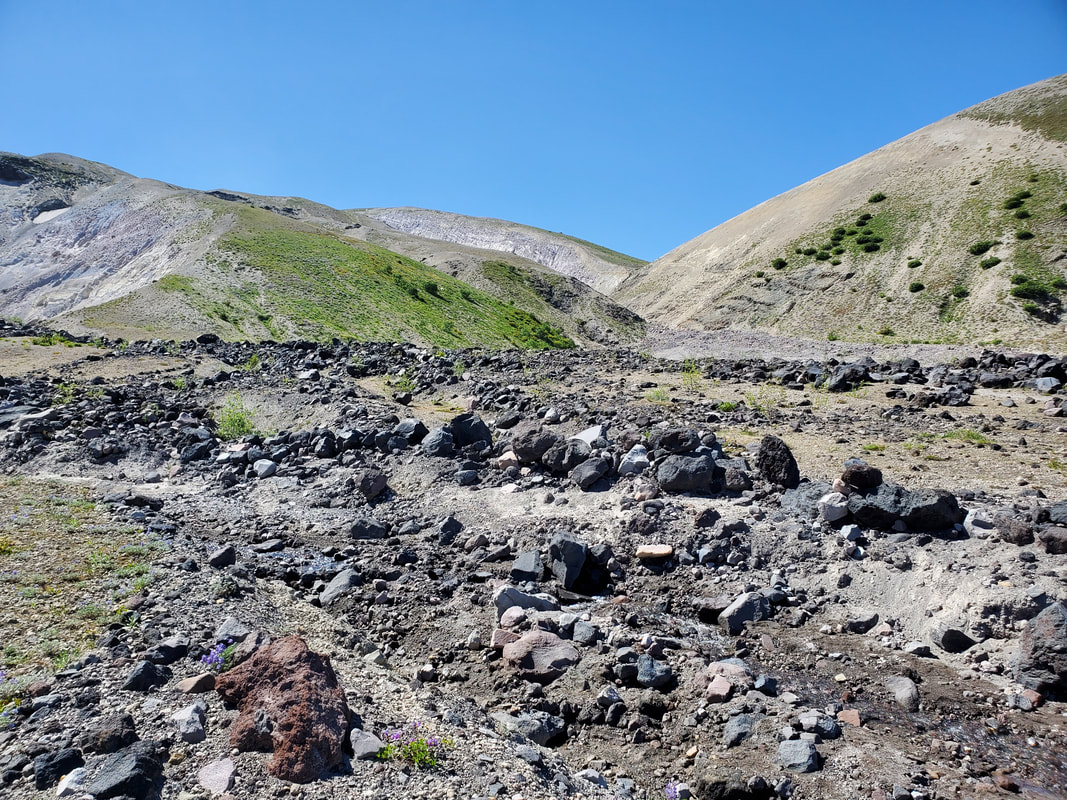
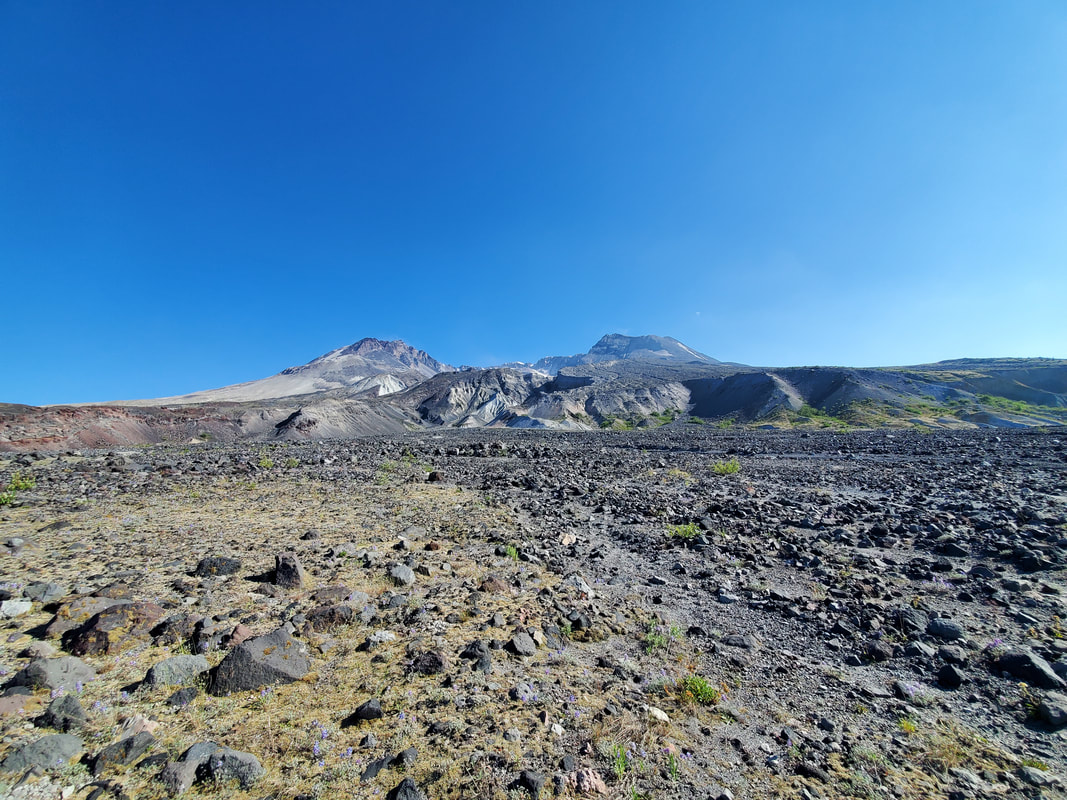
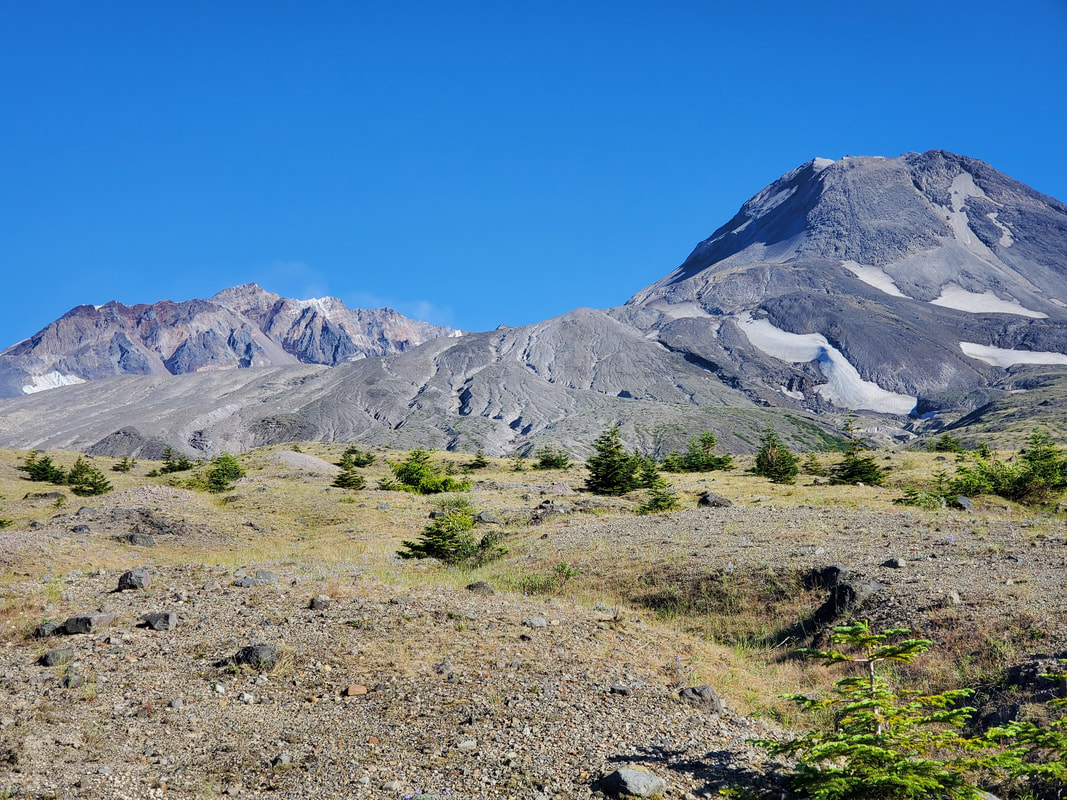
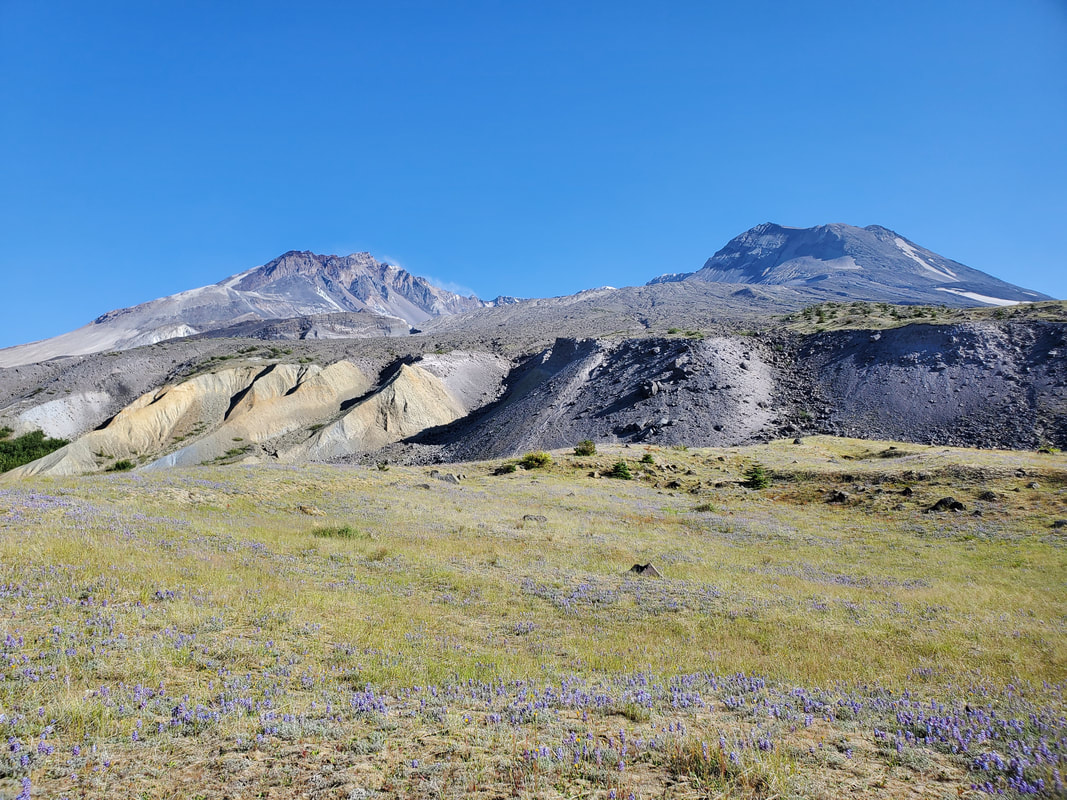
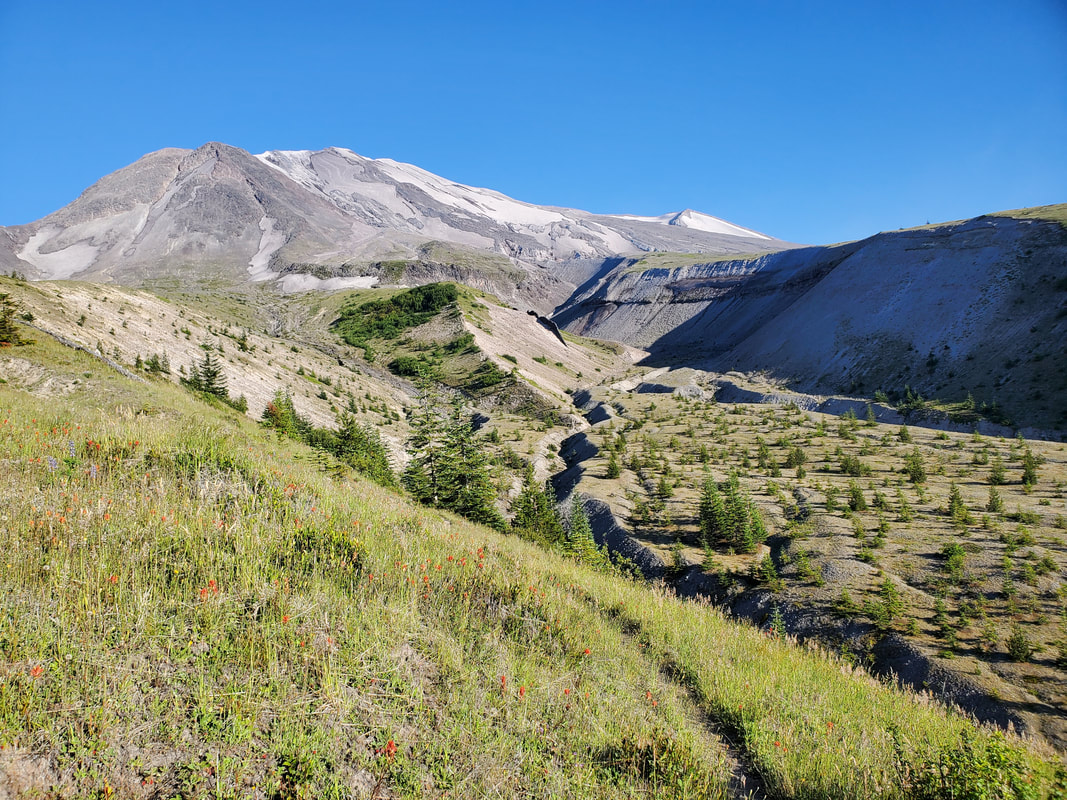
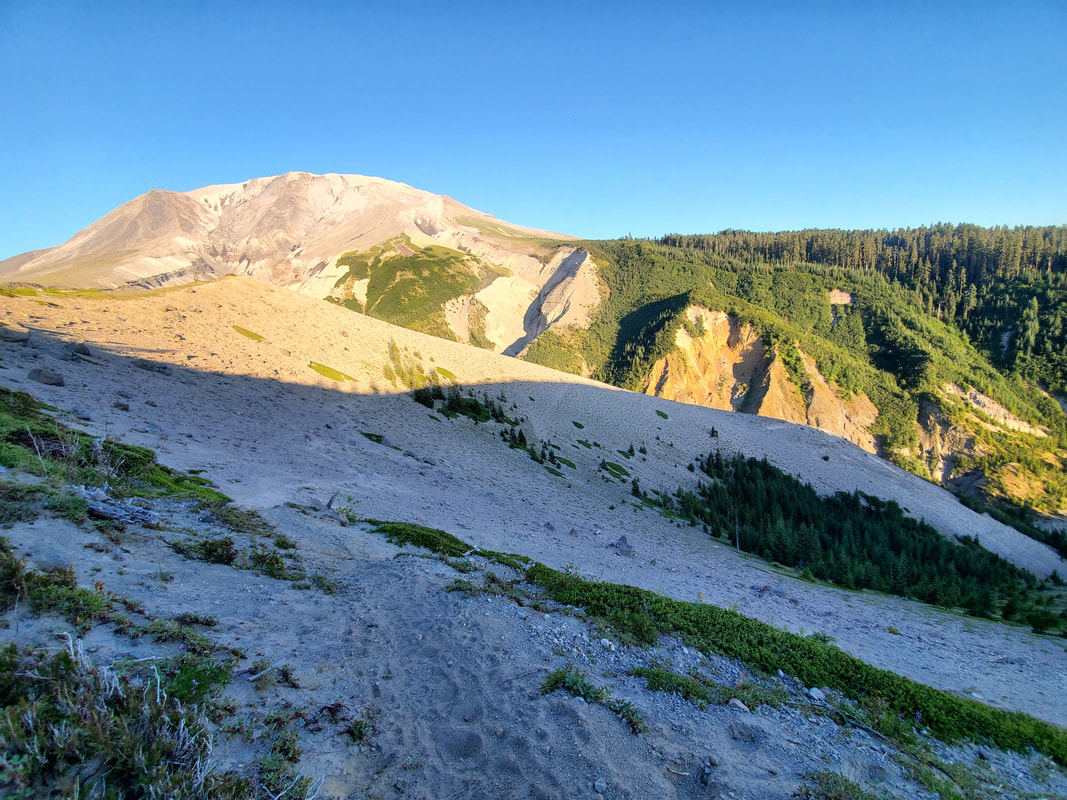
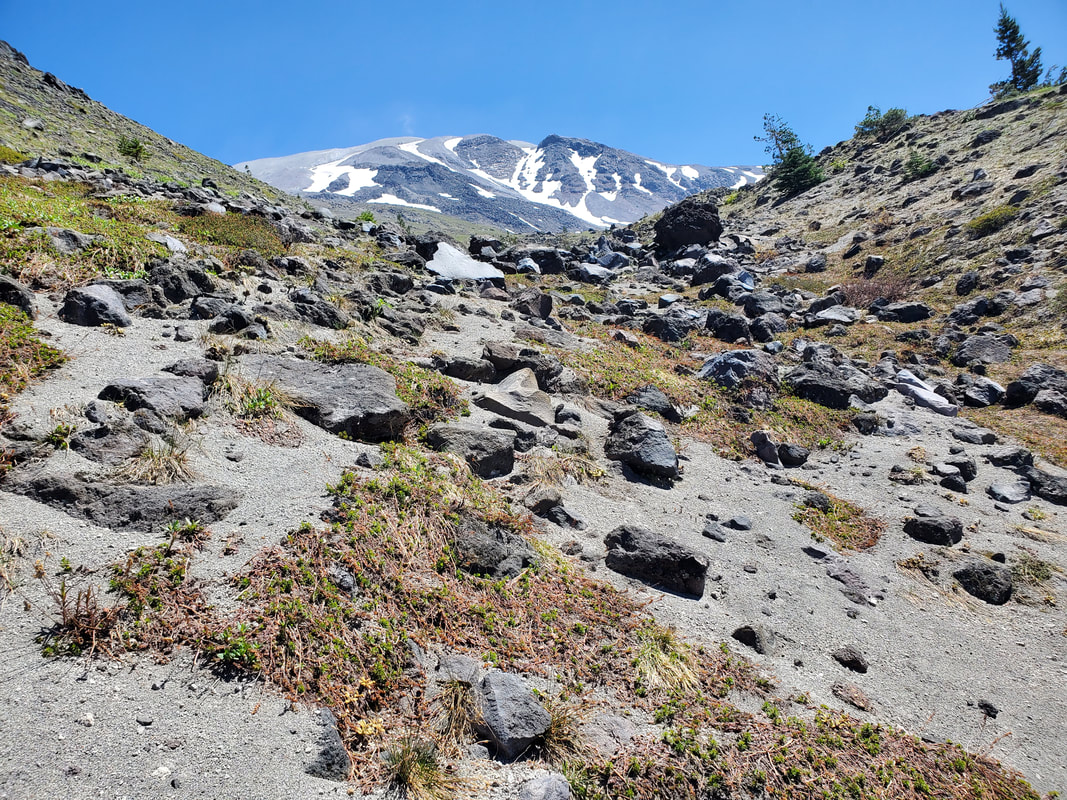
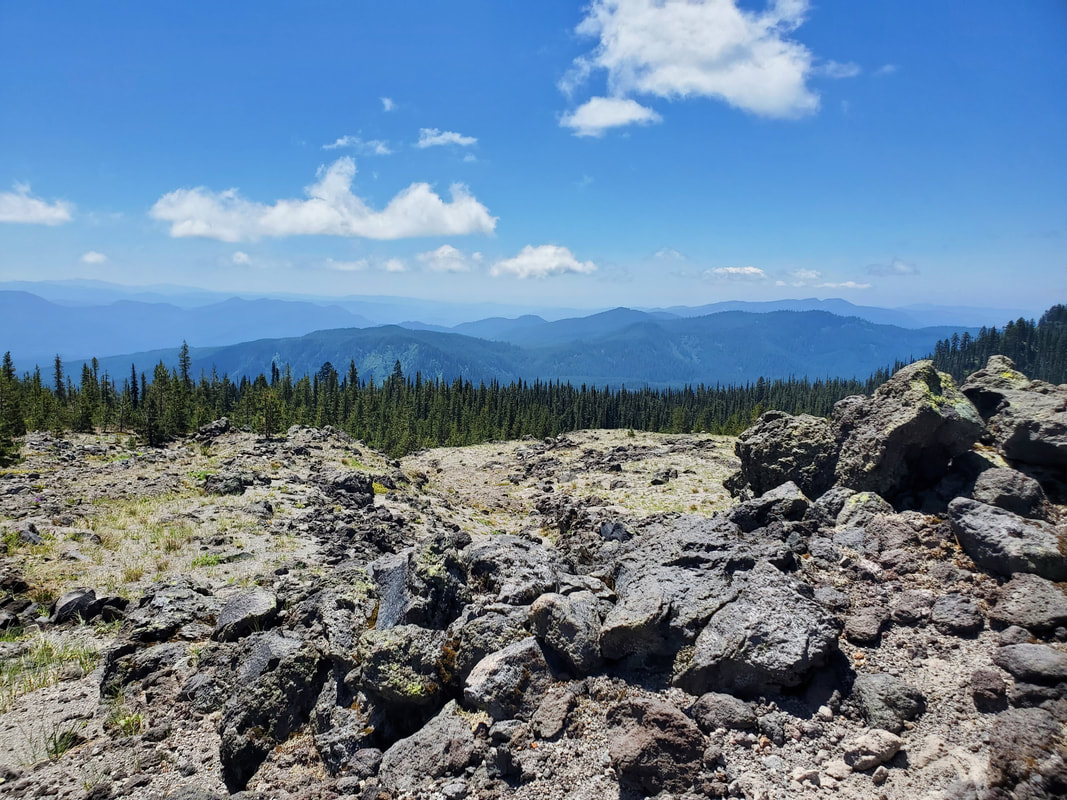
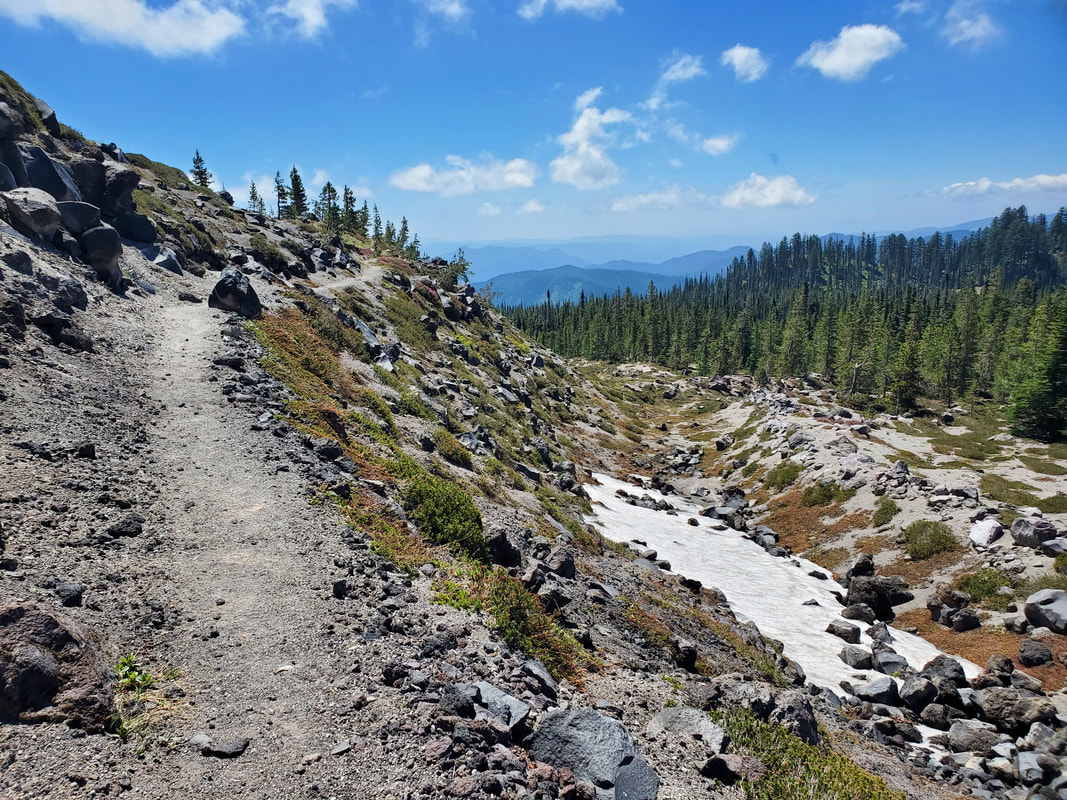
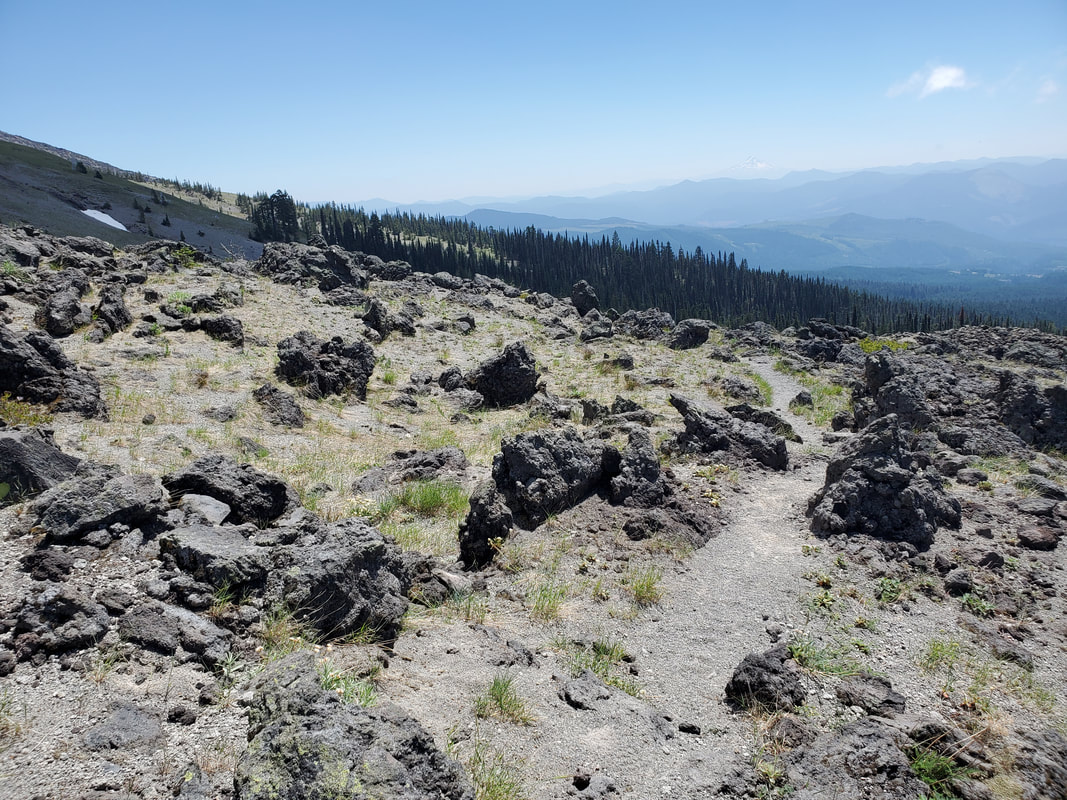
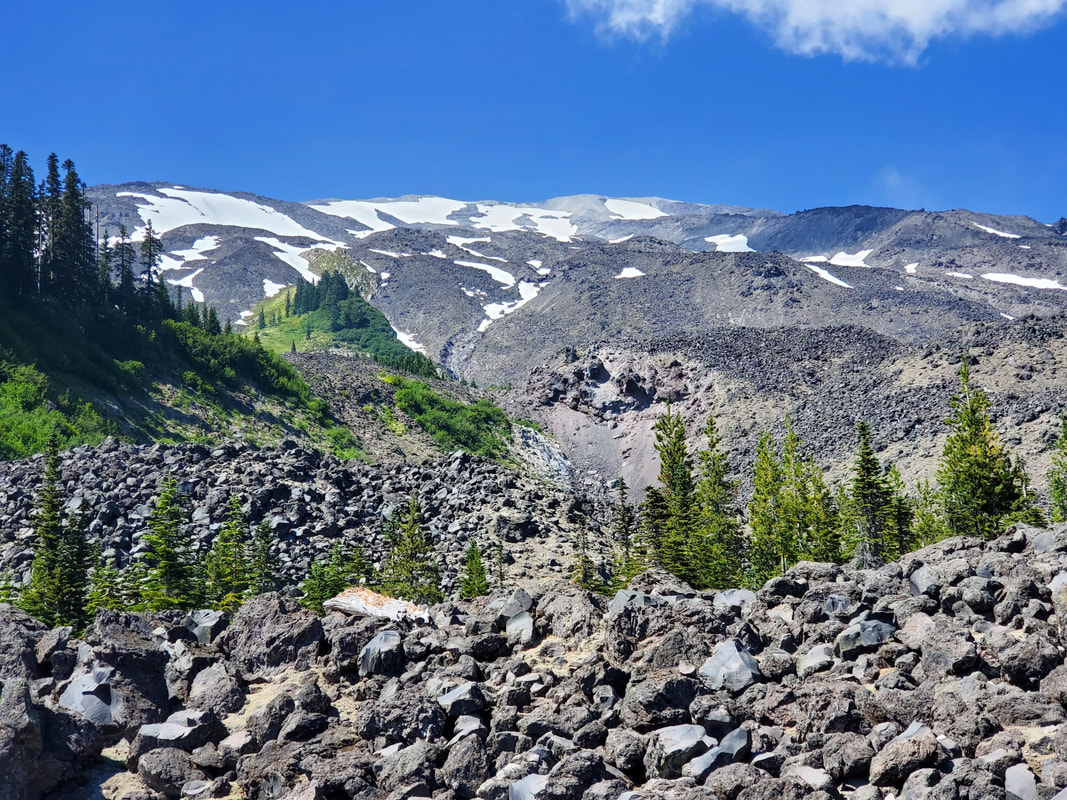
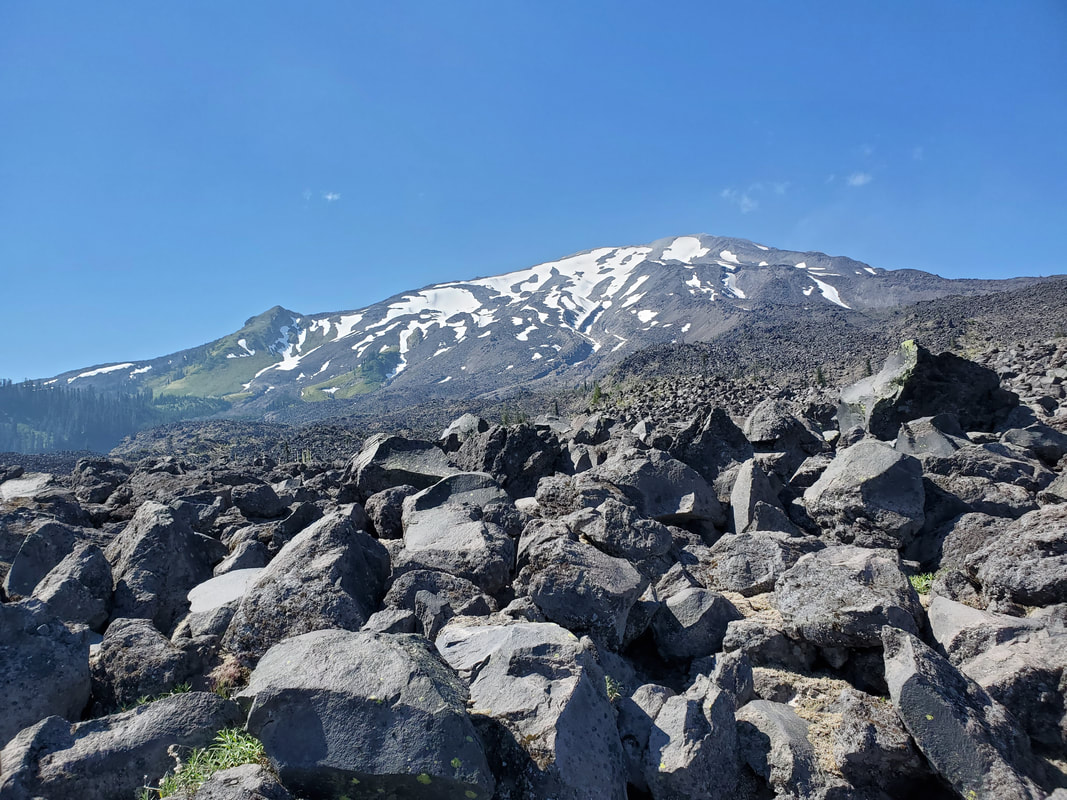
The Loowit Trail is challenging terrain, as you can imagine that hiking on the side of a recent volcanic eruption would be. Think: traveling over everything the eruption blew out or decimated in its path. The trail is very hot and exposed with few remaining trees. Based on the exposed terrain, there are few reliable water sources and the seasonal sources dry up quickly after the winter snow melt. The ground underfoot is largely volcanic ash and sand which feels similar to walking on a beach. There are deep gullies carved by lava and rockslides. There are many fields of boulders which I can imagine were blown out of the volcano and deposited down the mountain. Added to that terrain is scree (small, loose pieces of rock) and every other imaginable size rock that was created or displaced via the eruption or later erosion.
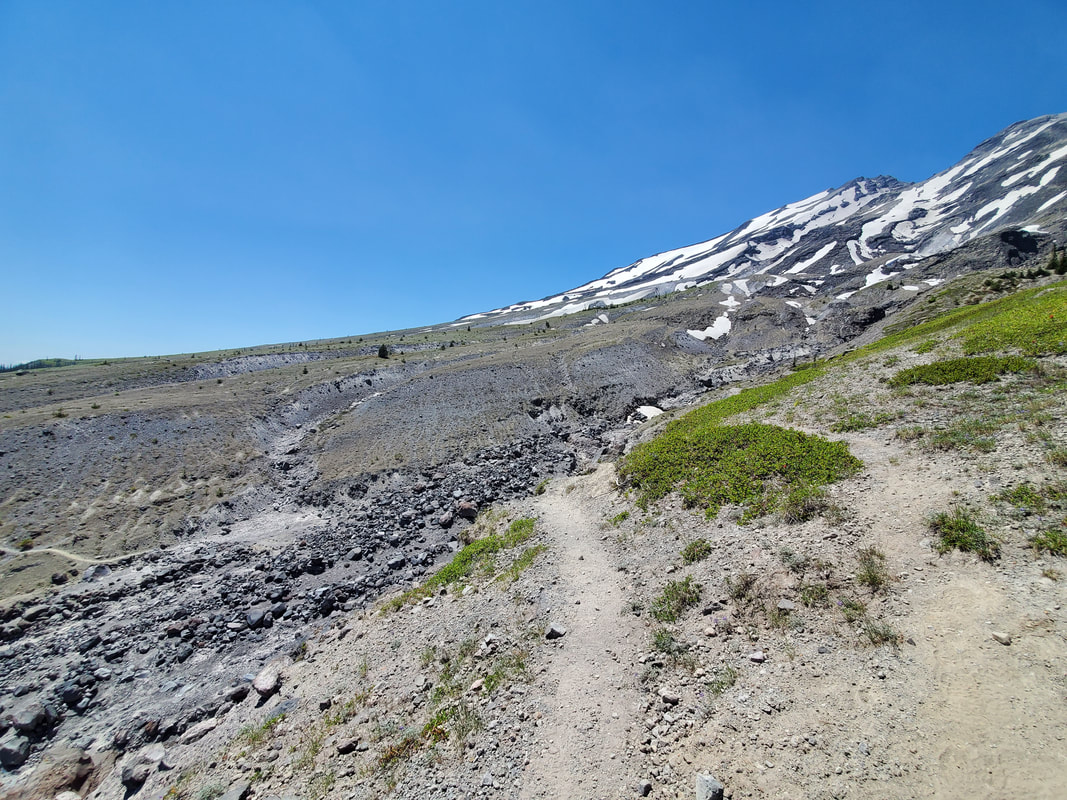
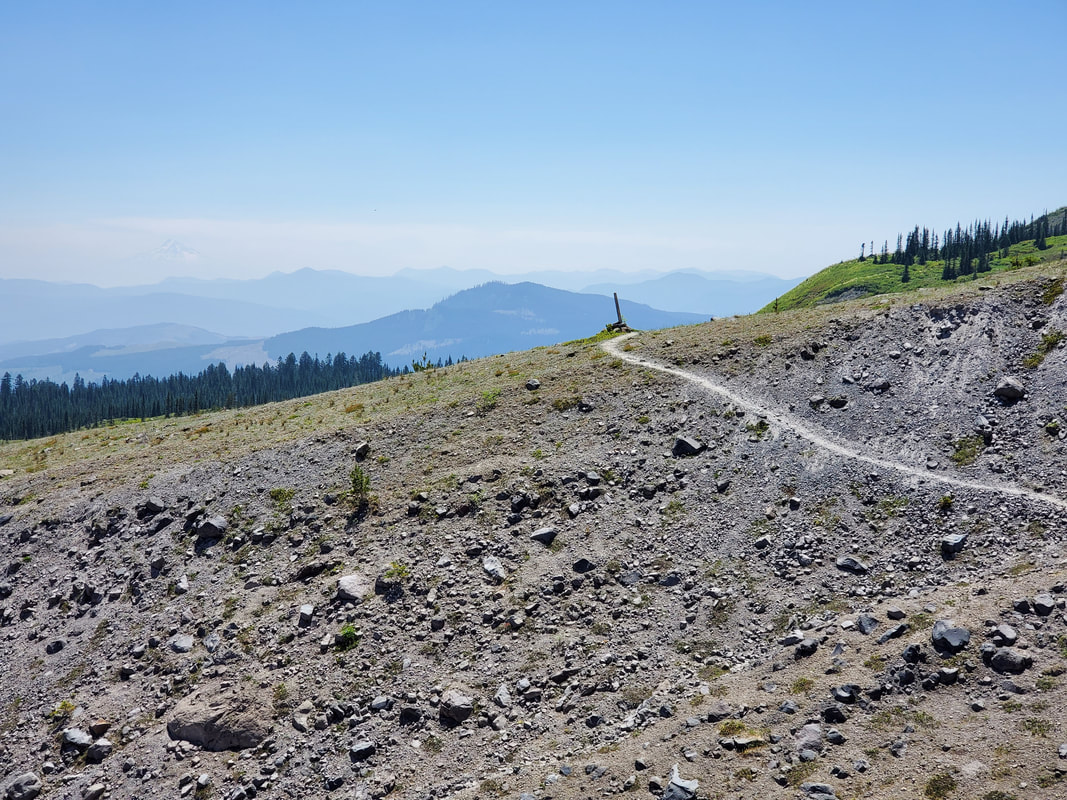
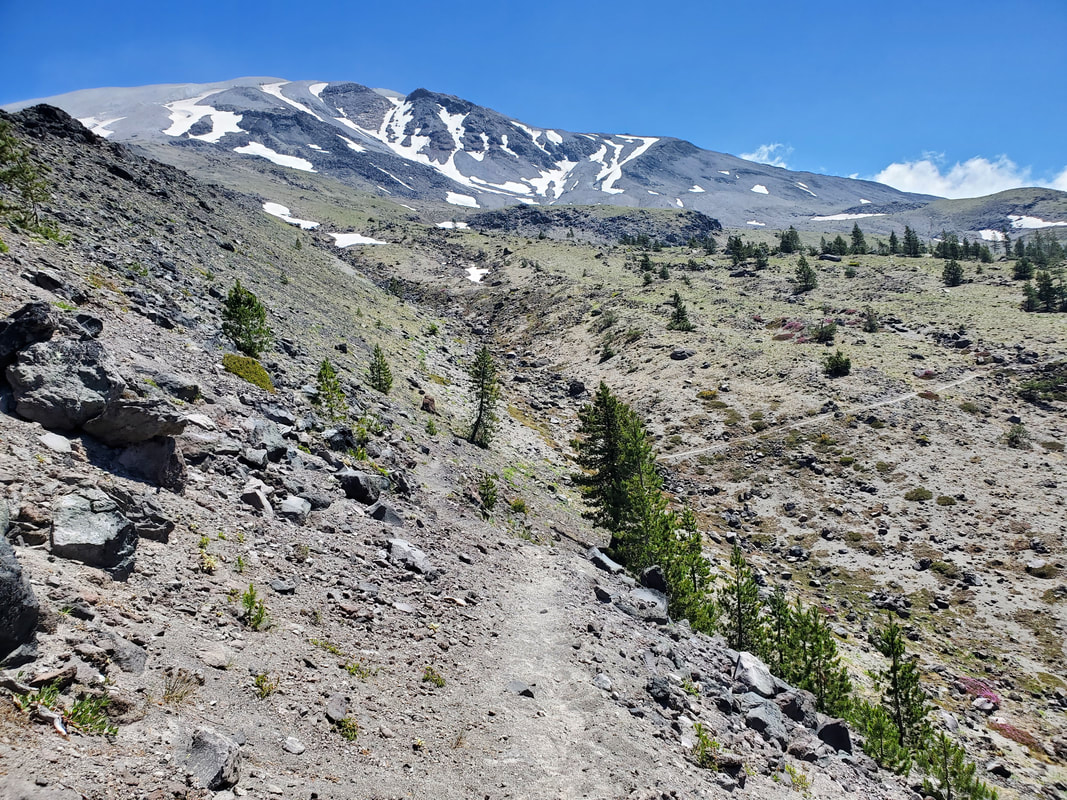
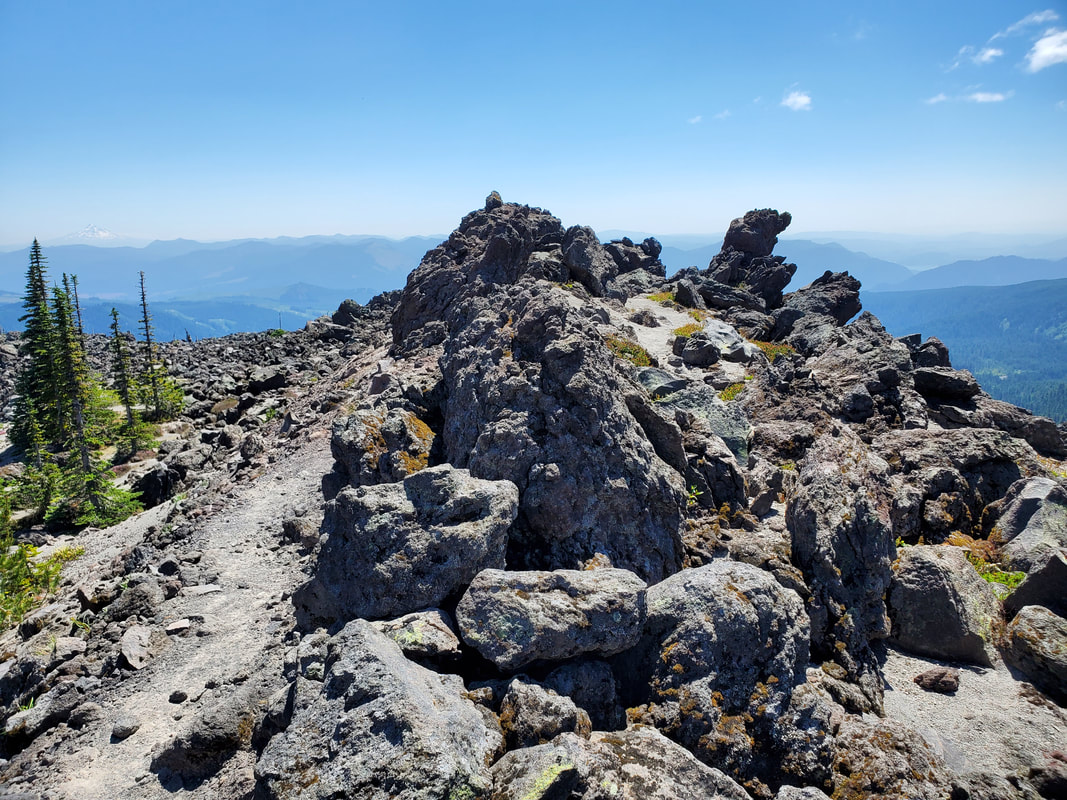
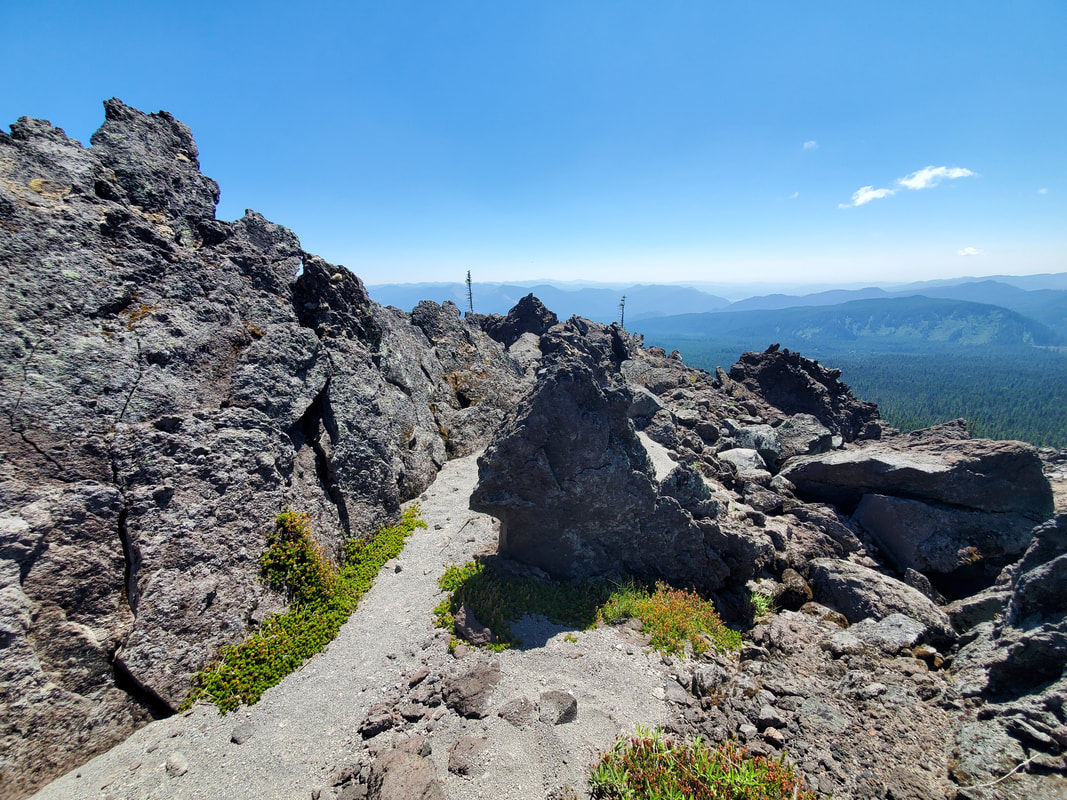
The ash, sand, and scree make footing and route finding difficult at times. Turns out...it can be hard to find a boot path in the ash/sand when it gets covered up by other ash/sand! Some beginner route finding skills and appropriate maps or GPS apps are essential tools. Also the ash, sand, and scree makes for loose footing and washed out (eroded) ridgelines. It often feels like your foot shifts underneath you on the loose terrain, so hiking up and down steep gullies and along narrow ridgelines requires full attention.
I have climbed to the Mount St. Helens summit twice in the past year, via both the summer and winter route, but it was a different perspective this time to travel fully around the volcano. What I found is that each side of the mountain has unique characteristics and surprises. It was interesting to see how the terrain changes at different sides of the mountain based on how the eruption impacted it - the intensity of the blast and type of debris. One thing is for sure, Mount St. Helens brings the scenery and the challenging terrain. It just never quit coming and I was in awe for 360 degrees around the mountain. I love when a trip pans out even better than expected!
I guess the Loowit Trail now completes the Mount St. Helens Trifecta: summer summit, winter summit, and 360 degree circumnavigation! That is an accomplishment that I just invented, but pretty cool nonetheless! Check out my trip reports from the Mount St. Helens Summer Route and Winter Route summits to read details on those two previous outings.
Day 1: June Lake Trailhead to the South Fork of the Toutle River
Counter Clockwise, 16 Miles, +4,140 Elevation Gain, -3,753 Elevation Loss
There are a number of different trailheads that access the Mount St. Helens area from all sides of the volcano. The Loowit Trail itself circumnavigates the mountain between roughly 3,500 to 5,000 feet of elevation. For reference, the Mount St. Helens summit (post-eruption) is at an elevation of 8,363. From any starting trailhead, you must ascend via an approach trail for about 1,000 feet of elevation up to join the Loowit Trail. From there the 360 degree loop actually begins! The entry point and direction of travel are two important considerations in route planning for the Loowit Trail. It is worth researching the options to understand implications to your agenda (miles and elevation gain/loss per day) and trip logistics (water management and no camping within the blast zone).
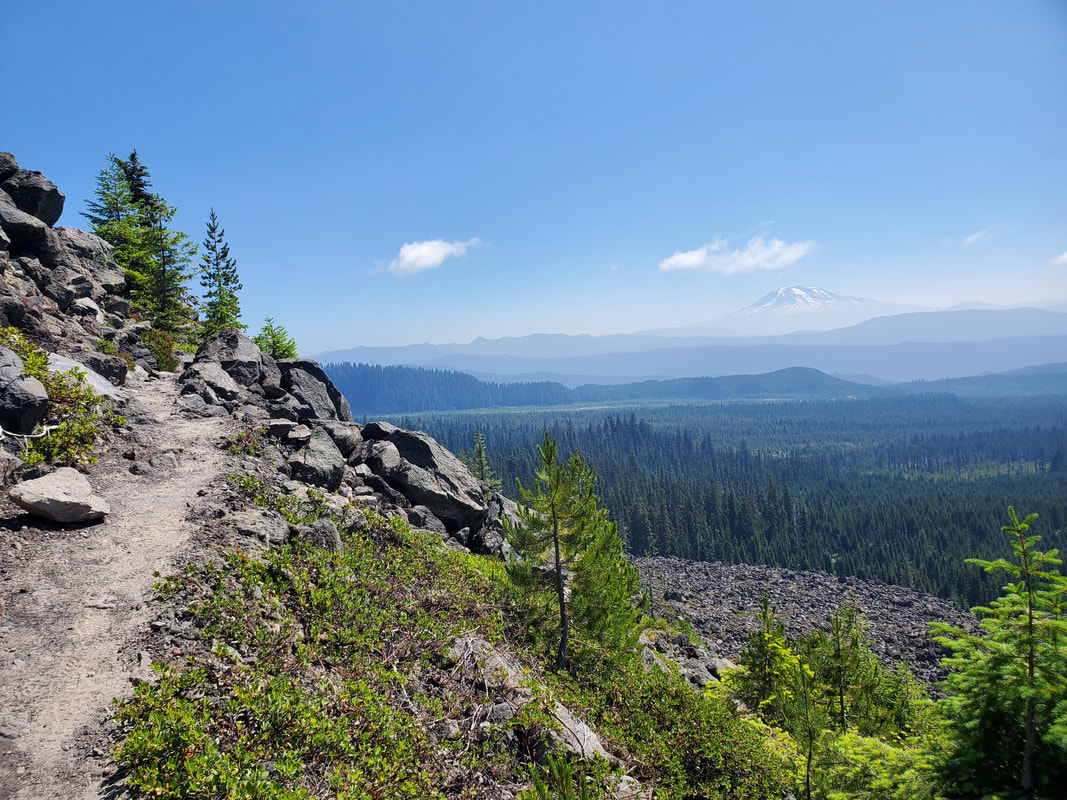
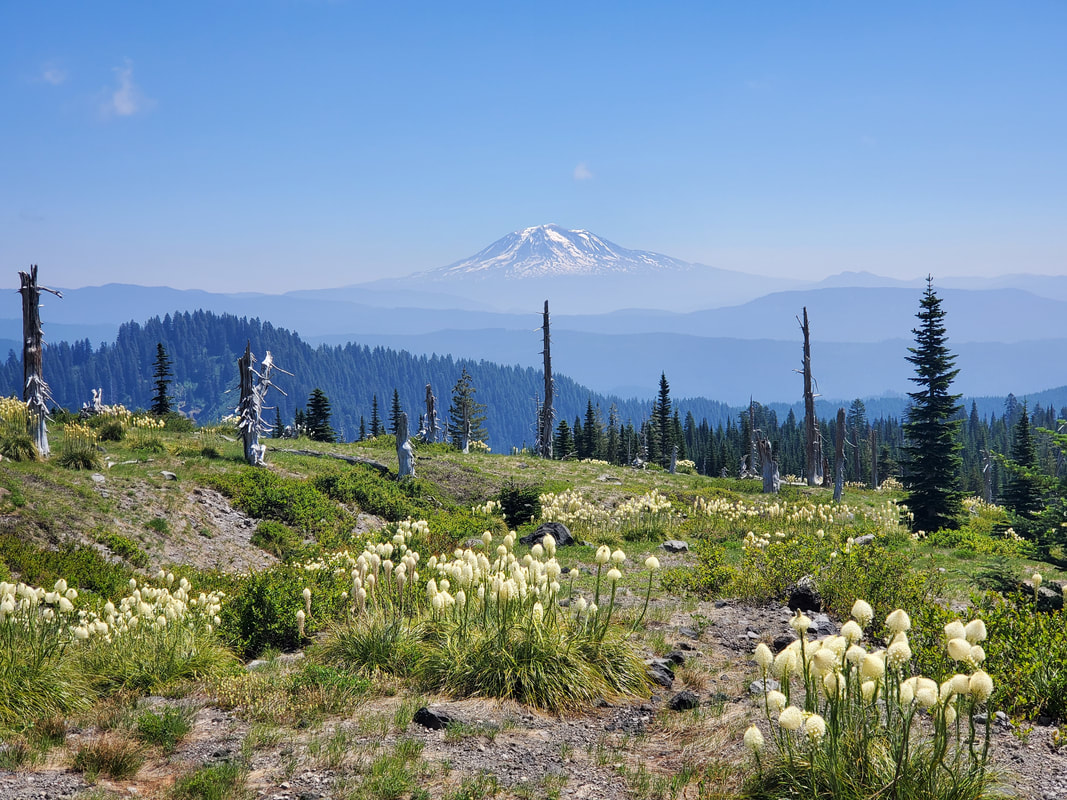
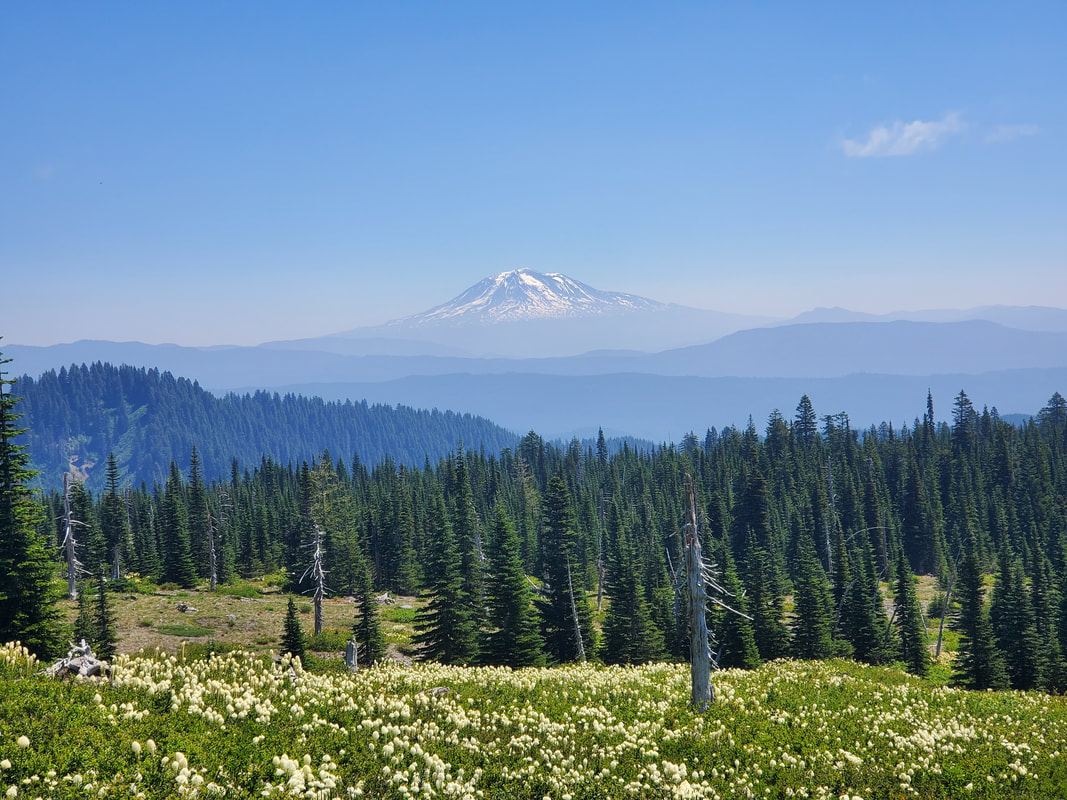
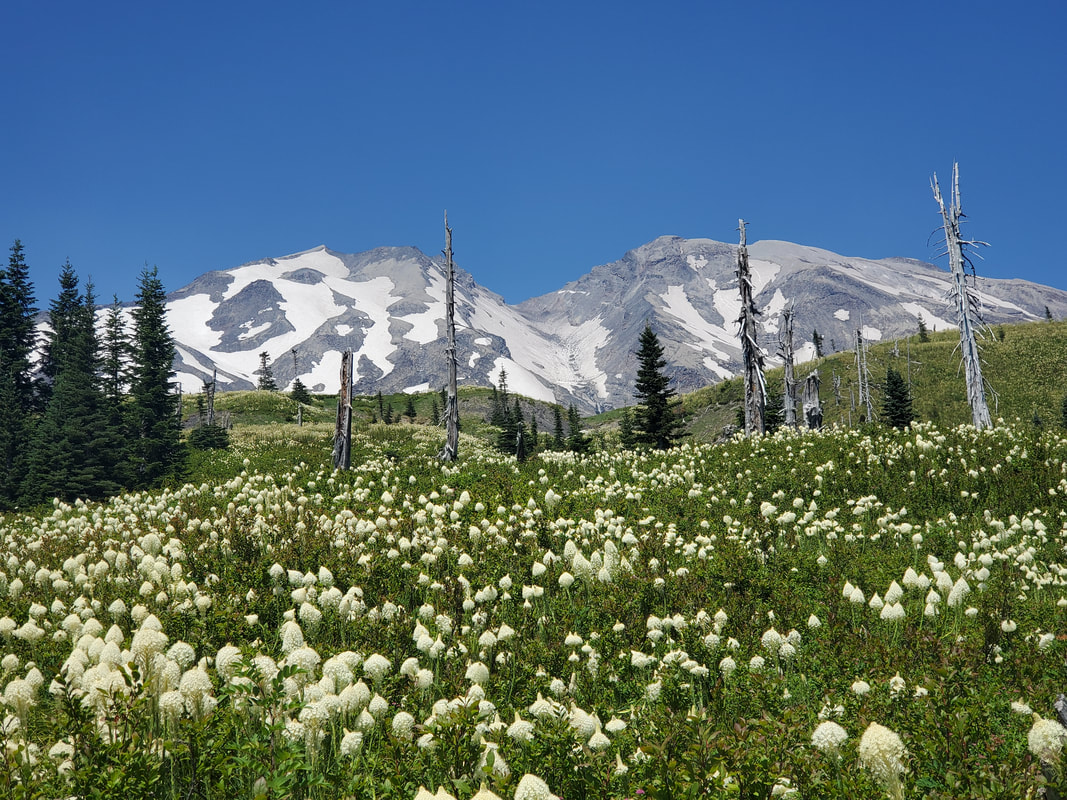
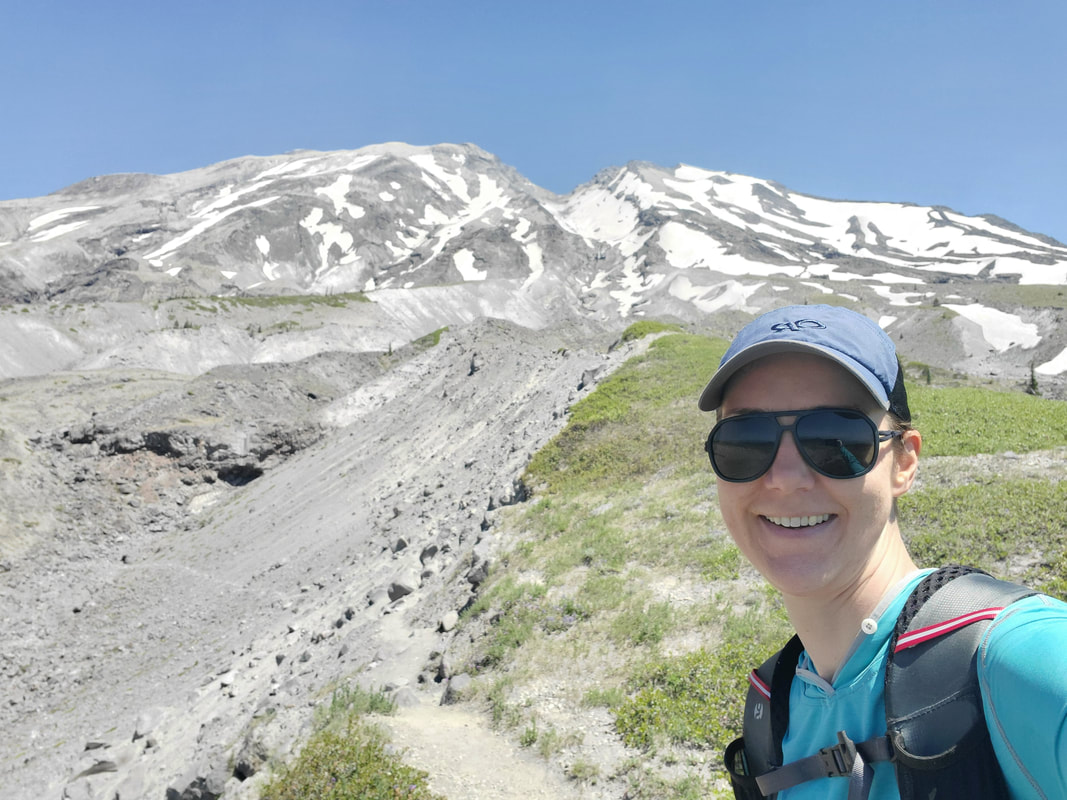
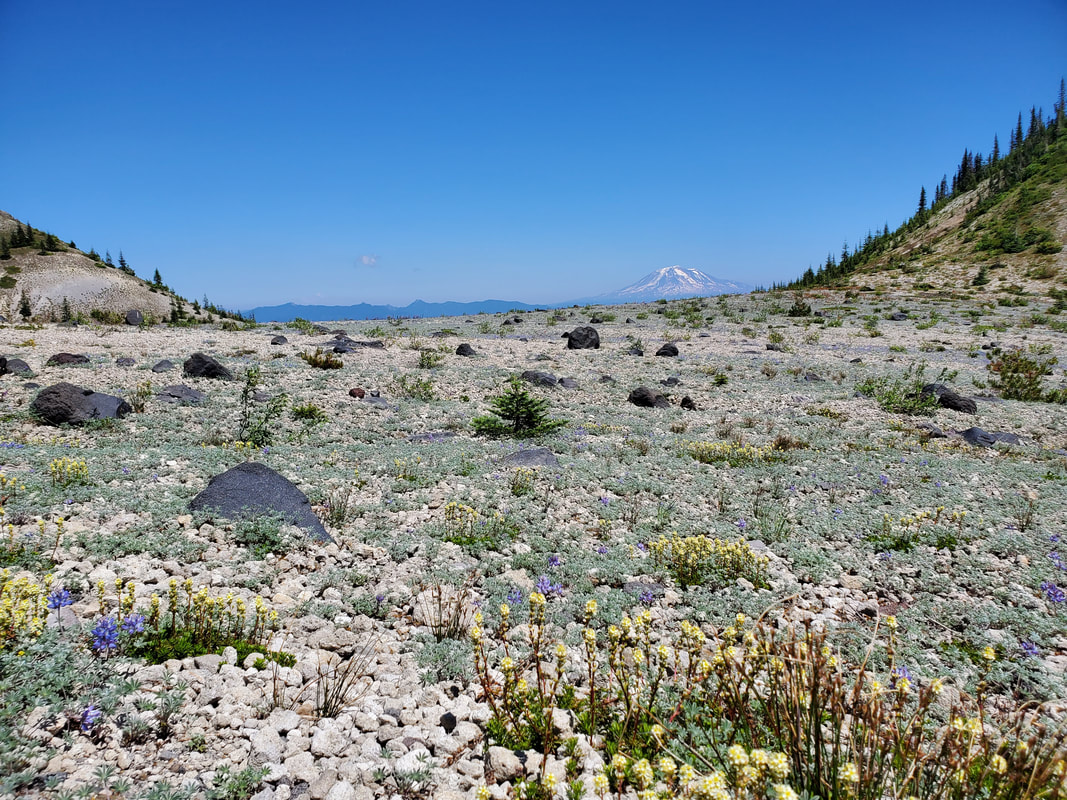
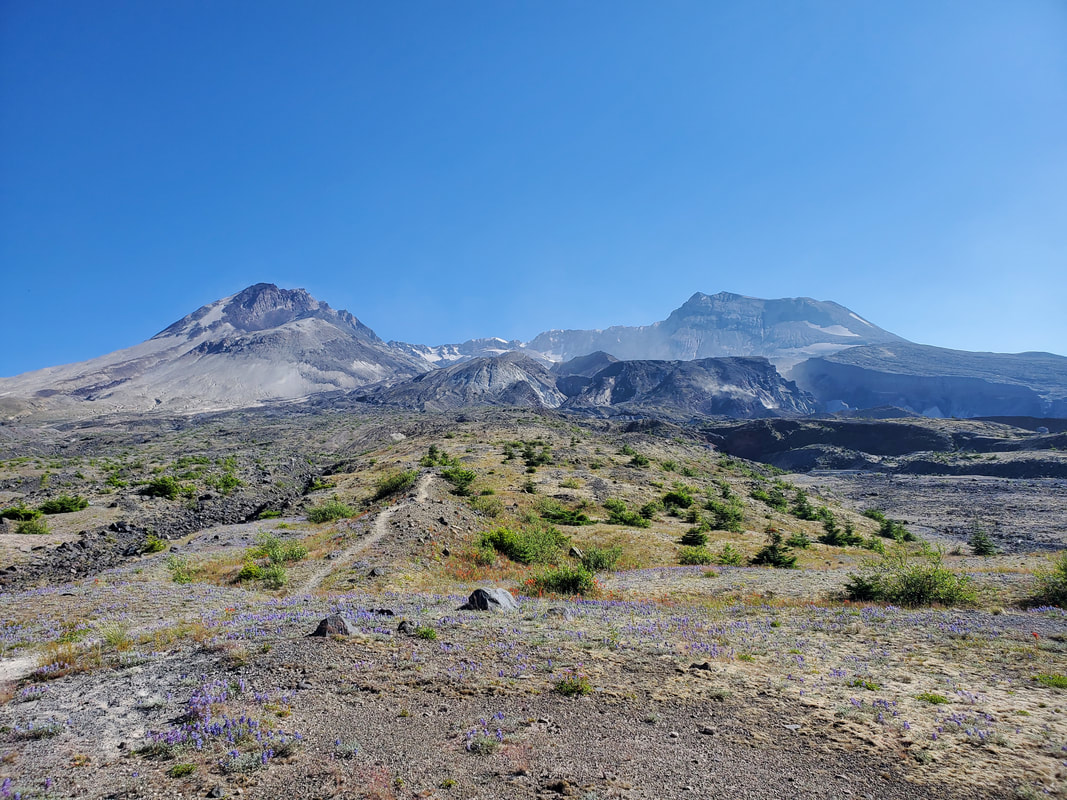
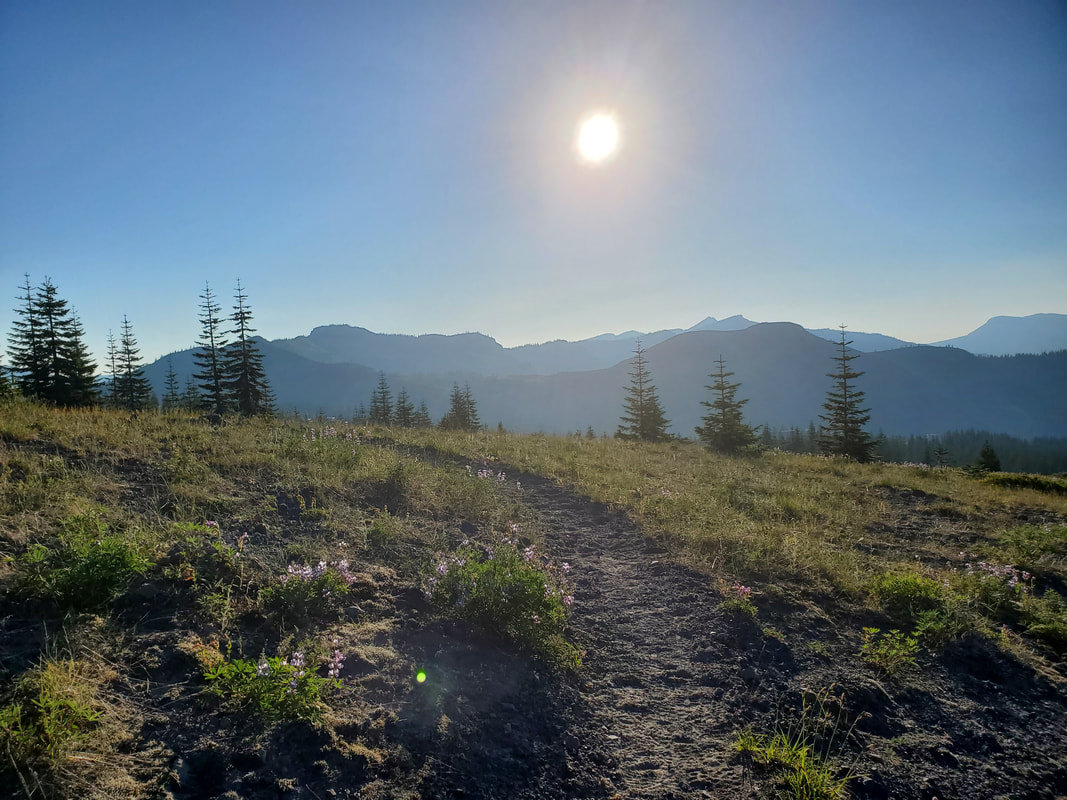
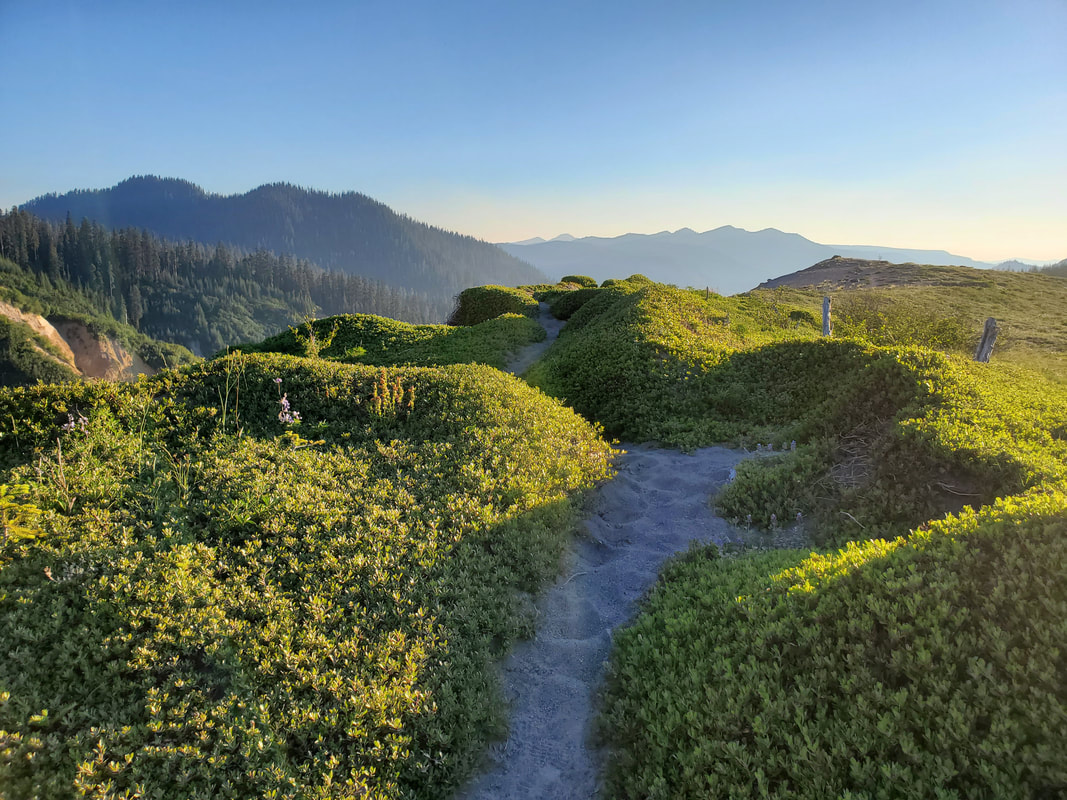
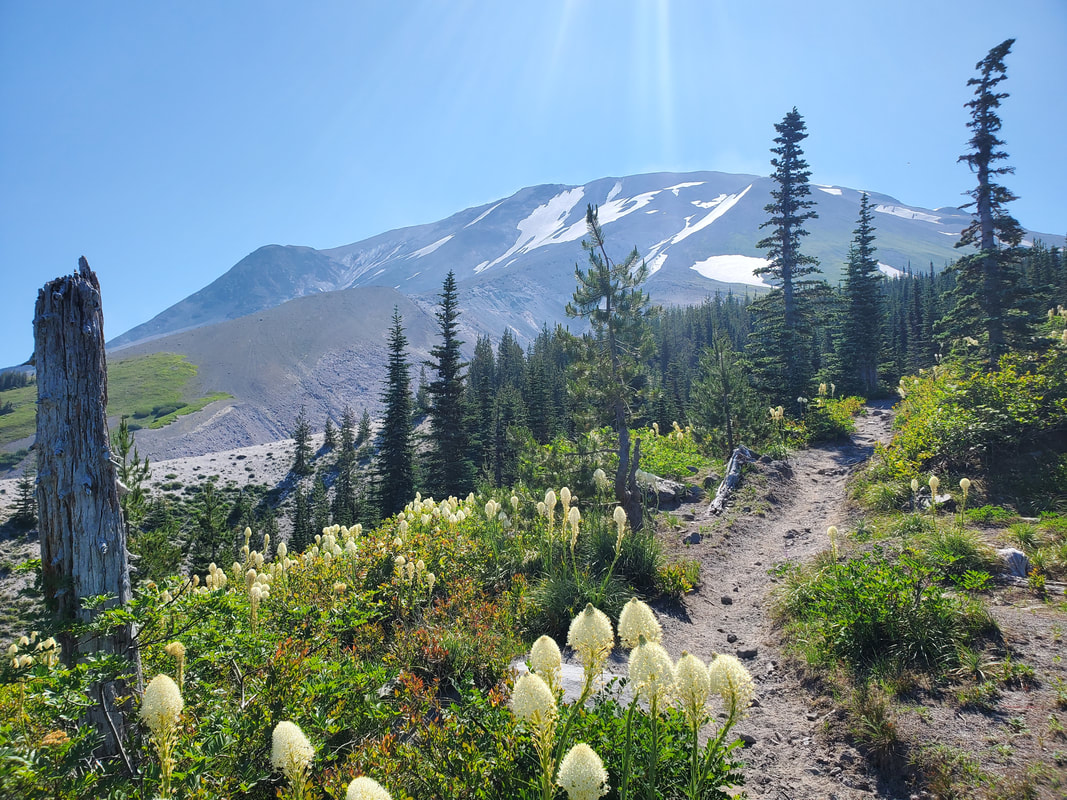
I chose to start my trip on the south side of the mountain at the June Lake Trailhead, about a three hour drive from Seattle. I headed out hiking on Saturday morning just before 10AM and quickly covered the two miles of the forested approach trail. Once joining the Loowit Trail I "turned right" to start my counter clockwise route around the mountain. There were several streams flowing near this junction with the Loowit Trail and they would be the last water sources for a few miles. The trail meanders through a remaining bit of forest, up a ridgeline, and through a beautiful sub-alpine meadow full of bear grass (the white, fluffy flowers on long stalks). The views of Mount St. Helens, Mount Adams, and the surrounding horizons opened in front of me. The views would not stop for the next 24 hours!
I chose to start my trip on the south side of the mountain at the June Lake Trailhead, about a three hour drive from Seattle. I headed out hiking on Saturday morning just before 10AM and quickly covered the two miles of the forested approach trail. Once joining the Loowit Trail I "turned right" to start my counter clockwise route around the mountain. There were several streams flowing near this junction with the Loowit Trail and they would be the last water sources for a few miles. The trail meanders through a remaining bit of forest, up a ridgeline, and through a beautiful sub-alpine meadow full of bear grass (the white, fluffy flowers on long stalks). The views of Mount St. Helens, Mount Adams, and the surrounding horizons opened in front of me. The views would not stop for the next 24 hours!
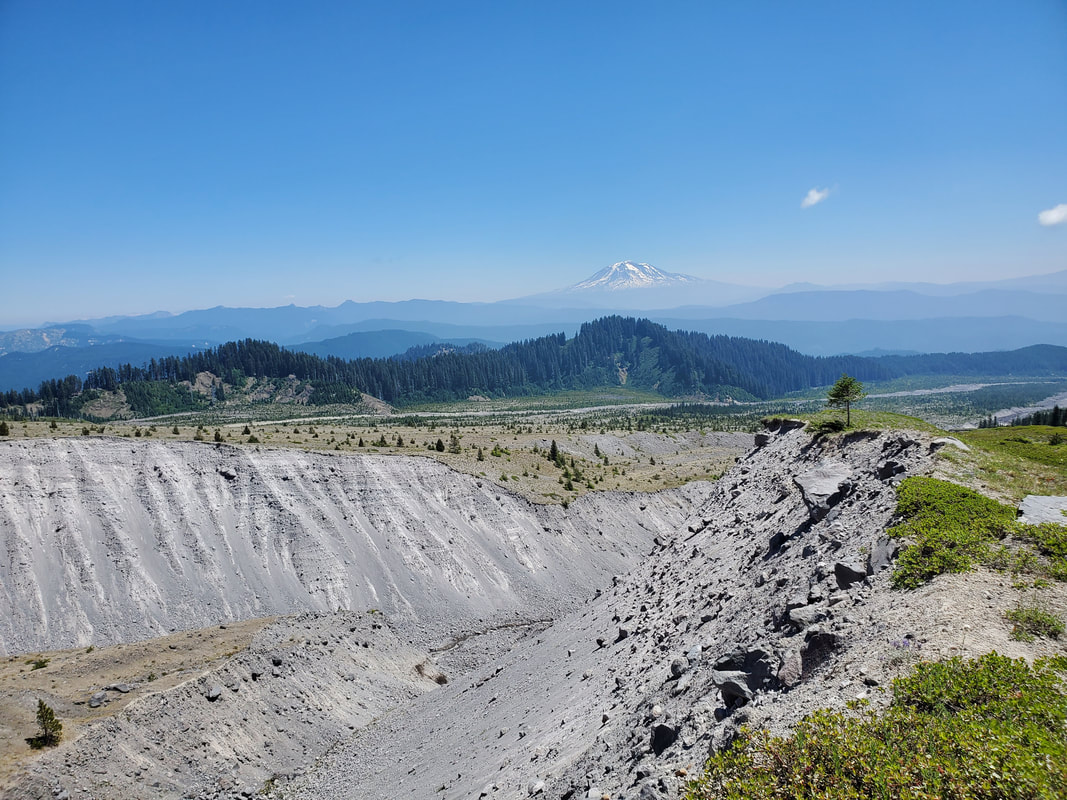
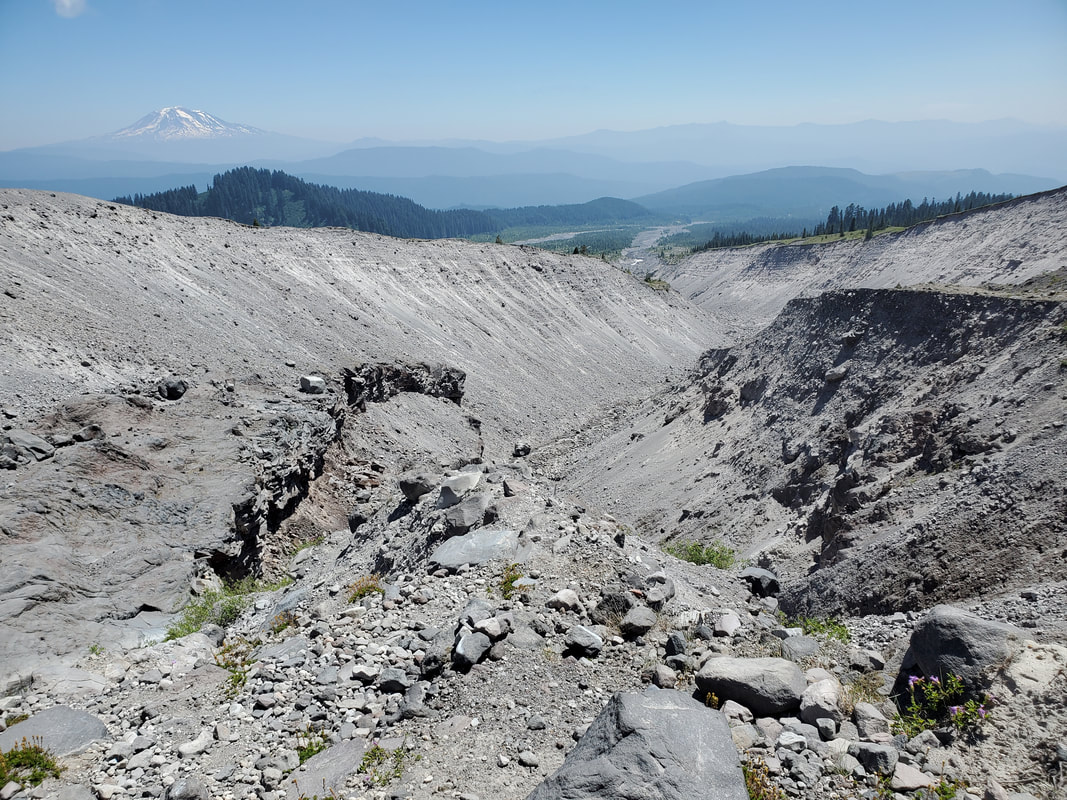
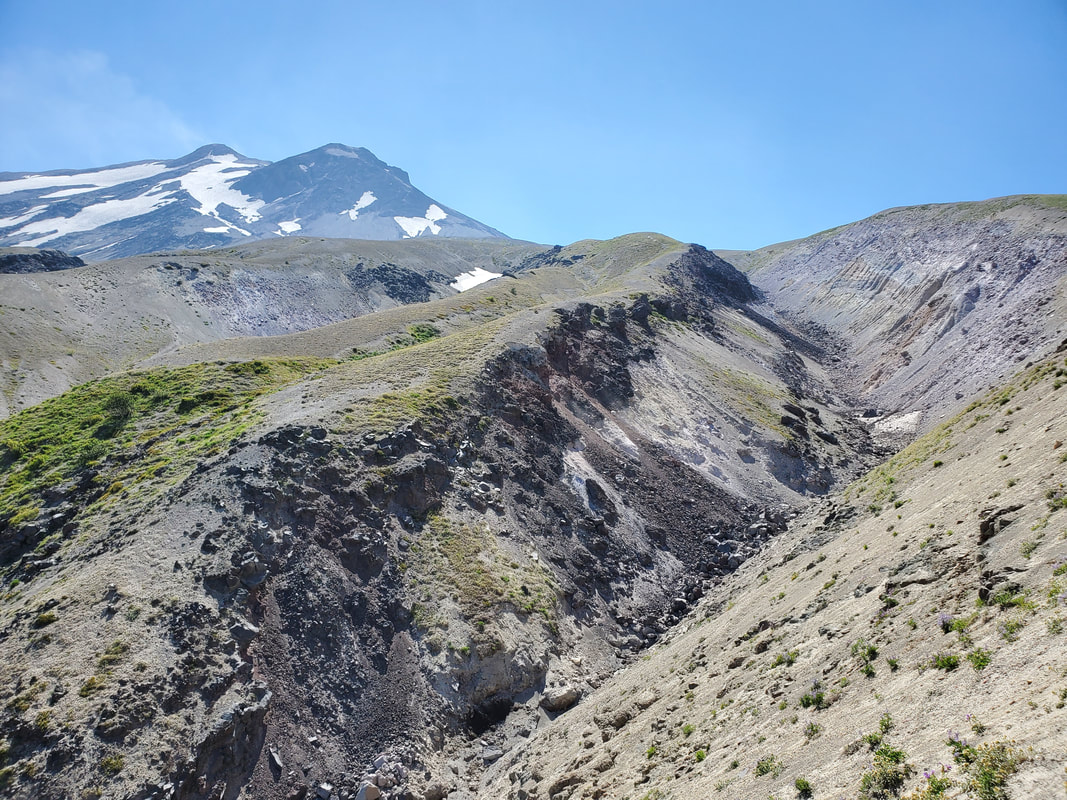
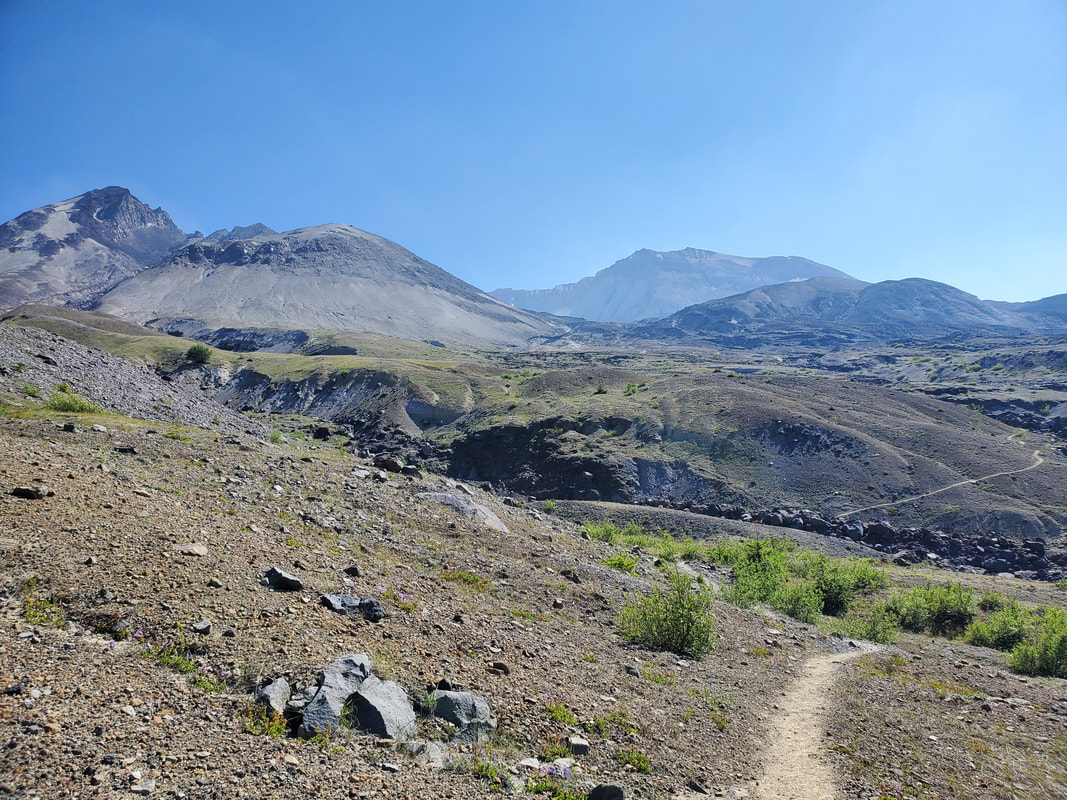
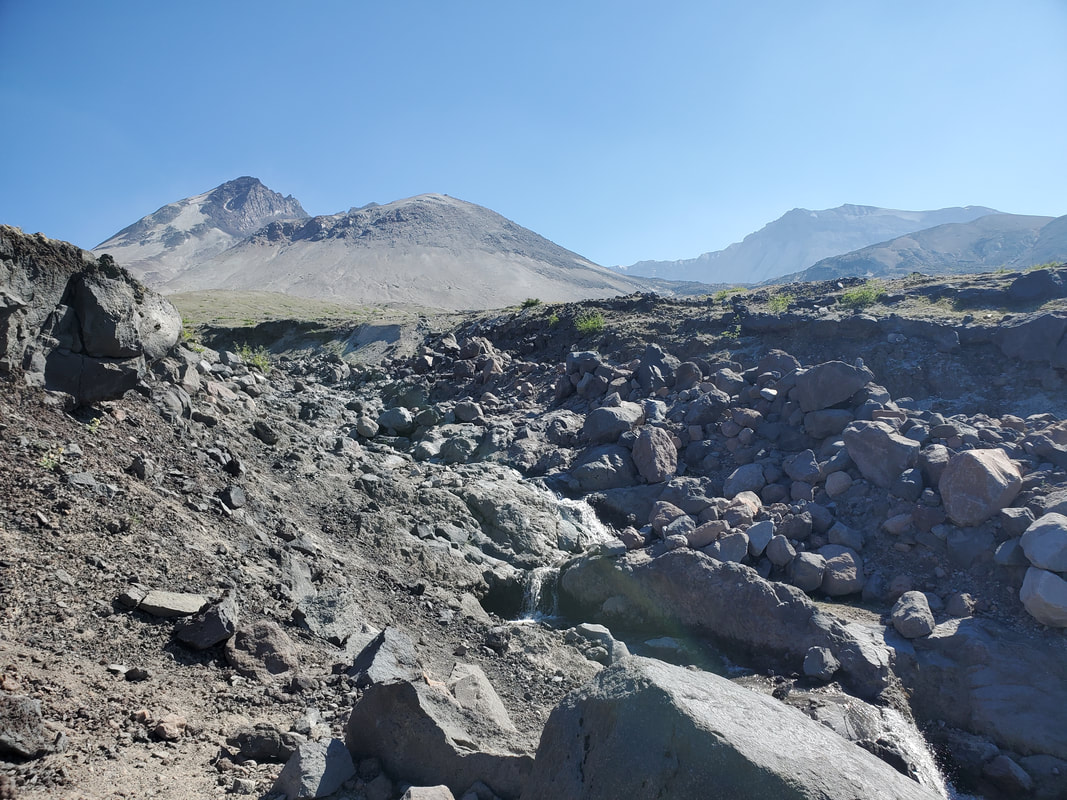
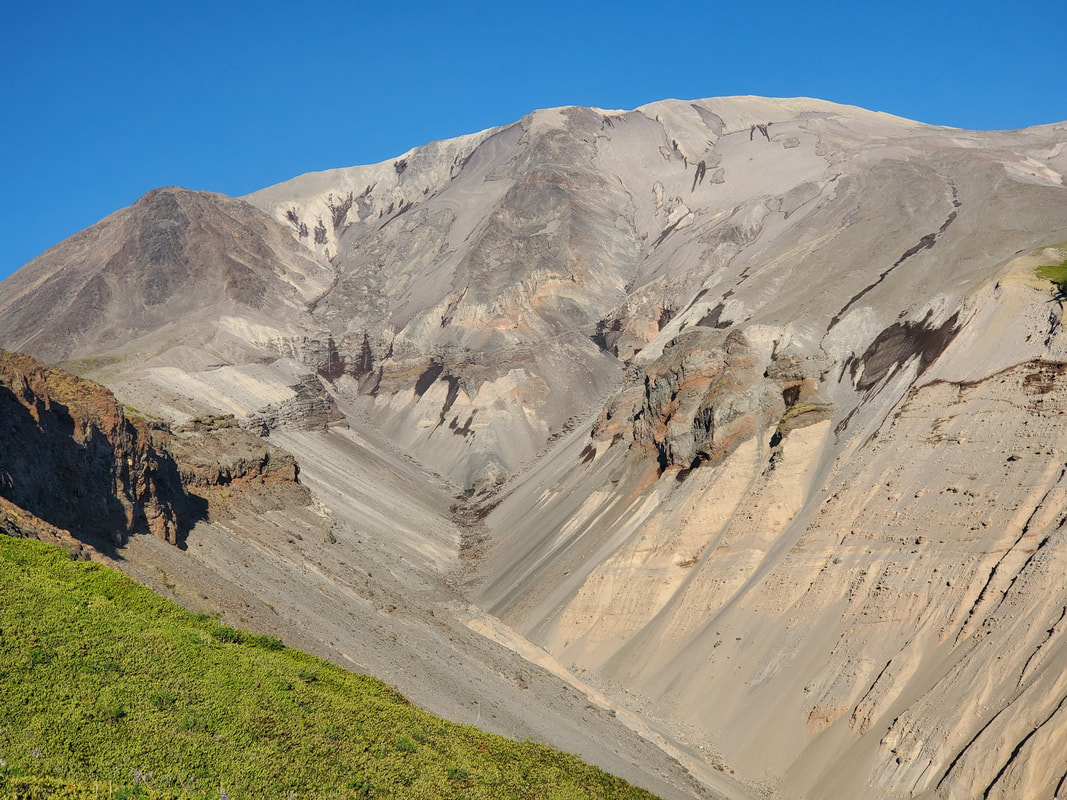
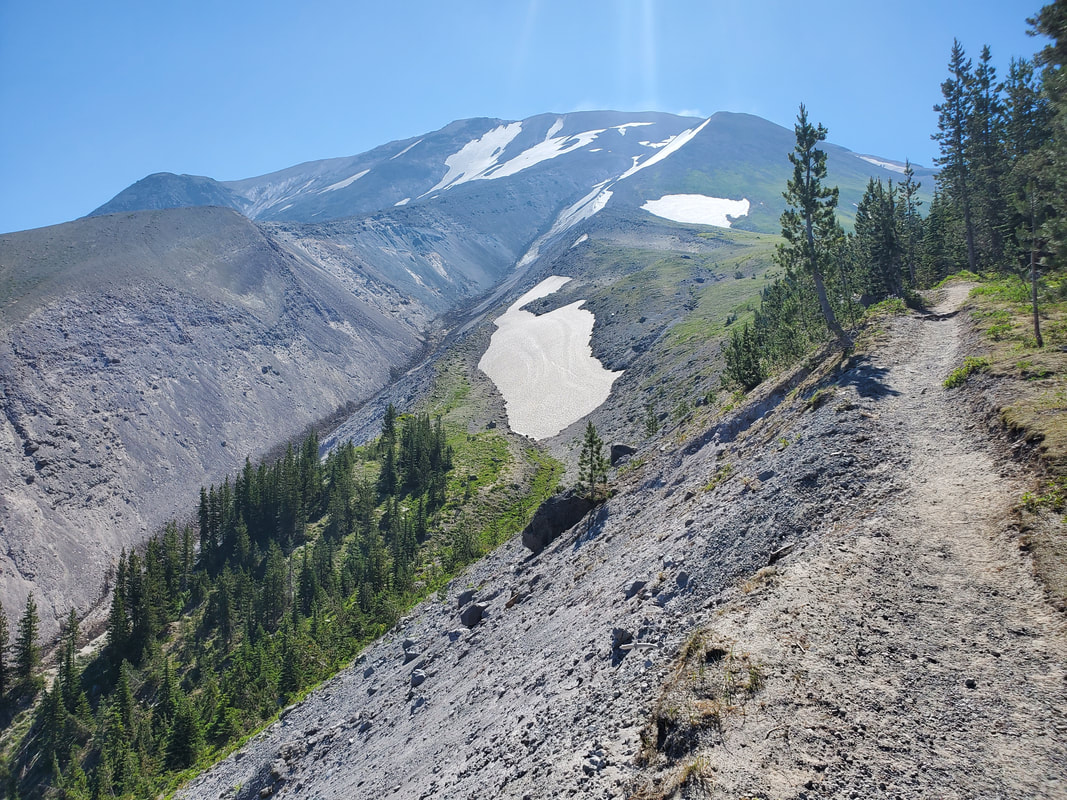
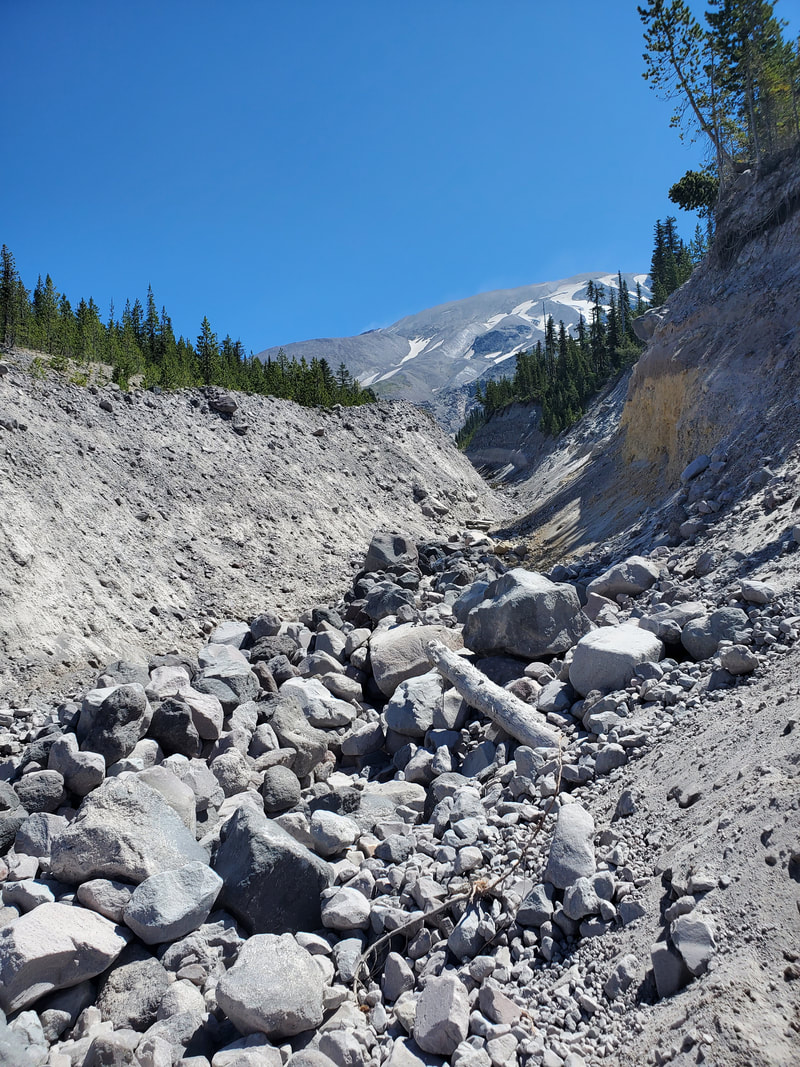
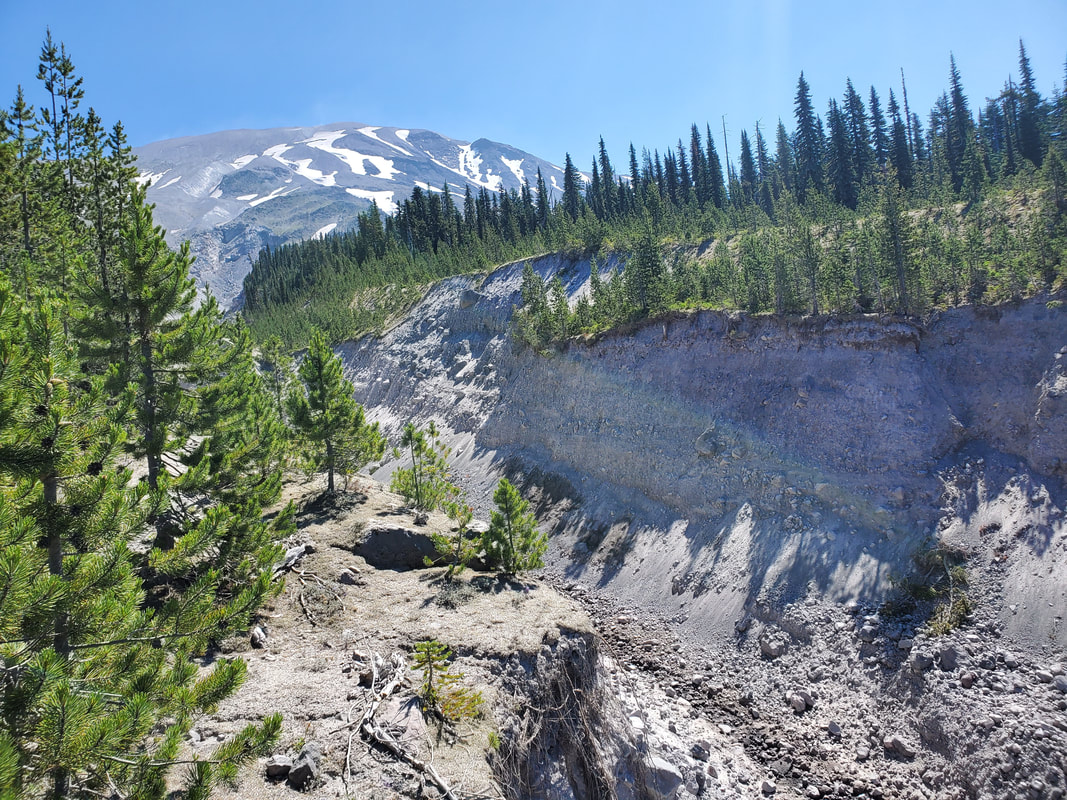
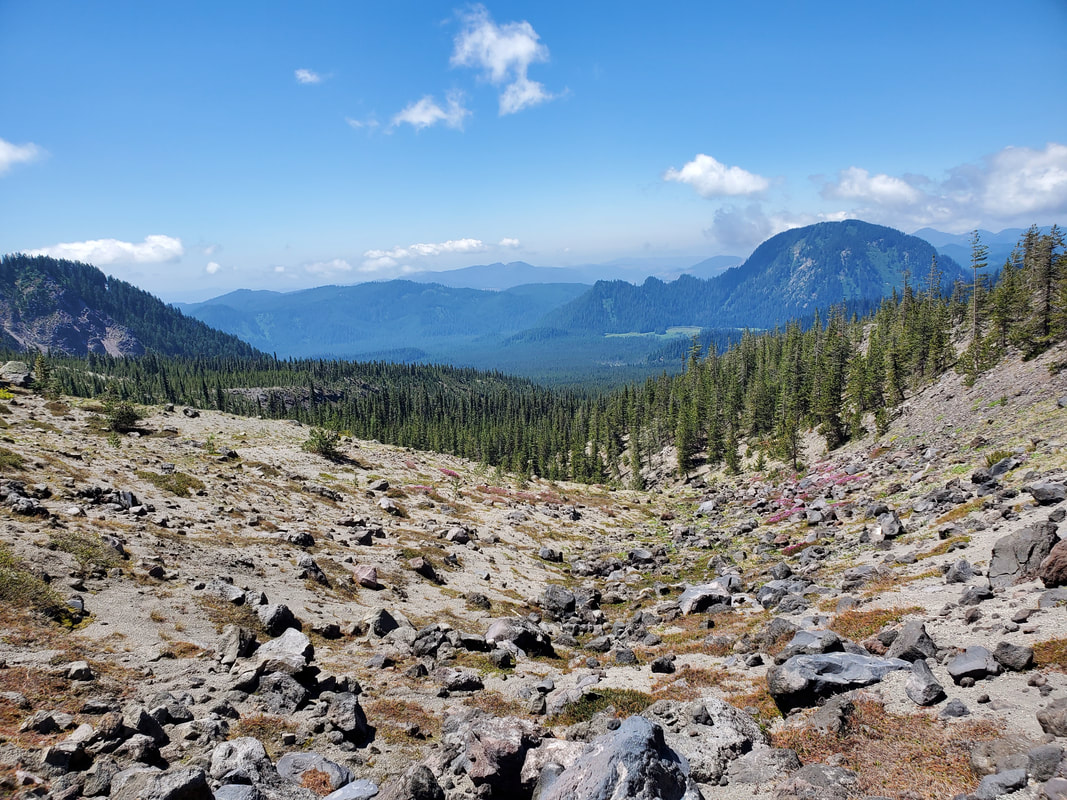
After hiking through the beautiful meadow, I next came upon a my first series of gullies. There are deep gullies to cross on all sides of Mount St. Helens (multiple times per day), but in this stretch of the trail I counted six gullies in a row. The gullies were formed by rockslides and lava flows during the volcanic eruption and have rapidly eroded as snow, mud, and water carve the channels deeper and wider every year. The gully walls consist of mostly volcanic ash, sand, and scree. In the middle of the gully you will find large boulders and, if you are lucky, a small stream for a water source. It was a unique vantage point to look up and down the mountain from inside each steep gully. During this stretch of gullies I found two flowing streams, both probably seasonal water sources that will dry up later in the summer. The trail through the gullies is basically a boot path of ash/sand and is often washed out or nearly eroded. Heading up or down the steep gully walls requires care. With every step your foot seems to shift underneath you on the loose terrain. While a fall would not be extremely consequential, I certainly was not interested in taking an ash, sand, and scree carpet ride.
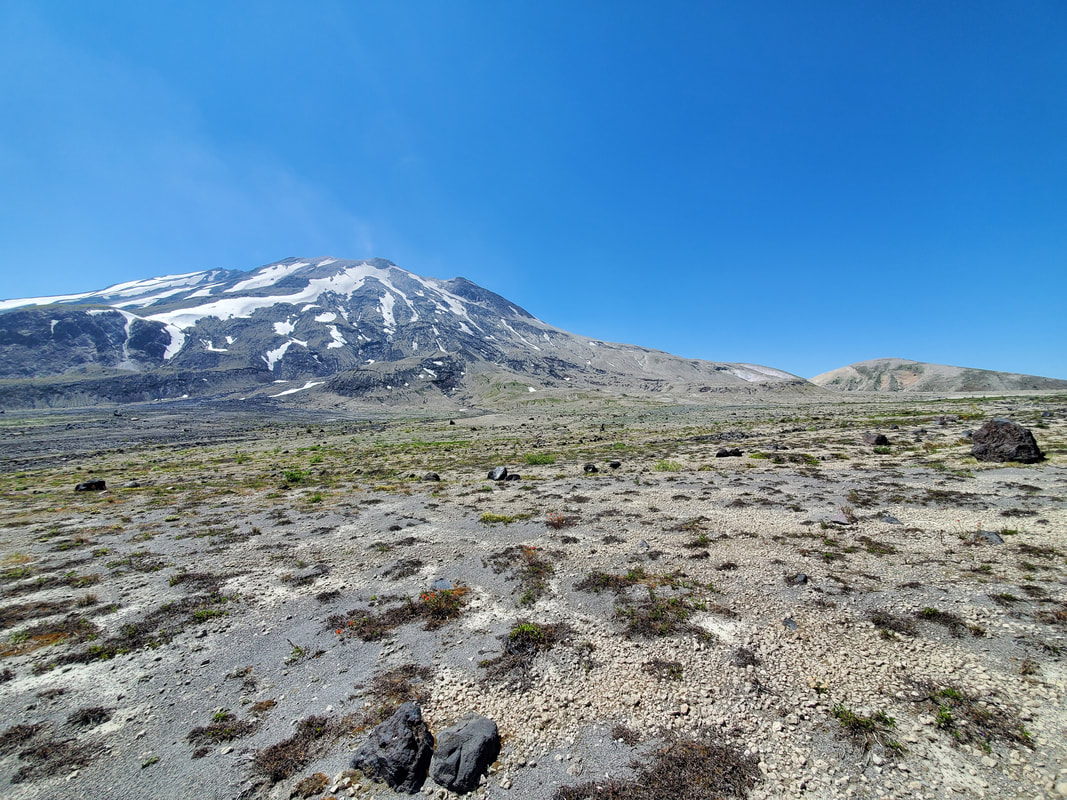
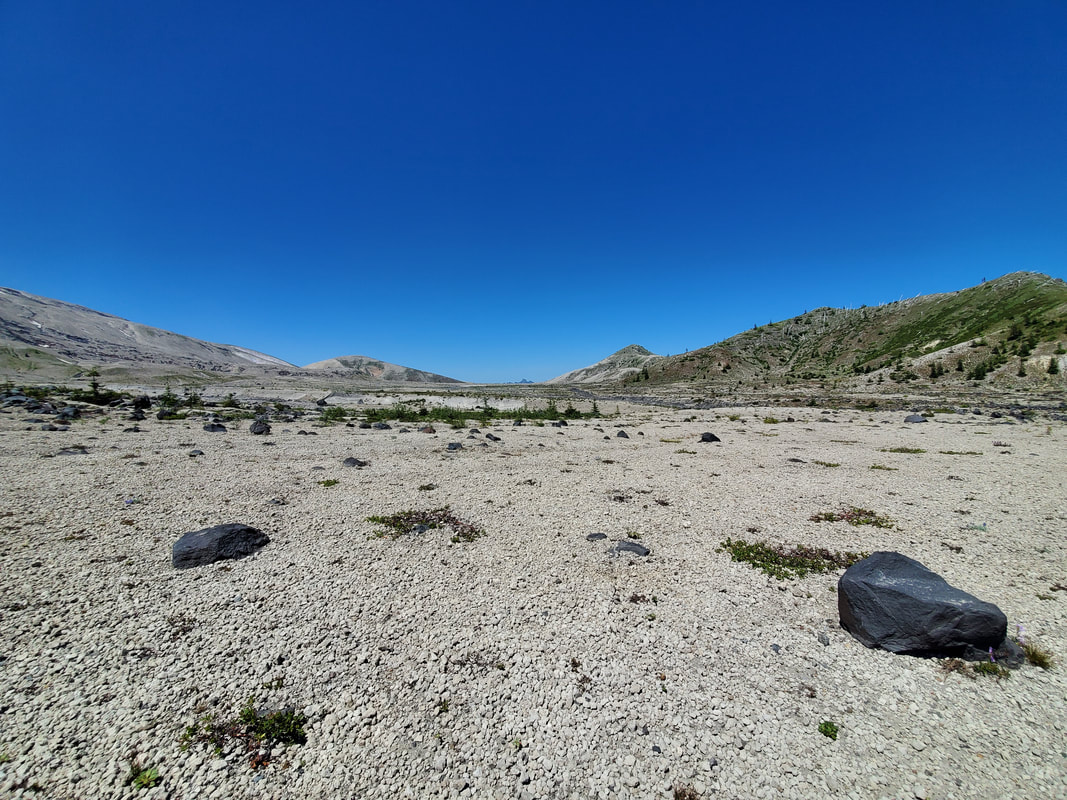
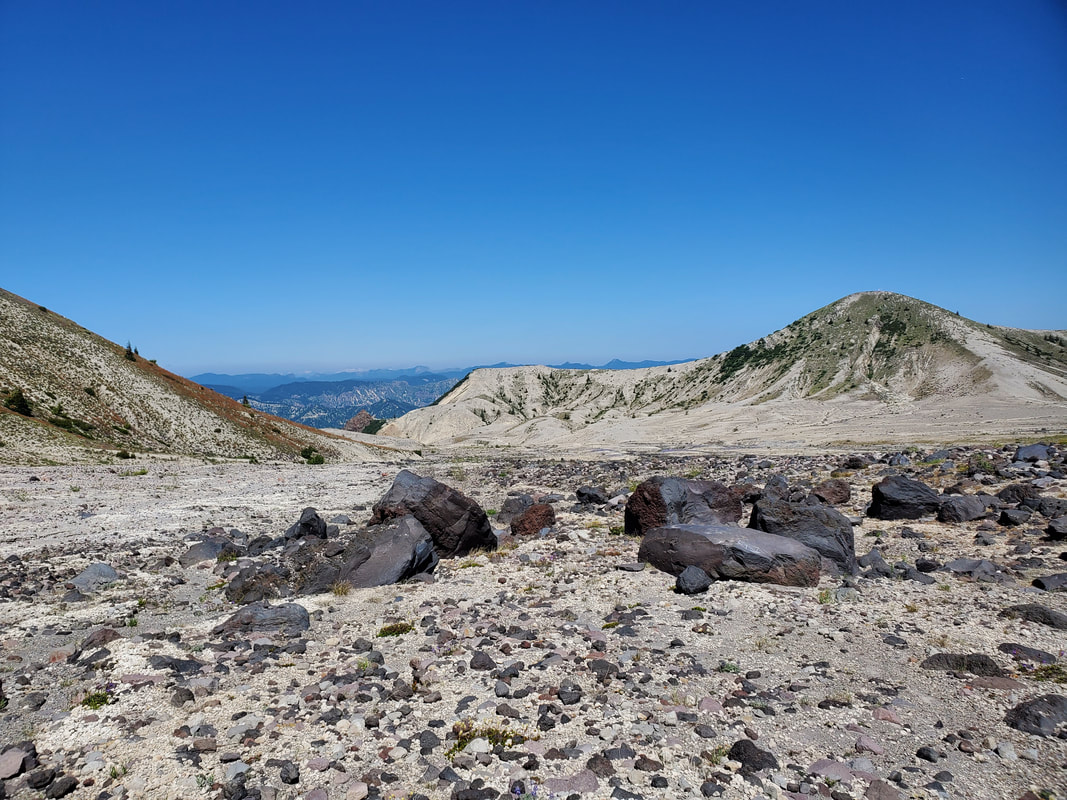
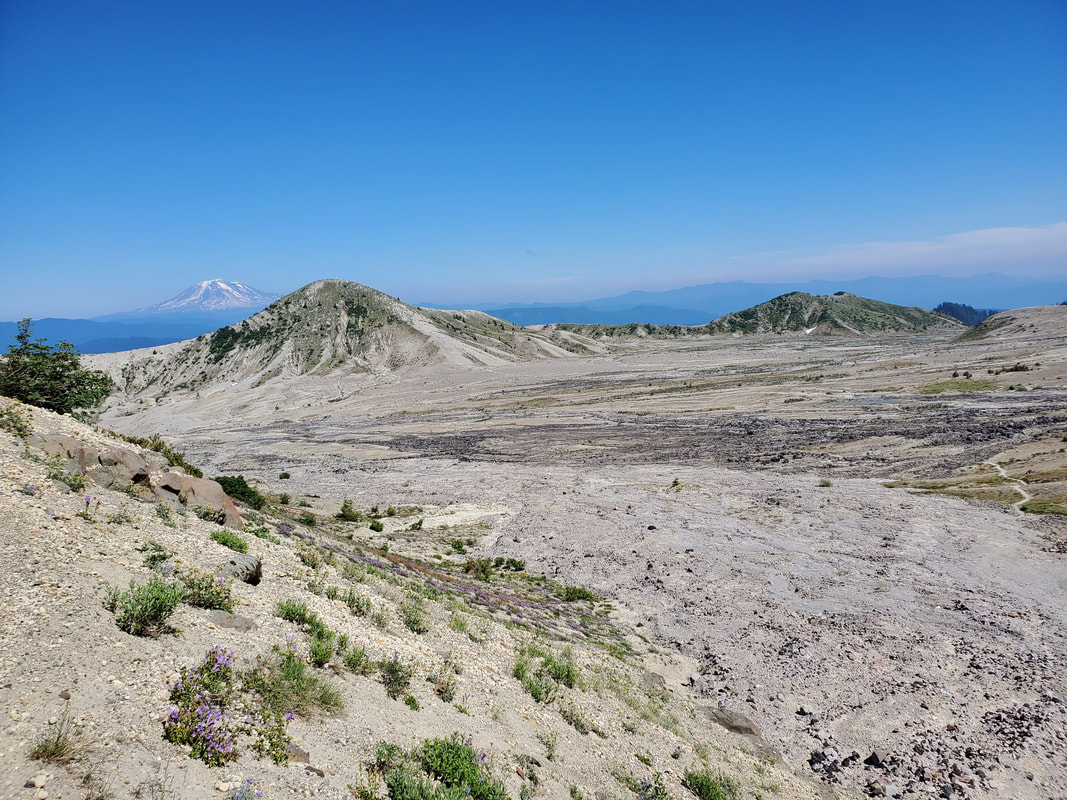
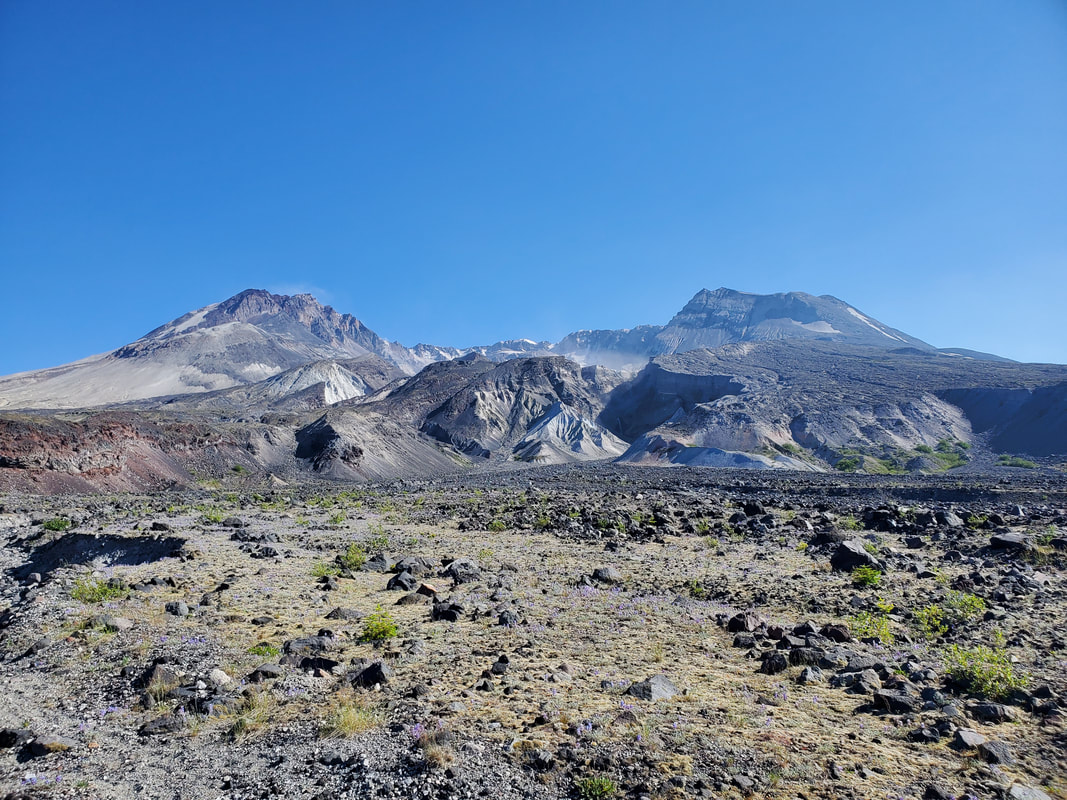
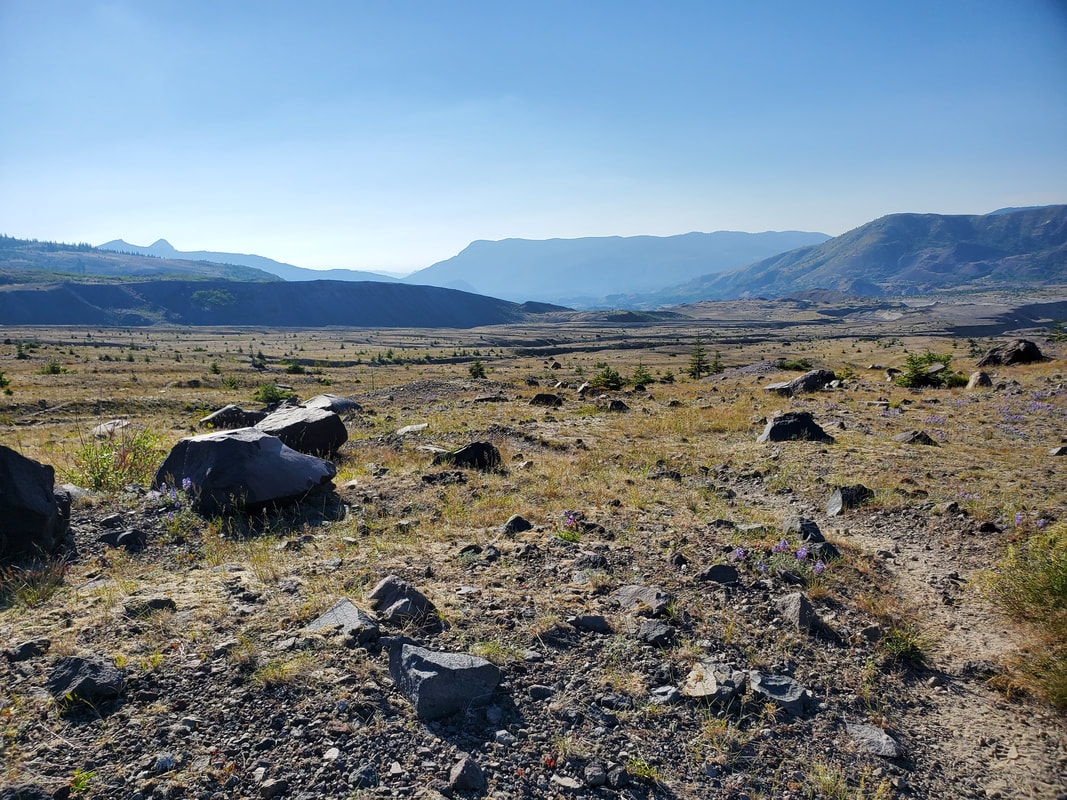
After making it through the steep gully section, I was shocked to find the next area of the mountain was totally flat! As I turned the corner of the trail underneath Pumice Butte and hiked into the Plains of Abraham, I was blown away by the flat expanse that stretched out in front of me. Thanks to the force of the volcanic blast on this side of the mountain, the Plains of Abraham are completely flattened and almost entirely void of vegetation. It is hard to wrap your mind around how the eruption impacted various sides of the mountain differently based on type of impact and intensity. I had traveled from steep gullies to a flat plain in the matter of an hour. The changing variety of terrain around Mount St. Helens was a surprise and exceeded my expectations all trip long!
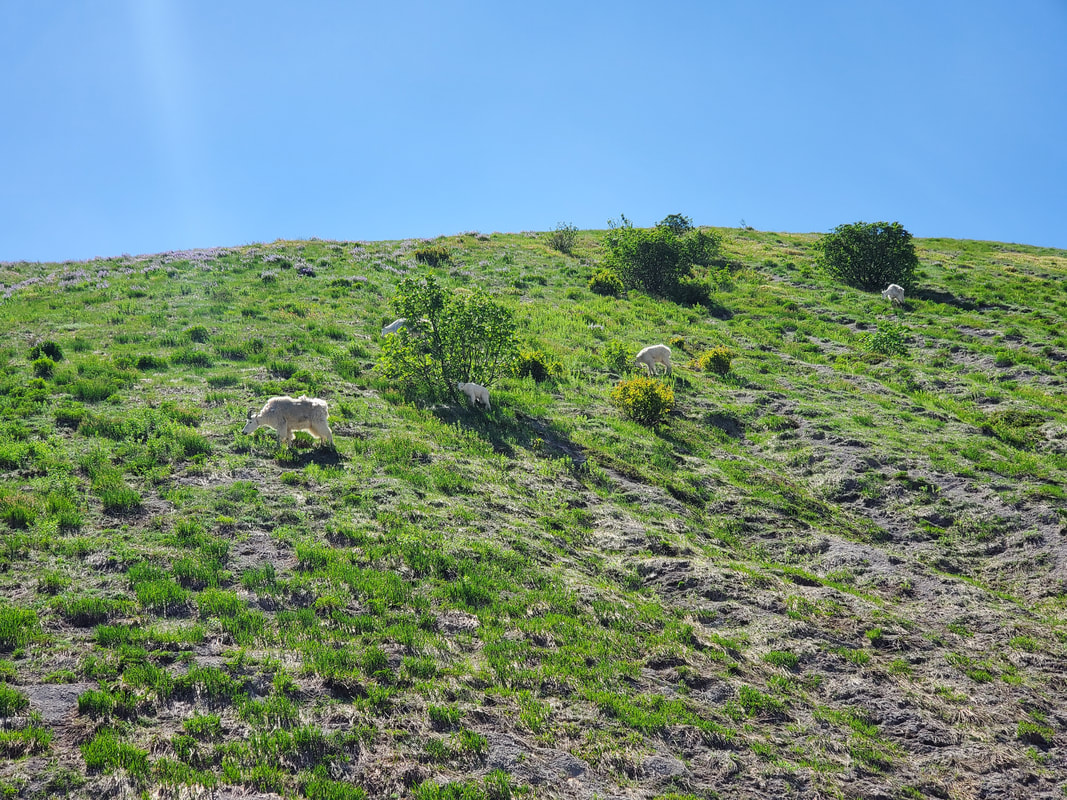
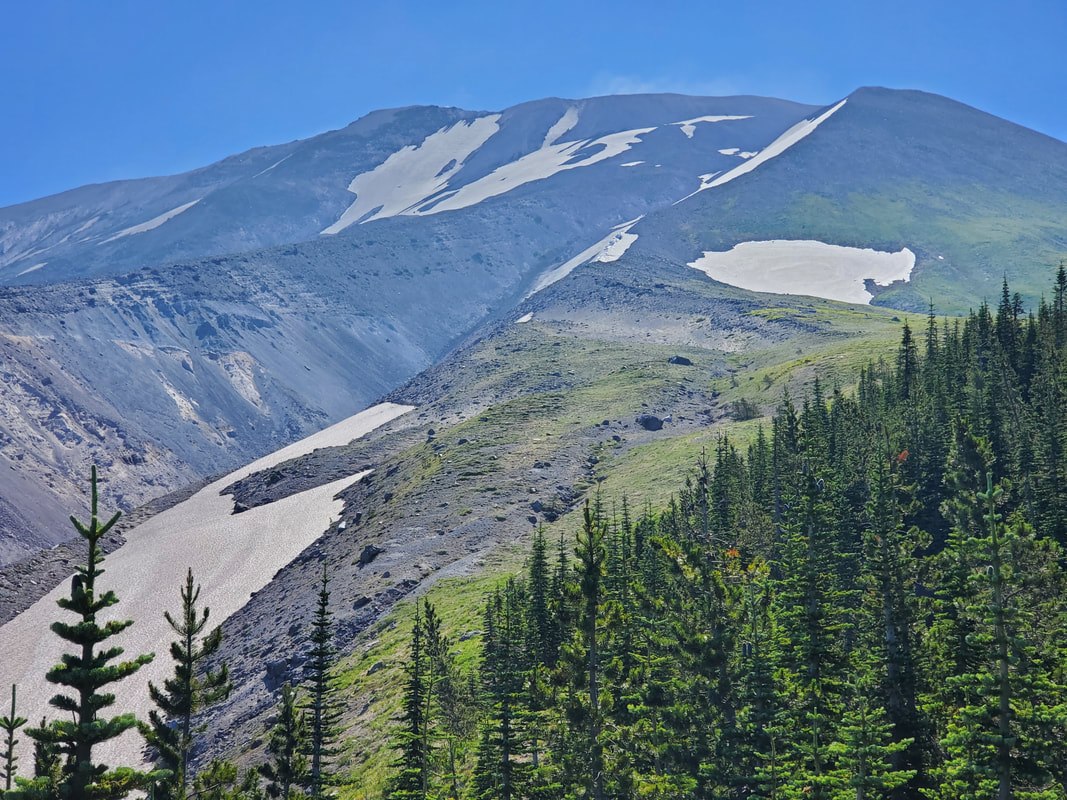
After crossing the Plains of Abraham, I headed up towards Windy Pass. At the base of Windy Pass there is a reliable stream and the last suitable camping location before entering the blast zone of the eruption (a no camping zone). I ran into a family of mountain goats grazing on the grassy hillside. The goats chose a good location because this is about the only grass on Mount St. Helens! The hike up to Windy Pass is steep and washed out, but provides great views looking up to the mountain and back down on the Plains of Abraham. A sign at the top of Windy Pass designates that you are entering the eruption blast zone. The blast zone encompasses the entire northern slope area of the mountain which completely collapsed during the eruption, generating the primary lava and debris flow from the volcano. This collapsed side of the volcano is also known as The Breach. There is no camping allowed within the designated blast zone area, so backpackers must complete this nine mile section of the trail within one day (a logistical consideration).
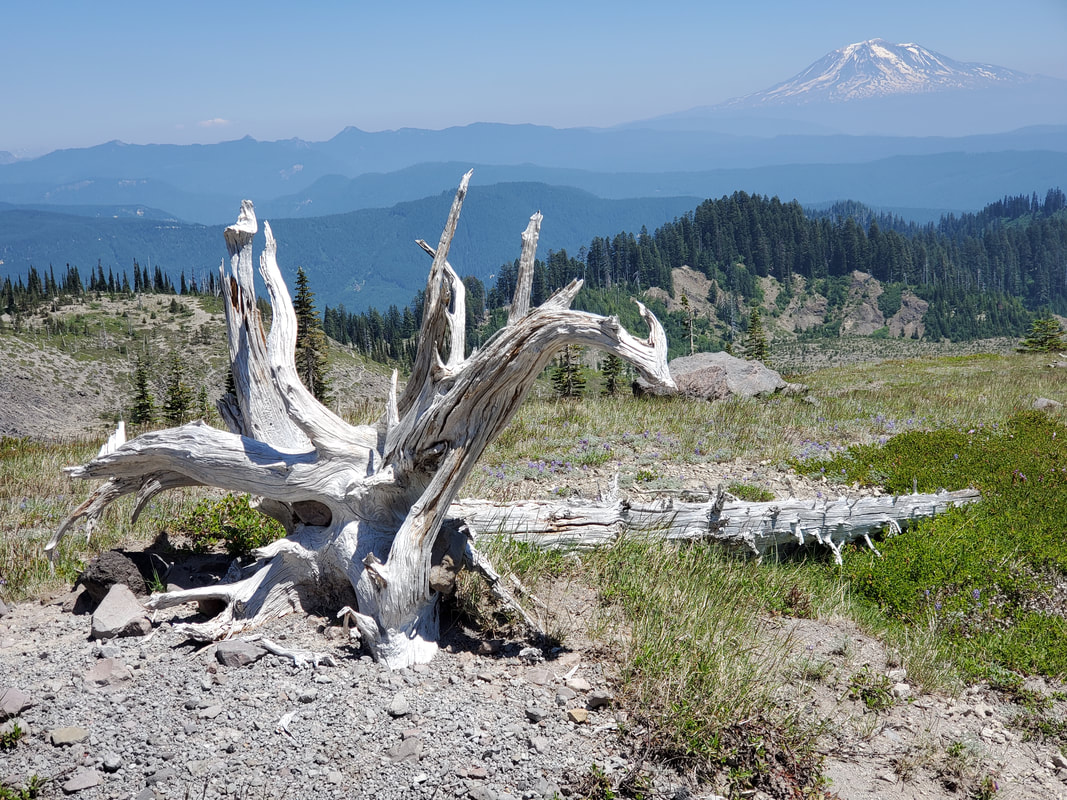
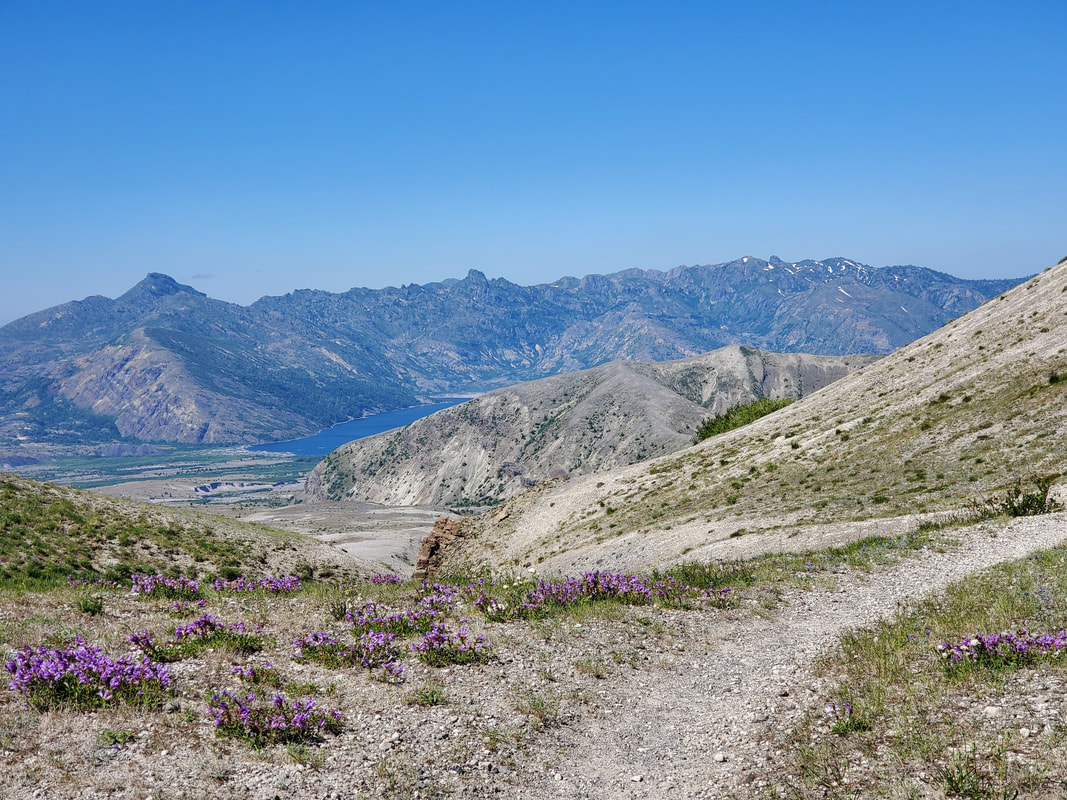
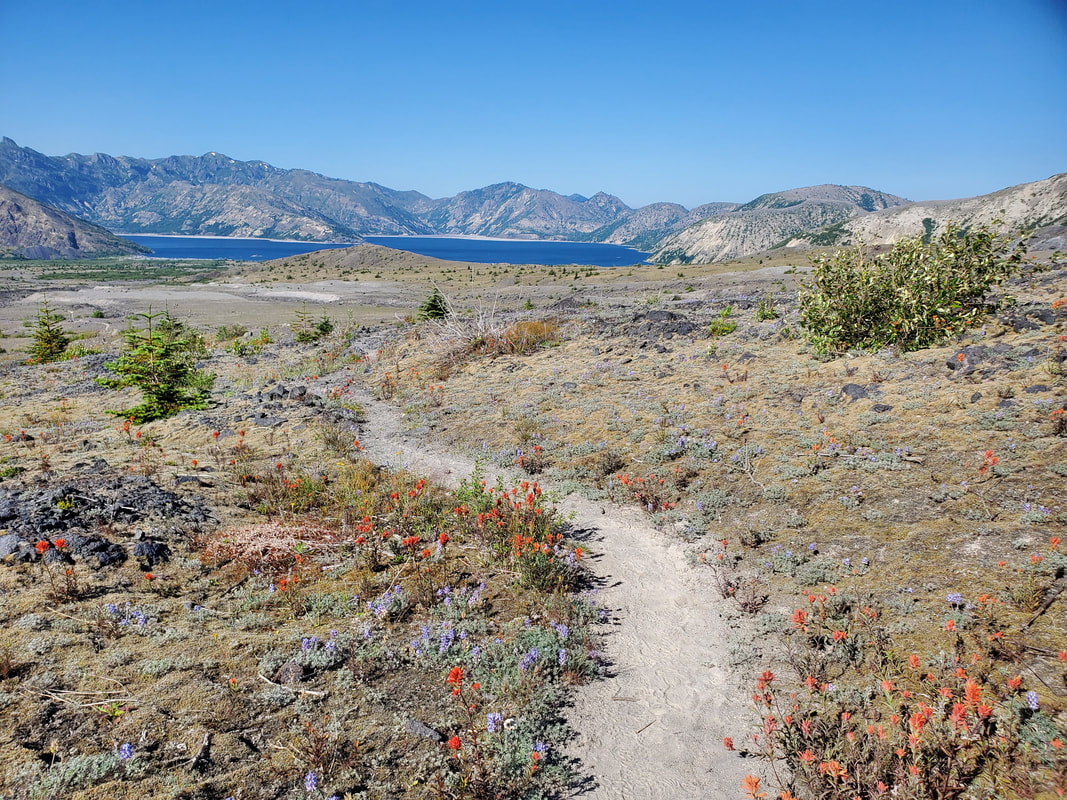
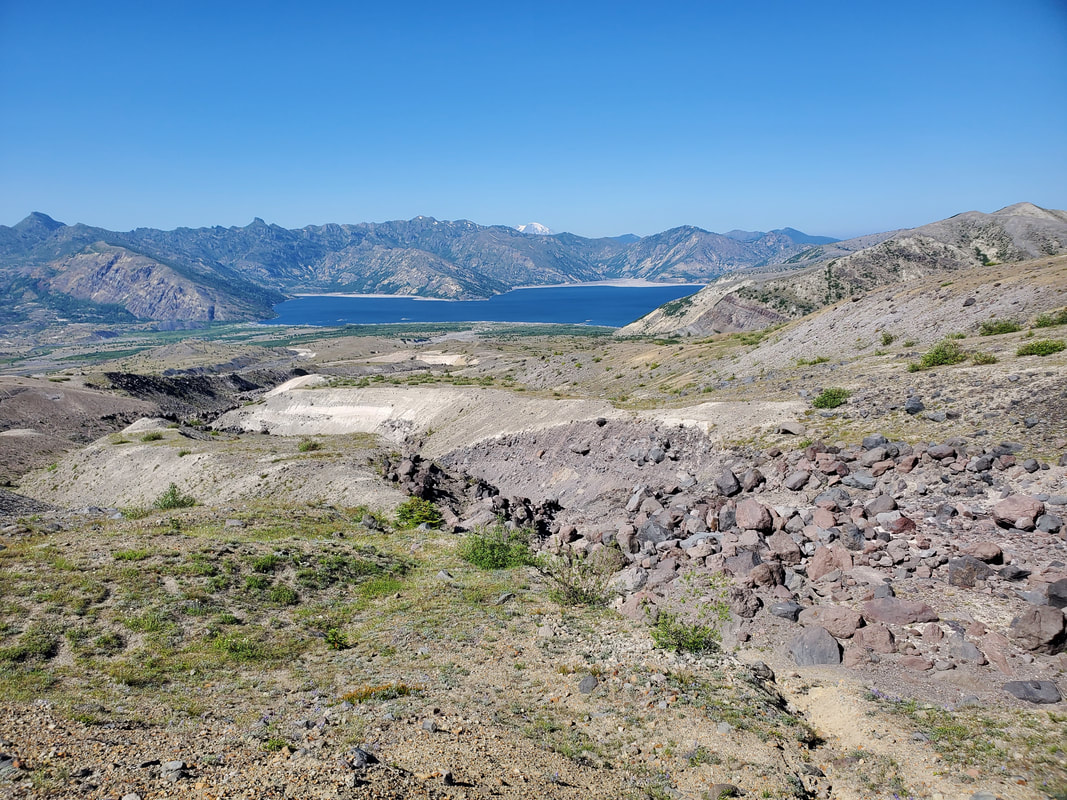
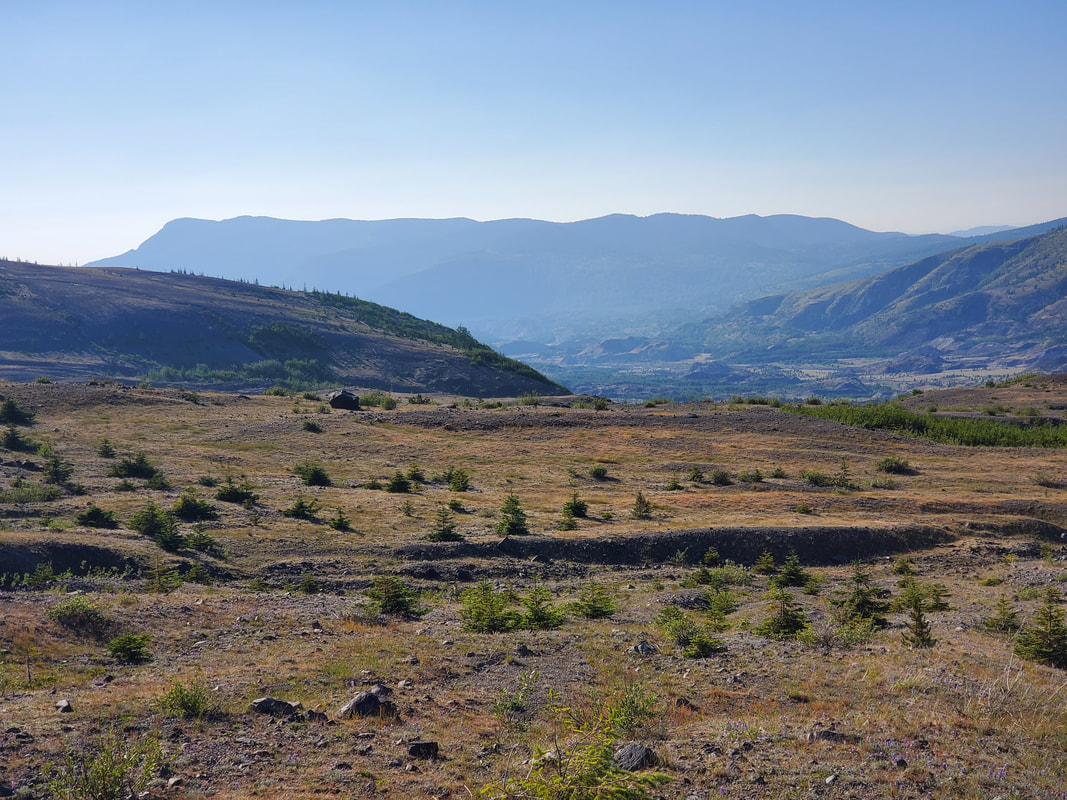
The blast zone area of Mount St. Helens was certainly the most anticipated part of my trip. The destruction in the blast zone is impressive. Yet, the area is also extremely beautiful in a raw, austere way. Descending down from Windy Pass the first sight ahead is the bright blue water of Spirit Lake. Mount Adams and Mount Rainier provide peekaboo views on the horizon. Of course there is not much vegetation to speak of, but the alpine ground cover was green and a few wildflowers blooming. Within the first two miles of the blast zone there are several reliable streams for water sources. After that point, there will likely not be other reliable water sources until the end of blast zone at the South Fork of the Toutle River.
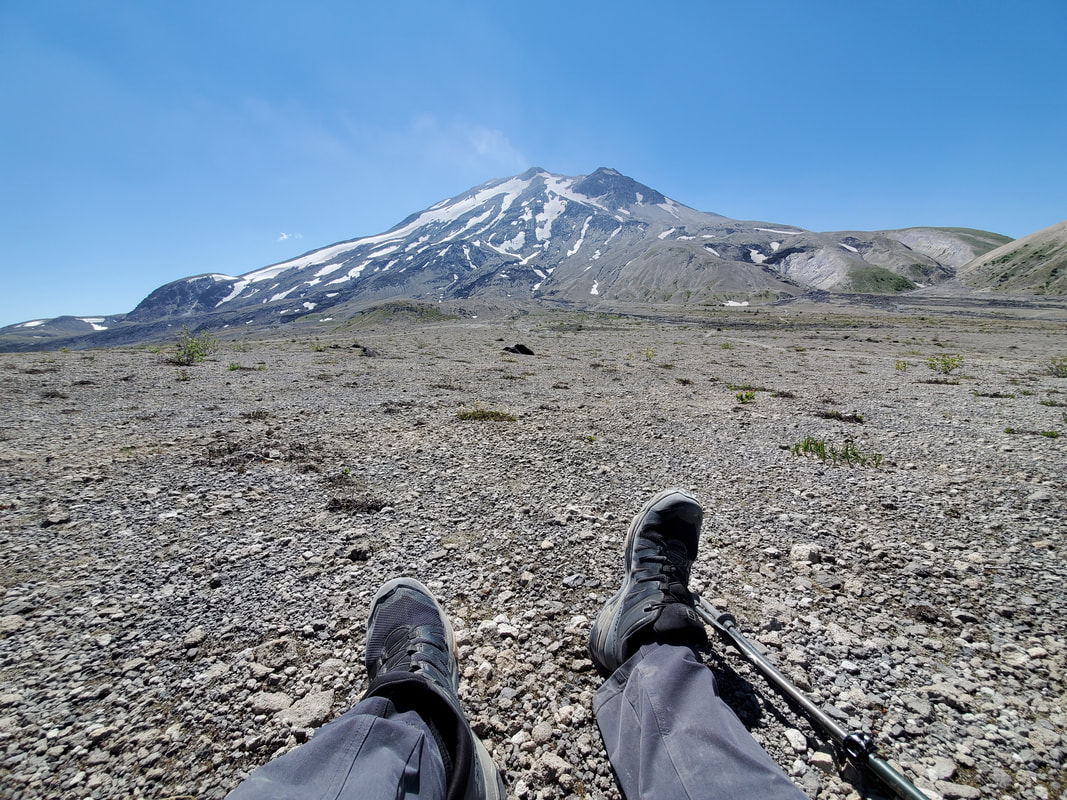
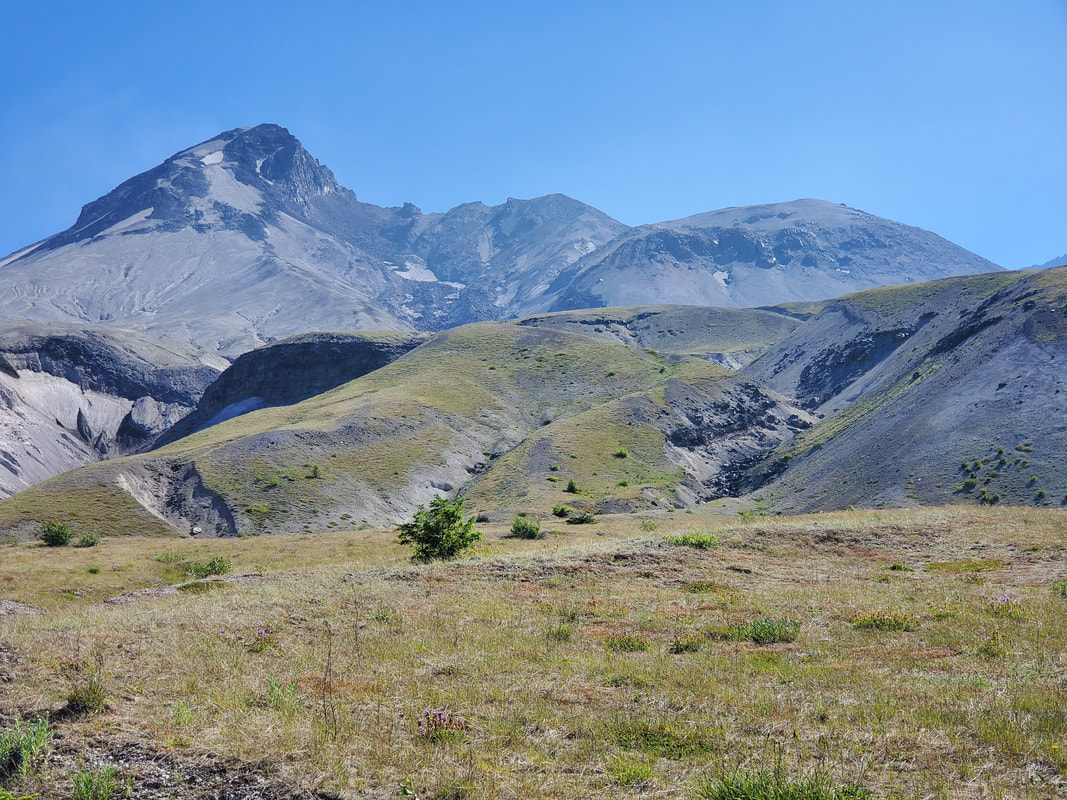
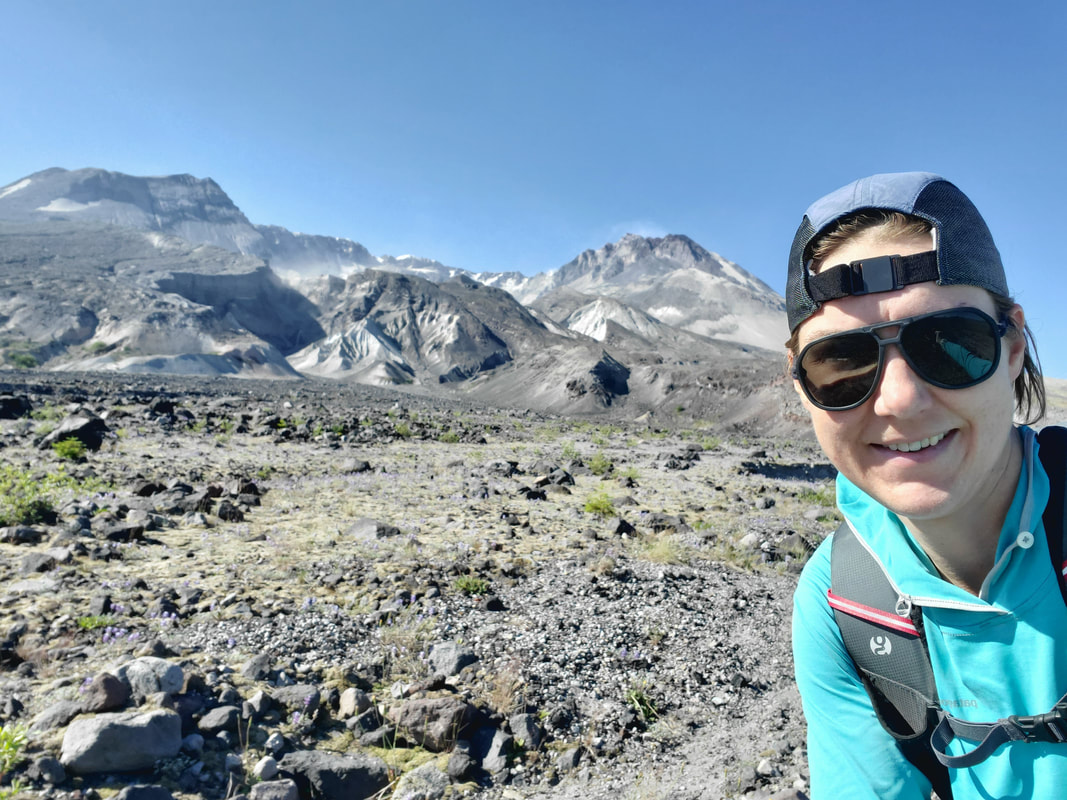
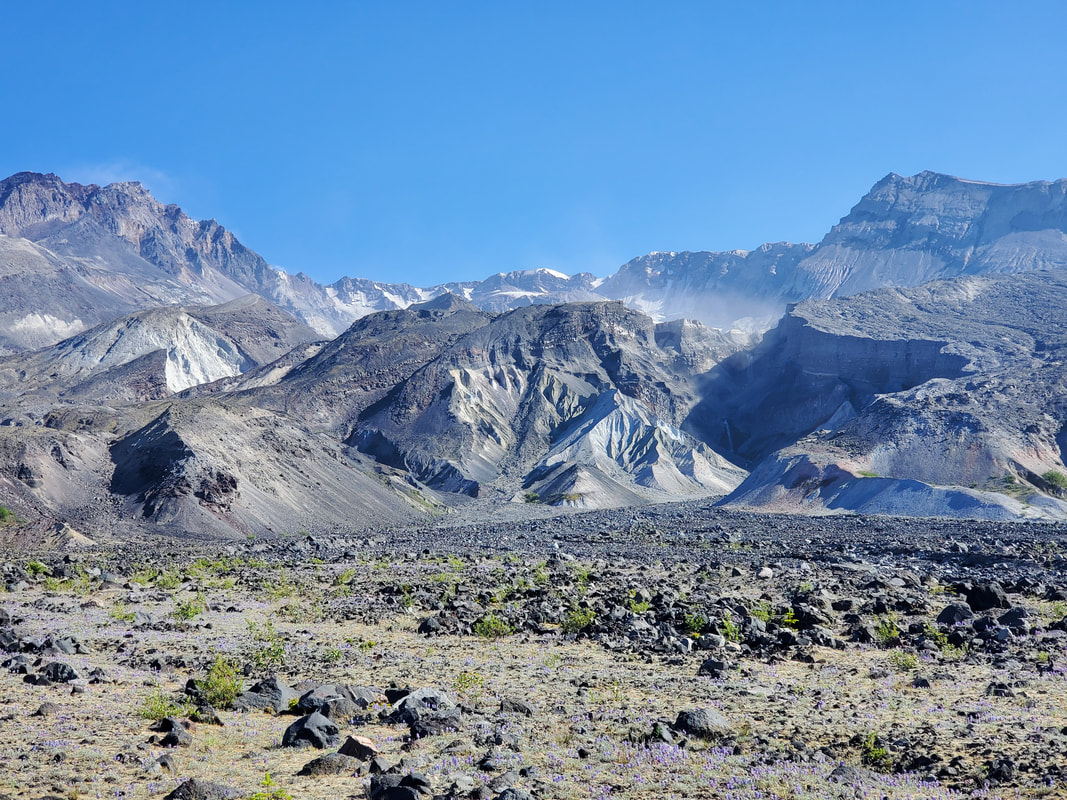
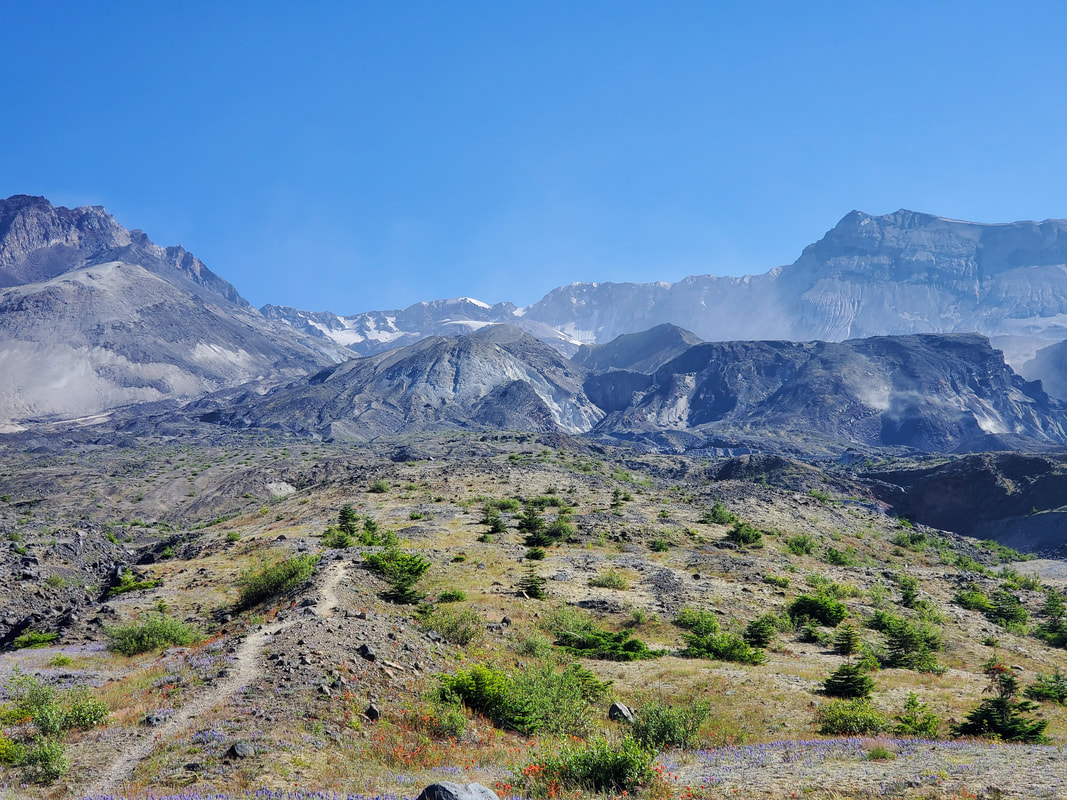
Continuing around the north slope of the volcano I reached the heart of the blast zone. The trail travels across the direct path of the breach and provides impressive views up into the remaining crater. At this point, I had not passed another hiker in about one hour (nor would I for the next two hours). I had the blast zone entirely to myself and what an experience! I took some time to soak it all in, thinking about where I was standing and how I was the only person to experience this moment with the mountain. I tried to imagine the destruction which had carved out such a channel and it felt surreal to be standing in the middle of it right then.
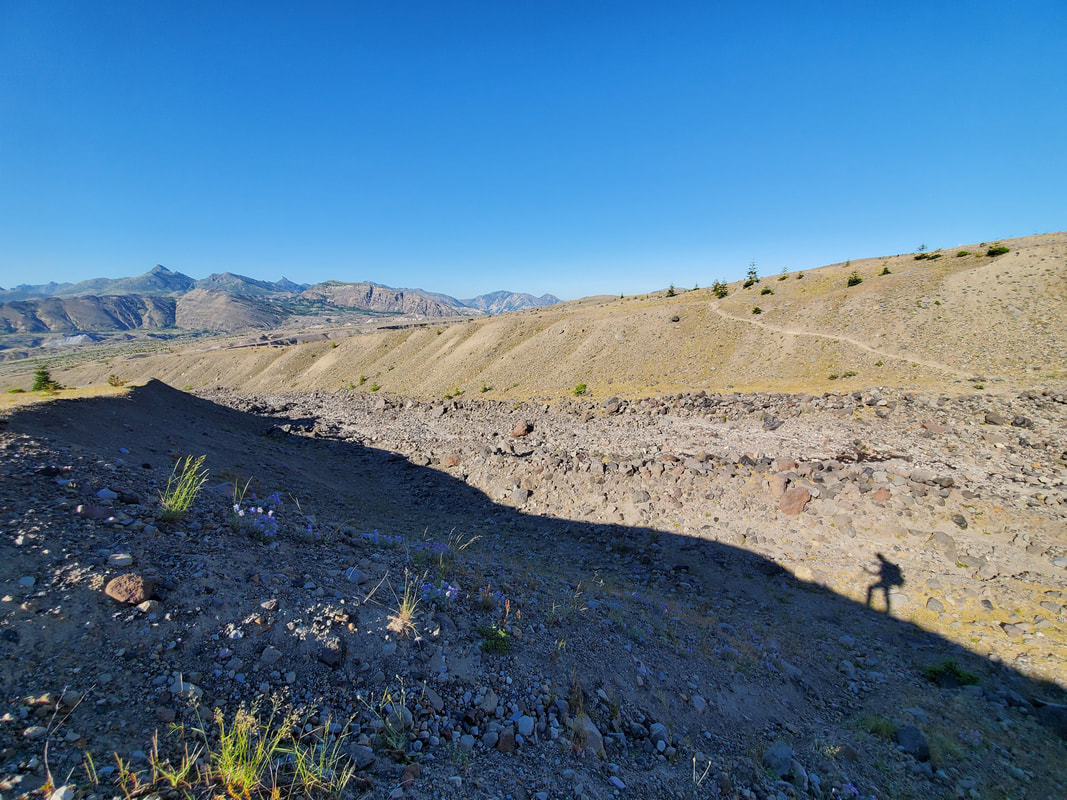
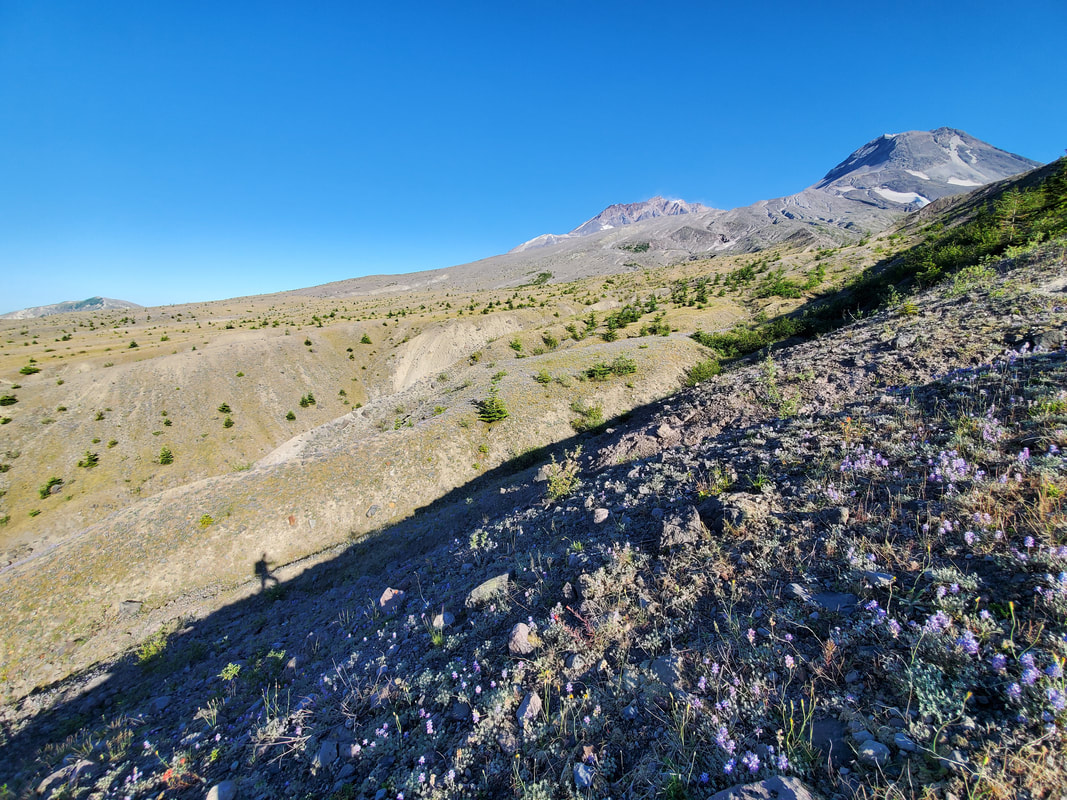
After passing through the heart of the volcano breach, the trail over the remainder of the blast zone crosses a flat plateau, several more gullies, and eventually begins to descend toward the South Fork of the Toutle River. By now I had not seen another person in several hours. I had claimed the side of the volcano to myself - only to look back and find my shadow. The shadow almost startled me for a split second! I could not resist taking photos to capture a unique perspective on the "other" person out hiking with me.
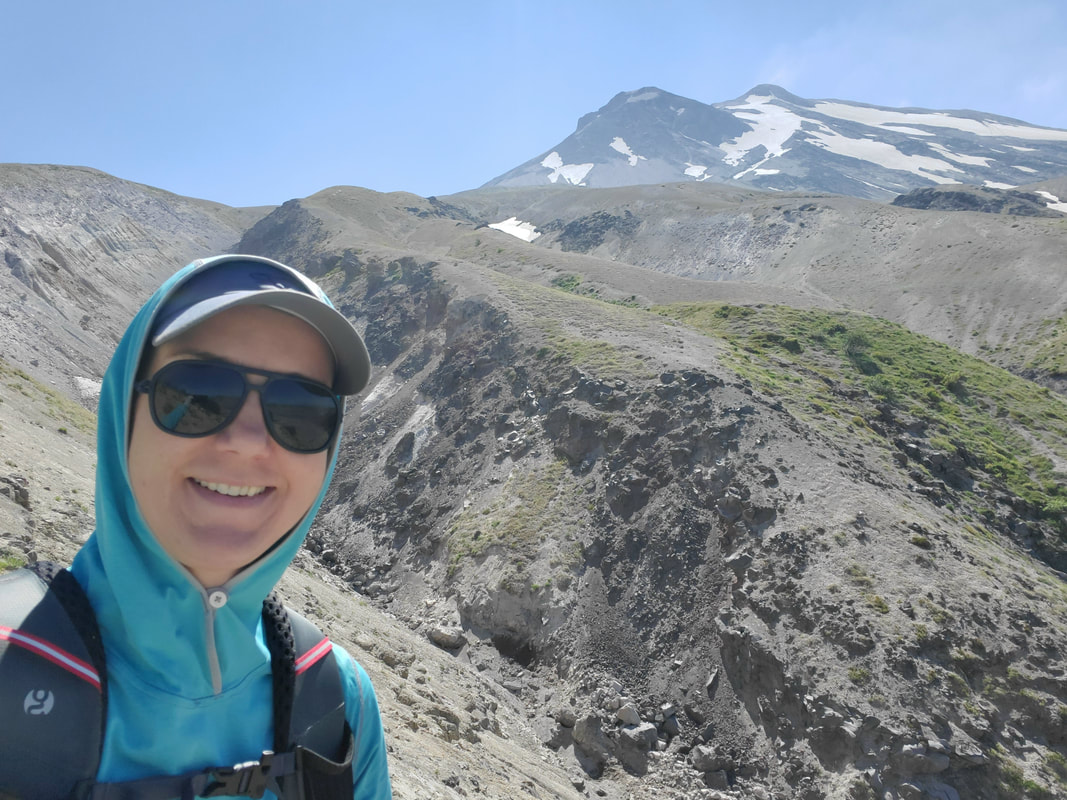
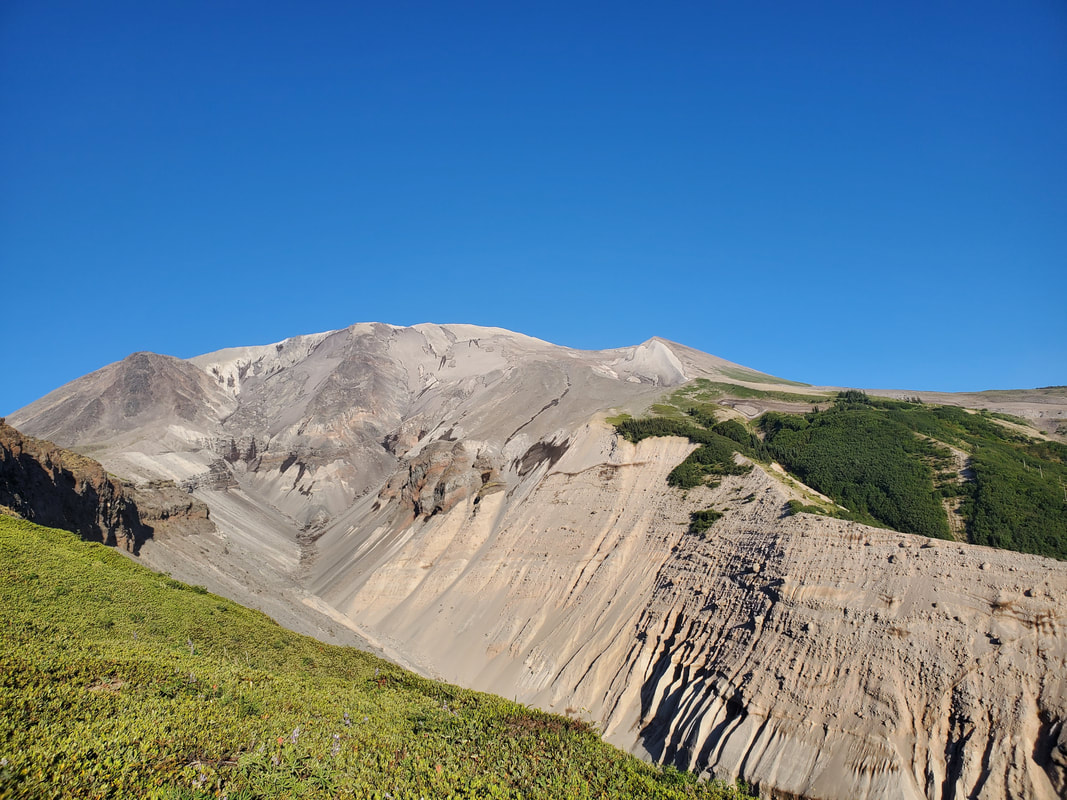
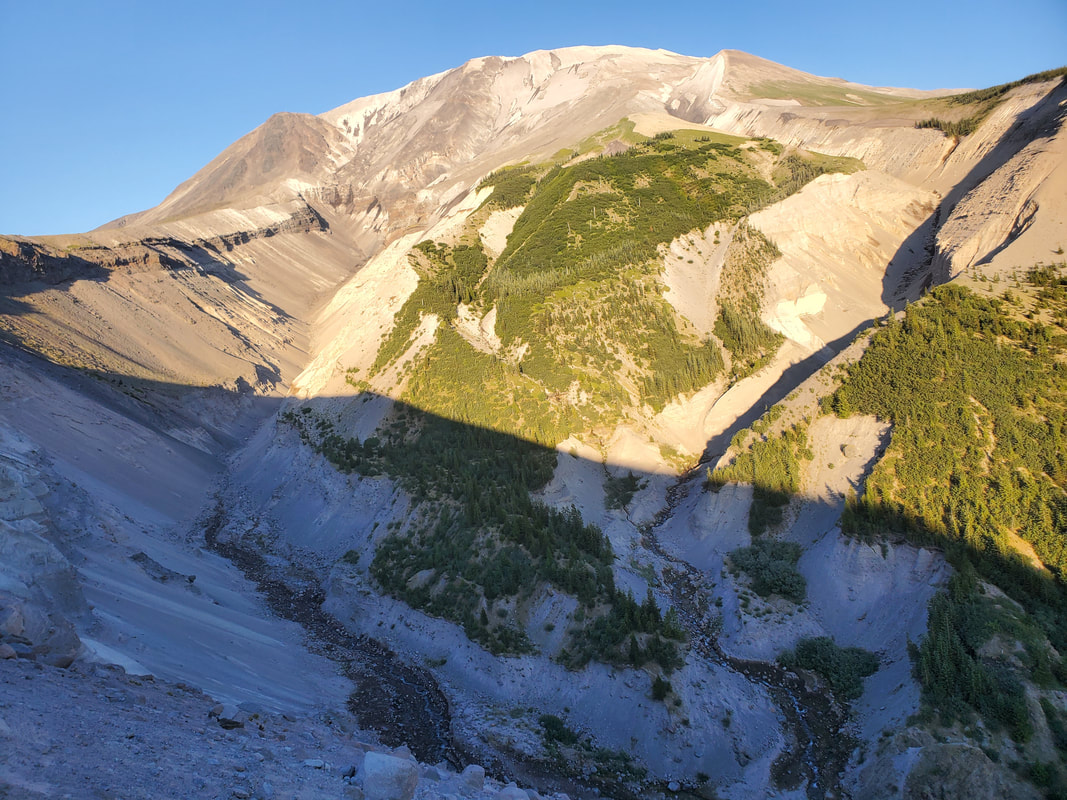
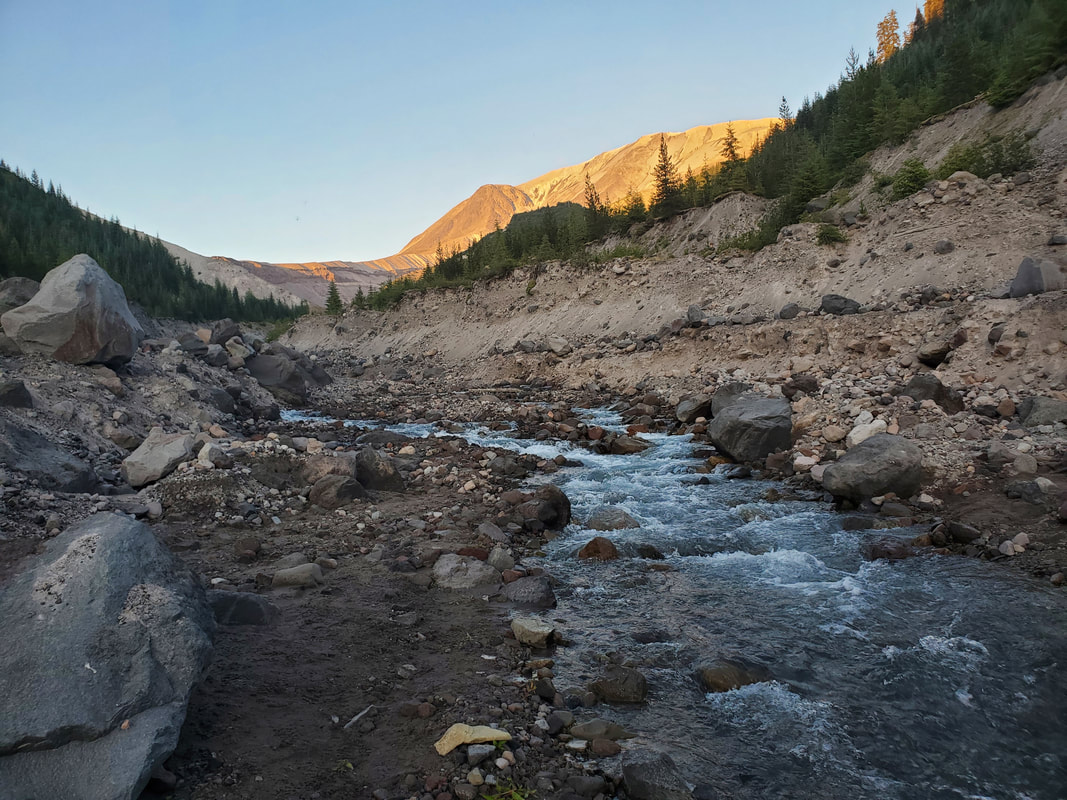
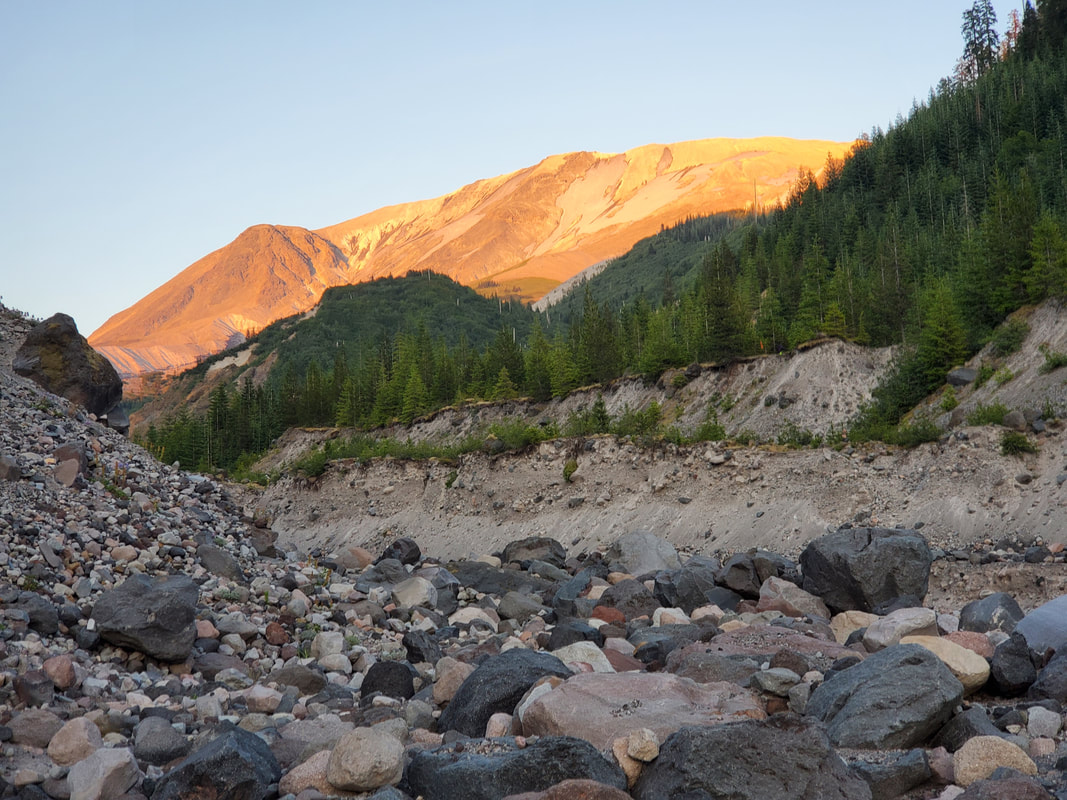
As the sun began to drop lower in the sky, I finally reached the plateau above the South Fork of the Toutle River. Wow, I could not have been more shocked at the views that I found! The Mount St. Helens Toutle and Talus glaciers (hidden under a layer of ash) sit on the face of the mountain overlooking the steep Toutle River canyon. Besides the breach area, I have read that the Toutle River received the bulk of the volcanic debris during the eruption which served to further carve the deep and wide canyon.
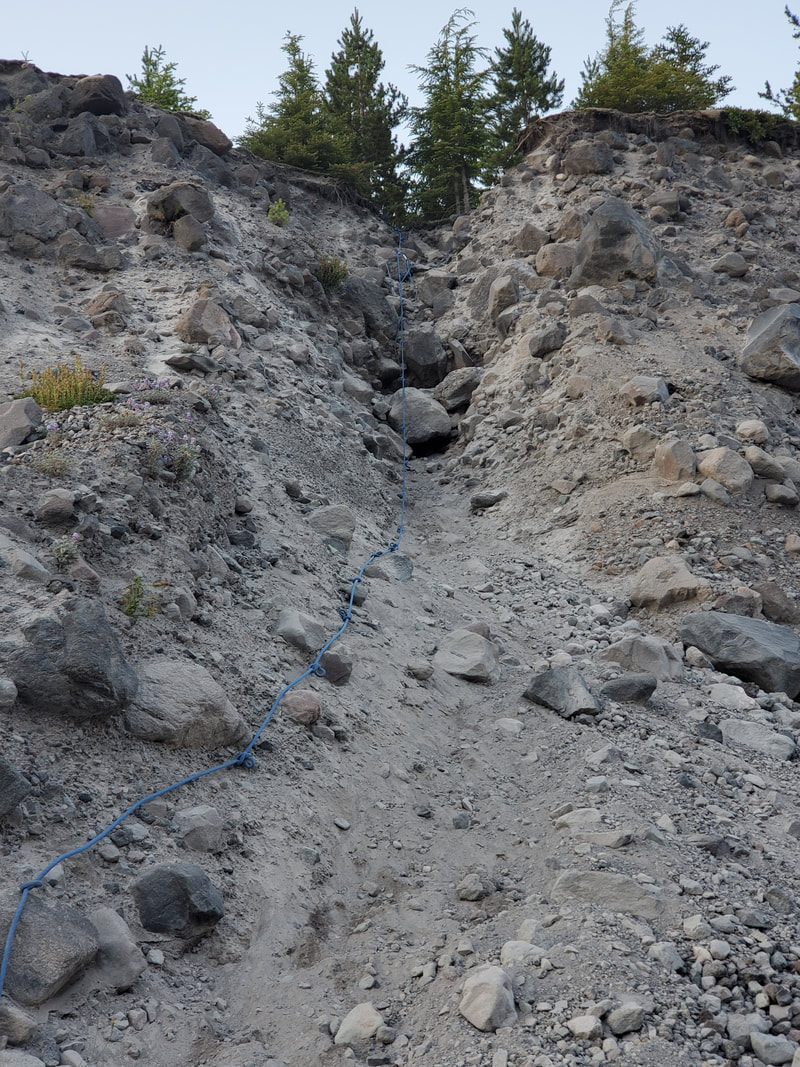
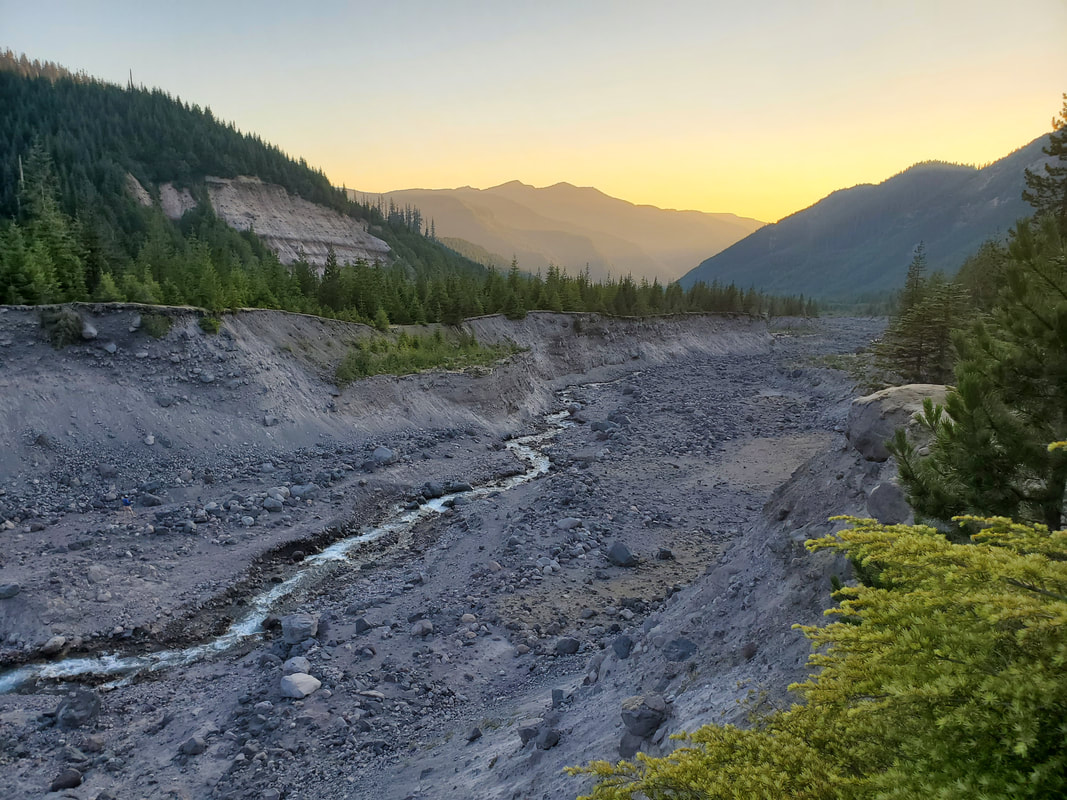
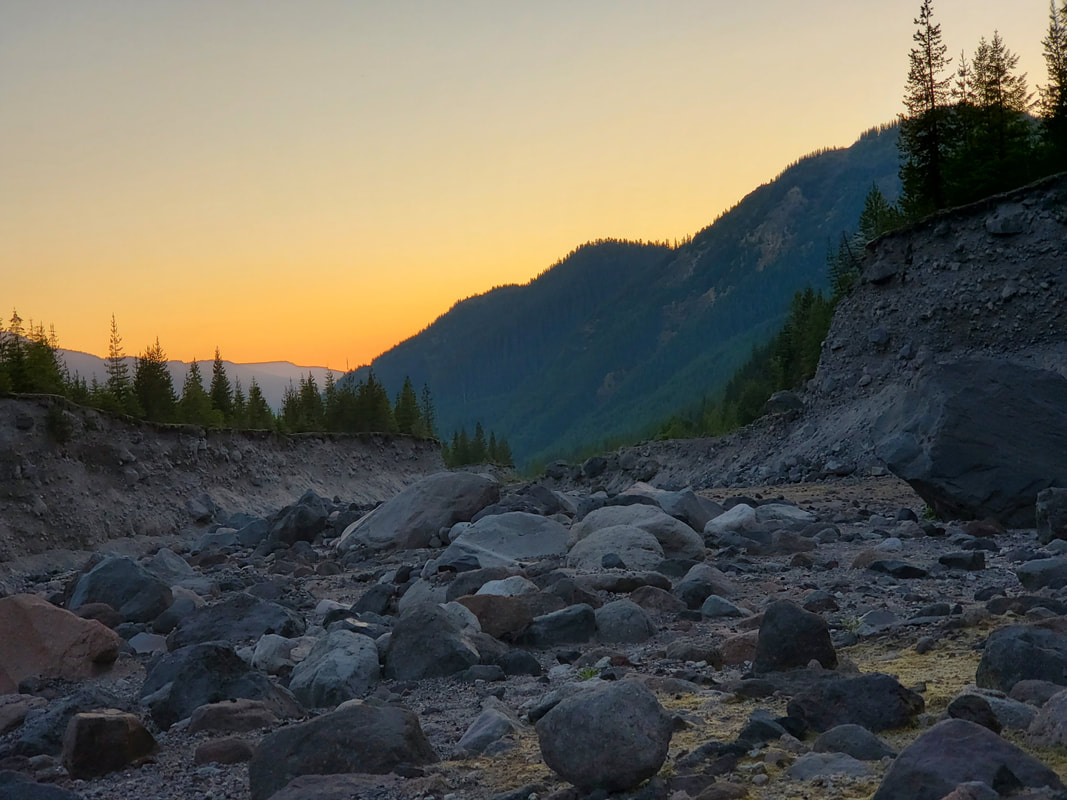
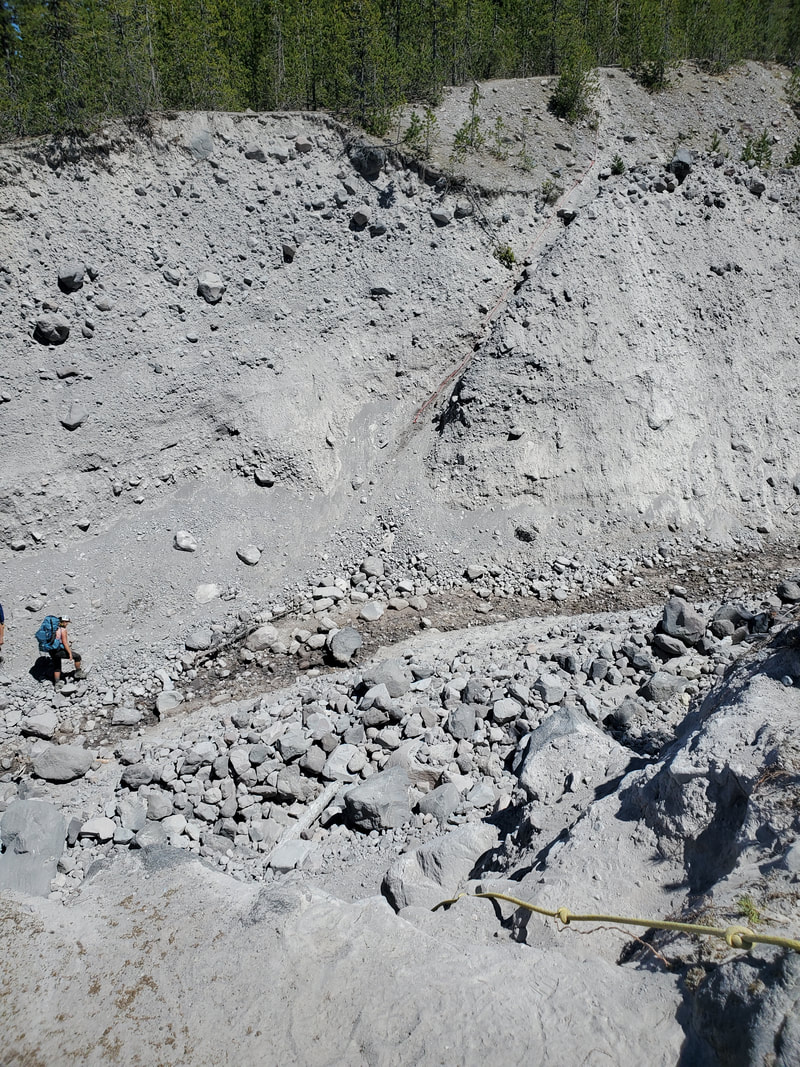
After gawking at the view, my next objective was to beat the sunset and get down off the steep canyon wall to the bank of the Toutle River below. The trail to descend into the canyon was entirely ash and sand, as expected by this point. I went slow and steady over a series of partially washed out switchbacks and made my way down into the canyon. The last 40 feet of descent required a steep drop of the edge of the canyon and into the actual river bed. A rope is installed to aid in downclimbing or upclimbing the loose soil and rocks. The blast zone designation ends at the Toutle River and the no camping restriction is lifted again. The descent into the Toutle canyon was really amazing, but after a long day I was happy to make camp by the river for the night!
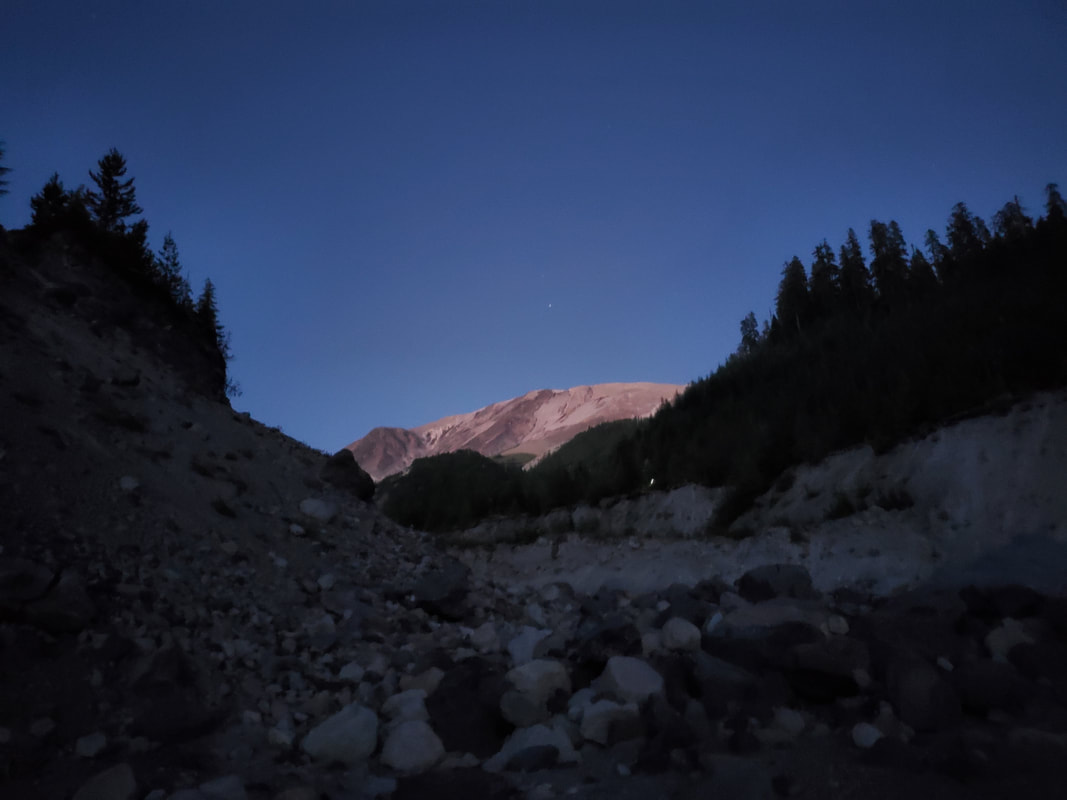
Since there was no chance of rain at the time, I did not even bring a tent. I simply threw out my bivy on a flat spot of ash/sand by the river bank and called it good! There were about 10-12 other parties camped out as well. Everyone was widely dispersed, but I would call the river area a highly populated camp site because most people tend to congregate near the beginning or end of the blast zone camping restriction. I restocked on water, cooked dinner, and enjoyed alpenglow on the mountain before darkness set in. After dark, I quickly fell asleep to the twinkle of stars overhead and sound of the rushing river water.
Day 2: South Fork of the Toutle River to June Lake Trailhead
Counter Clockwise, 12 Miles, +2,953 Elevation Gain, -3,327 Elevation Loss
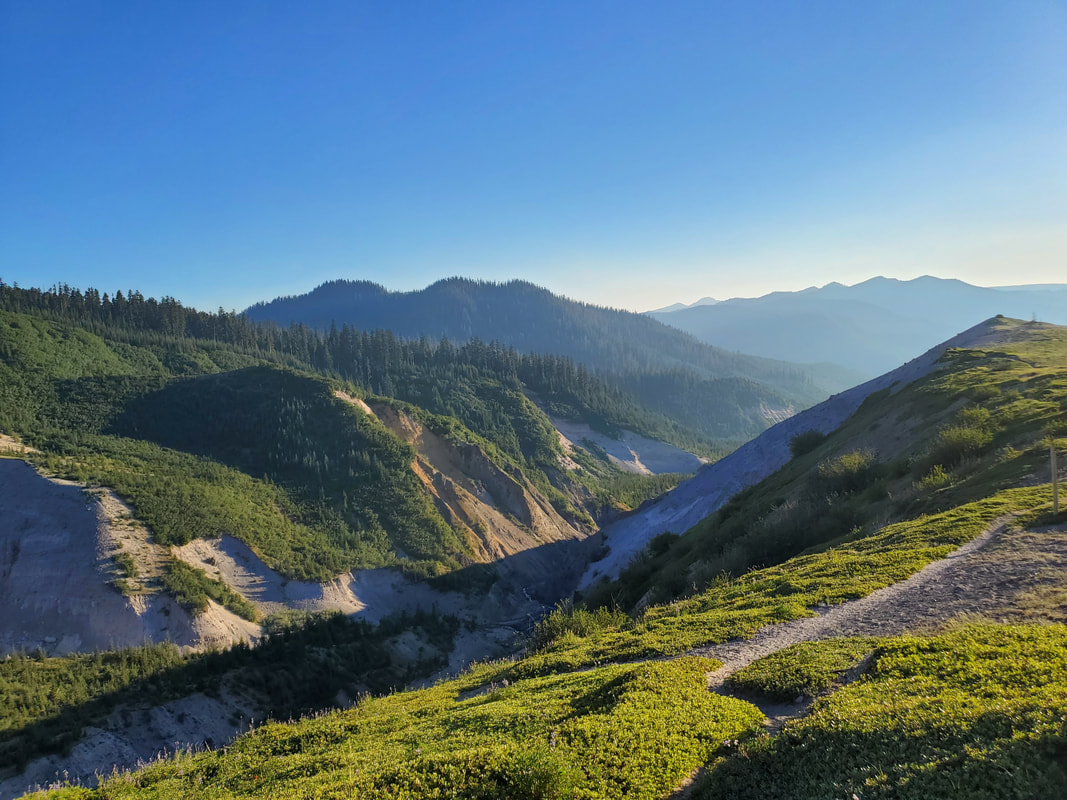
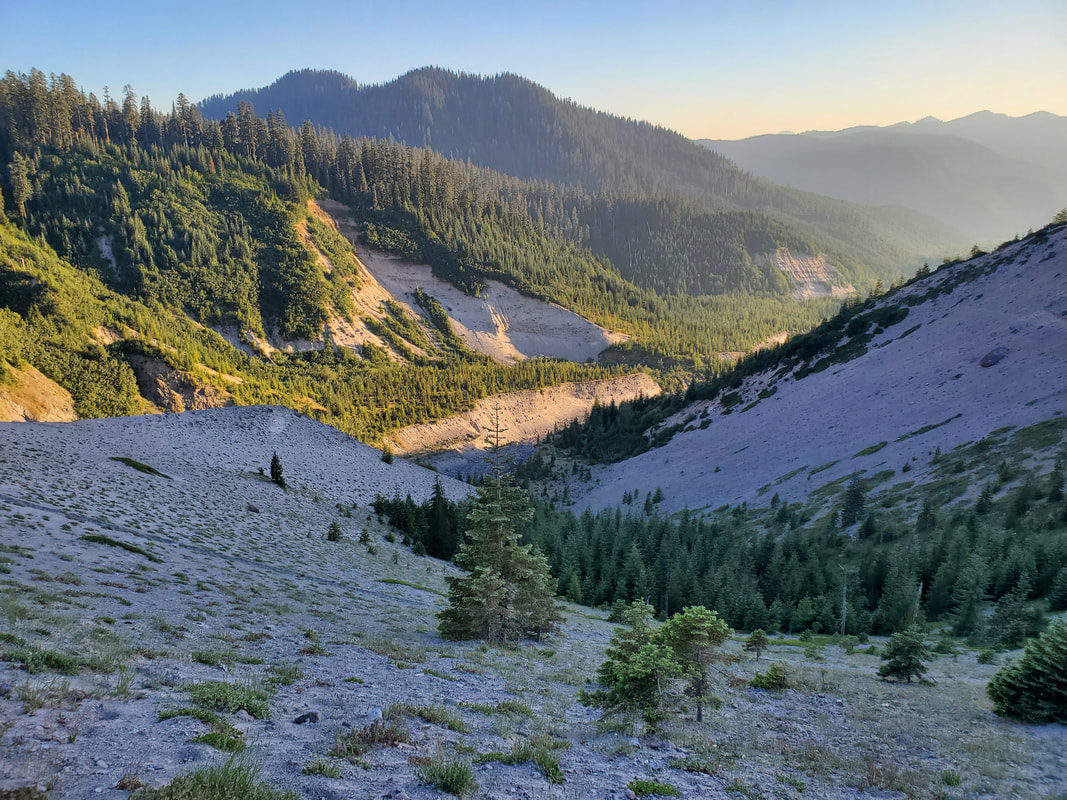
The next morning I continued counter clockwise from the Toutle River on my 360 degree loop, ultimately towards my car parked at the June Lake trailhead. To climb out of the river valley the trail covers several miles of ascent through a (rare) forested section. A few ridgelines and peekaboo views of the Mount St. Helens emerge again as you climb higher. Almost on cue, the gullies then reappear! Similar to the night before, there is another steep gully in this section with ropes installed to help with leverage climbing up and down the steep ash and sand slope.
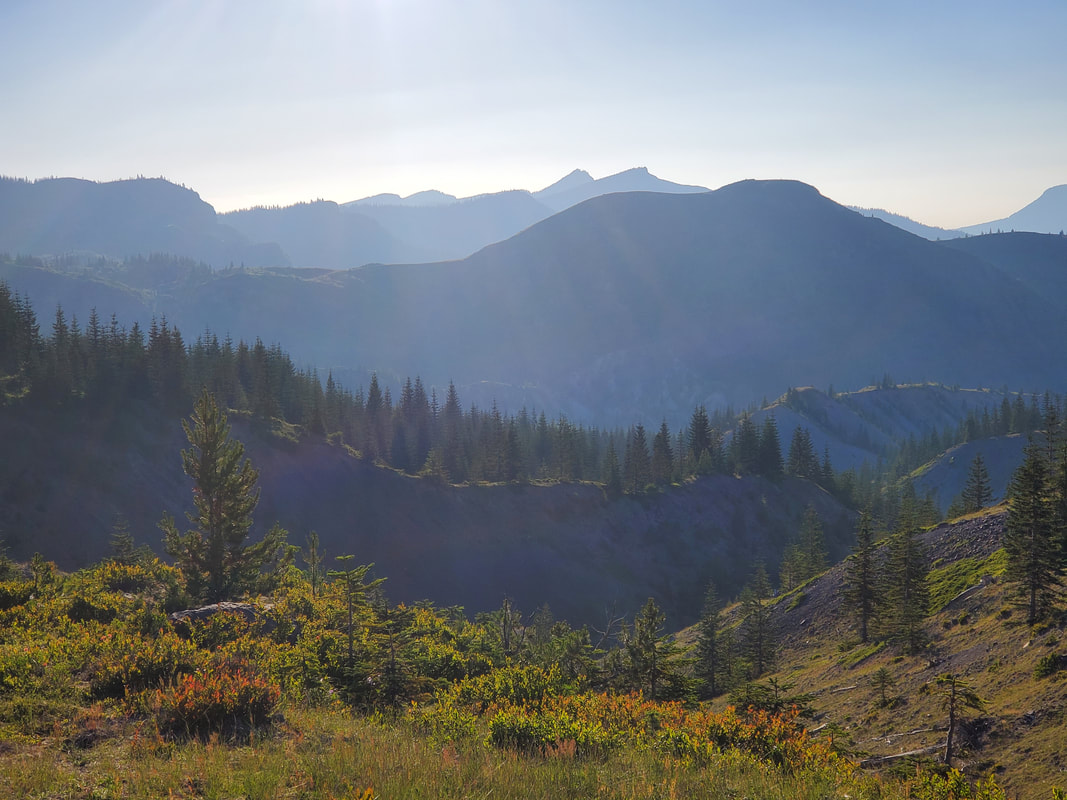
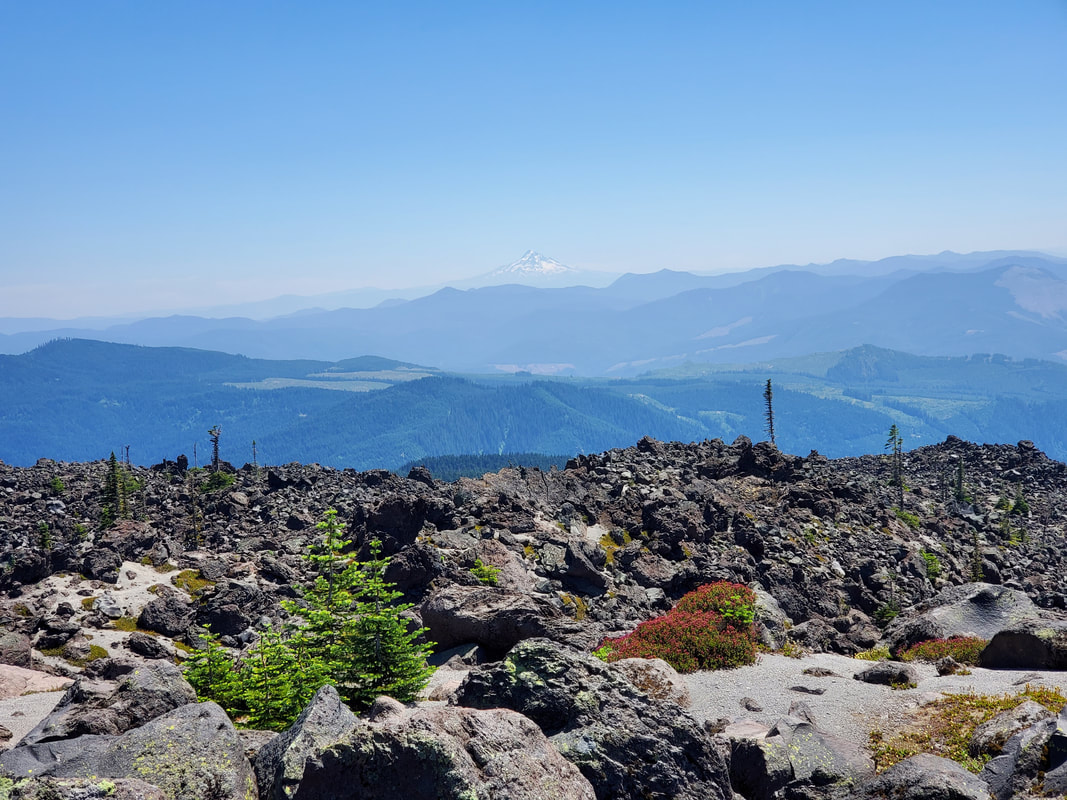
Heading around the southwest side of the mountain the landscape surprised me again. The terrain opened up into a relatively flat alpine tundra. This stretch made for some well deserved easier walking. There are plenty of beautiful views of Mount St. Helens and layers of blue mountains visible along the horizon (including Mount Hood further to the south).
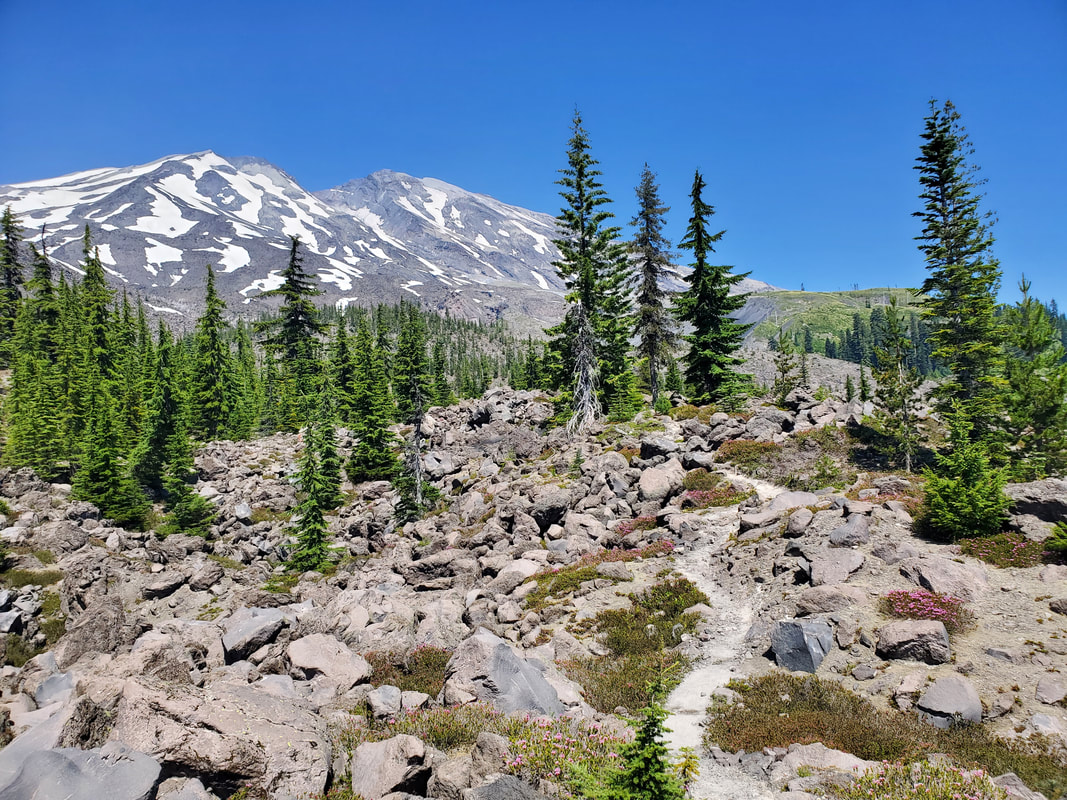
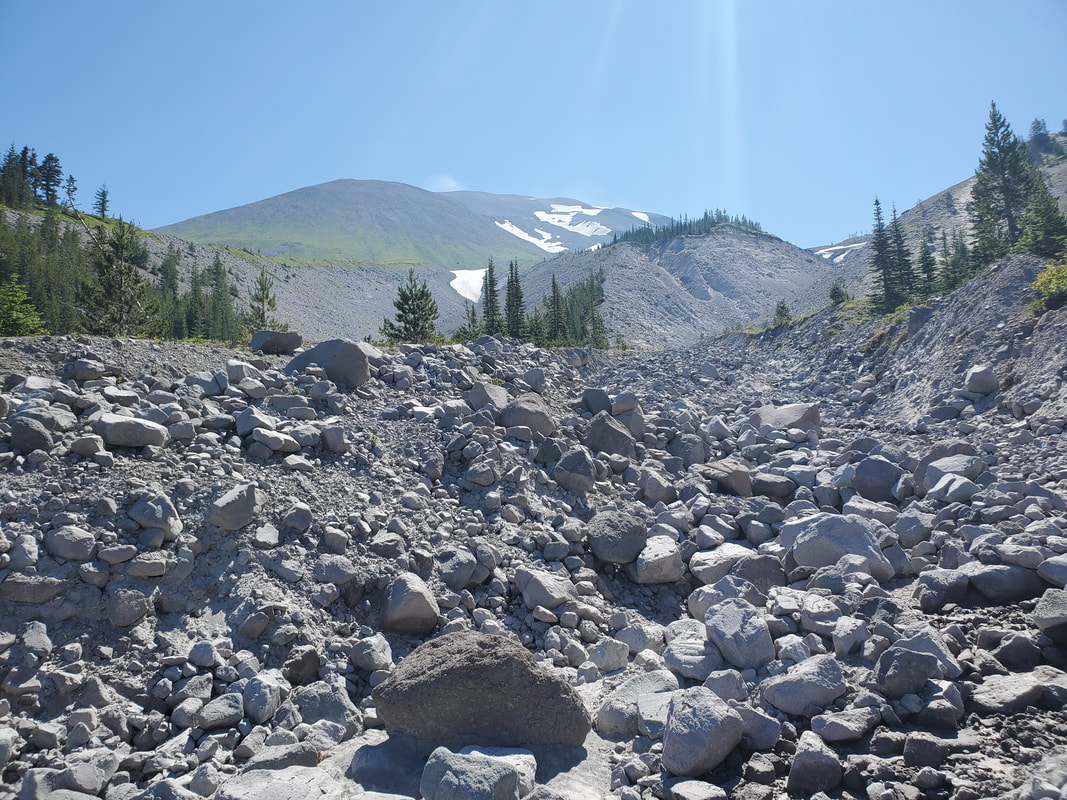
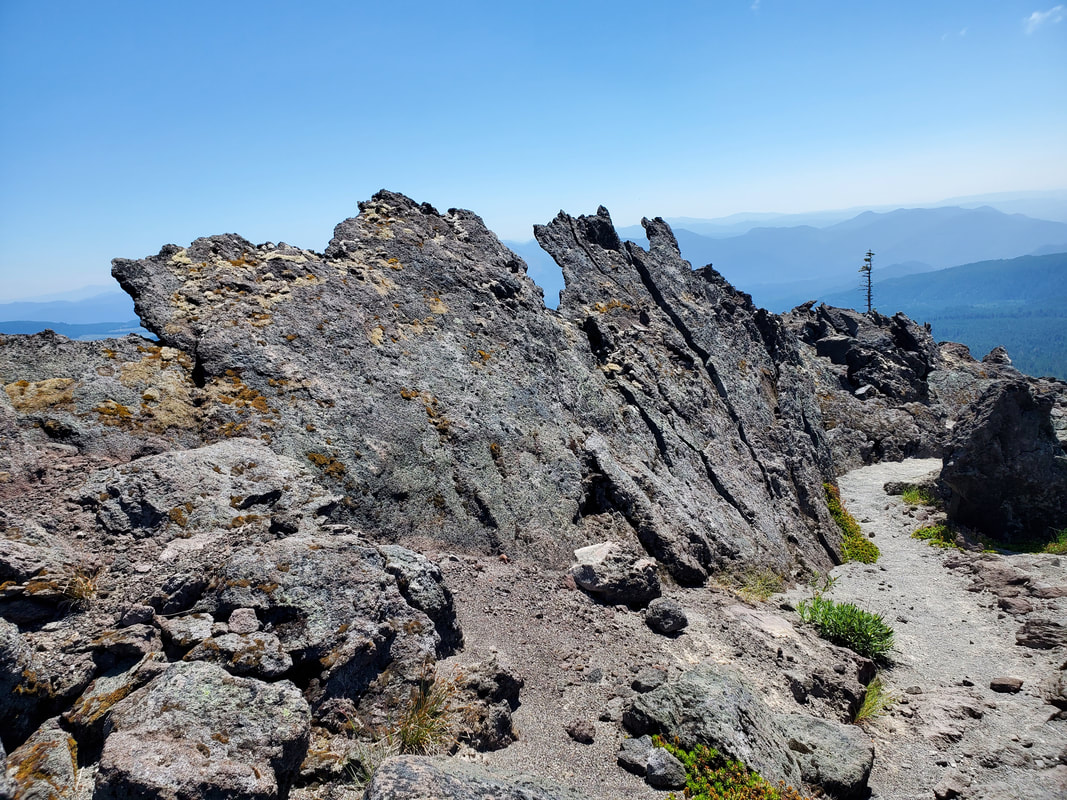
Then the terrain added in rocks, rocks, and more rocks! This section of the trail featured long stretches of boulder hopping and class two scrambling (using both hands and feet). While no real trail exists across the boulder fields, white posts are interspersed across the route to help keep you on track. Terrain-wise, this section is most similar to the experience of summitting Mount St. Helens via the summer Monitor Ridge climber's route. In fact, I felt relatively familiar with this part of the Loowit Trail from my prior experience on both the summer and winter climber's routes to the summit. During this section, the Loowit Trail crosses over the summer climbing route near Swift Creek and then also crosses over the winter climbing route near Chocolate Falls. It was interesting to look back on both prior climbing routes with a new perspective from the Loowit Trail this time.
The Loowit Trail continues to descend past the climber's routes and eventually drops below tree line again. I connected back to the June Lake trail for a short two miles return to the car to successfully complete the trip!
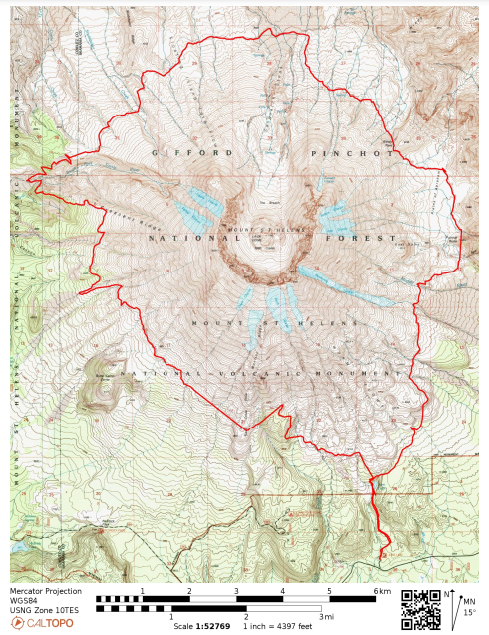
View the below map with my actual route tracked on my GPS watch. My start/end point is at the bottom of the map via June Lake access trail.
View the below map with my actual route tracked on my GPS watch. My start/end point is at the bottom of the map via June Lake access trail.
