Teanaway Valley 4 Peak Scramble
Okanogan-Wenatchee National Forest
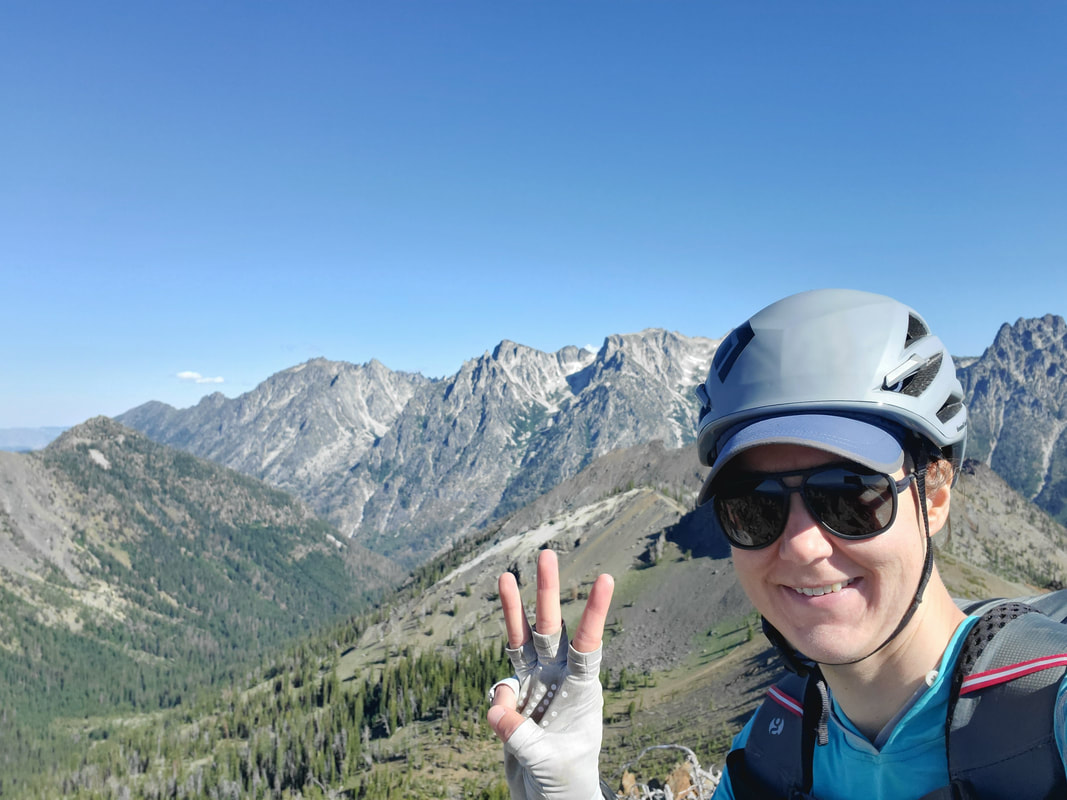
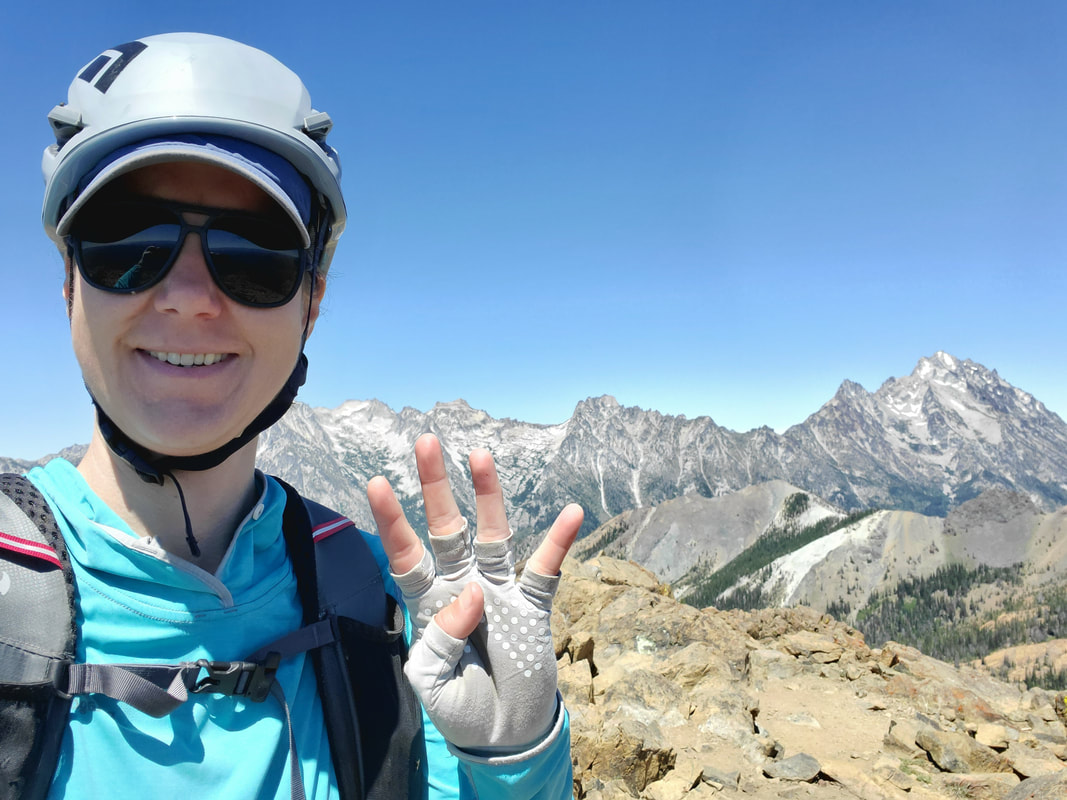
On and off for the past year I had heard mention of the Teanaway Valley. However, I was not really sure where it was located or what the excitement was about. But, after the area came up enough times, I figured I had to check it out myself. Thanks to the Seattle Mountaineers Alpine Scrambling Committee, I had good intel to piece together an overnight loop and hit four non-technical peaks in the process - Iron, Mary, Bean, and Earl. For the short version, or to simply check out the views from each of the four summits, view my blog post 4 Peaks in 24 Hours. Otherwise, keep reading here!
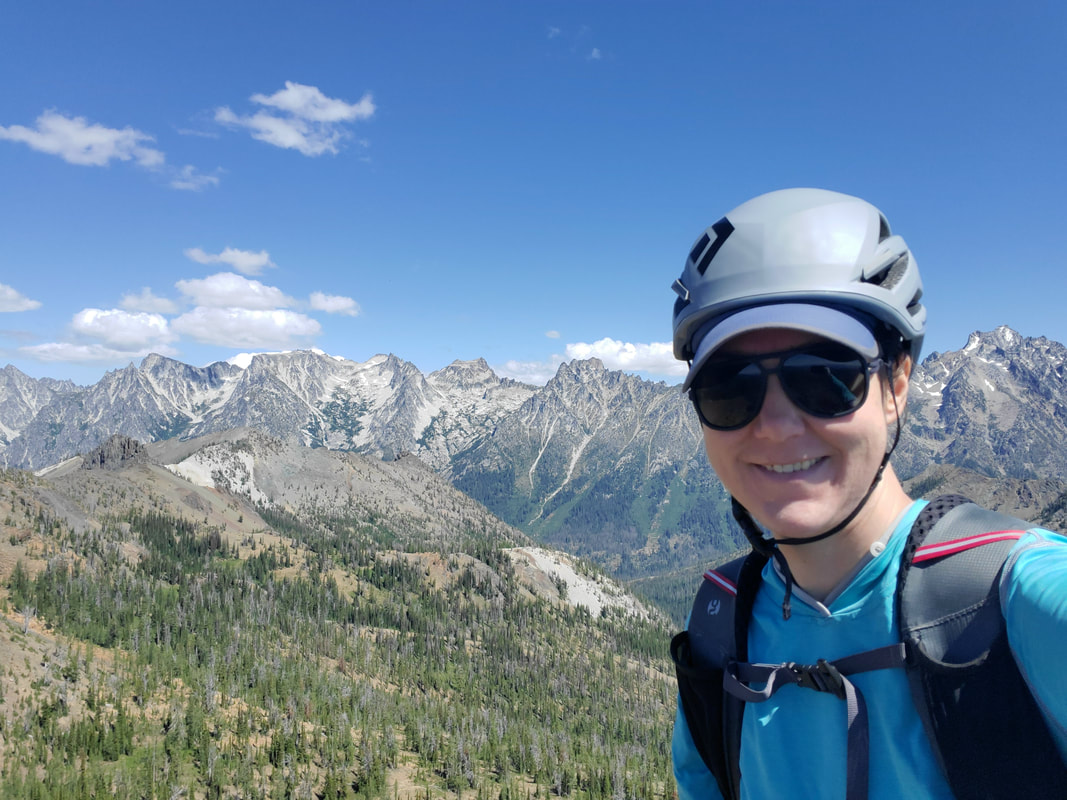
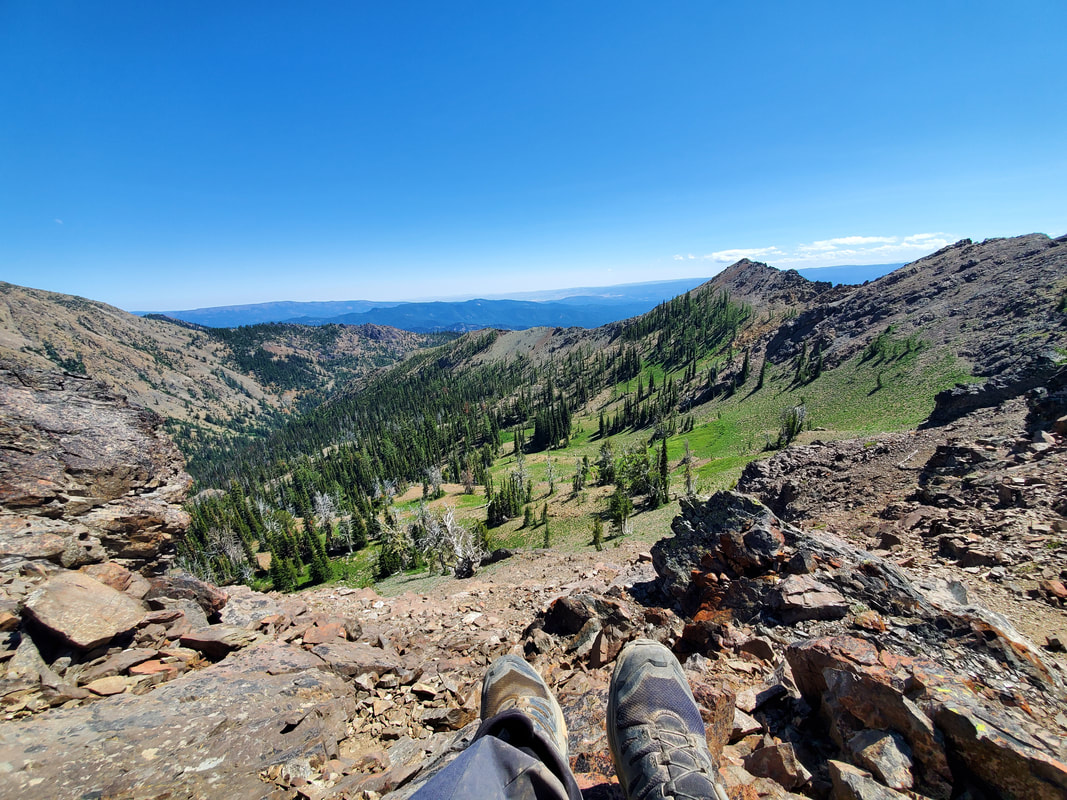
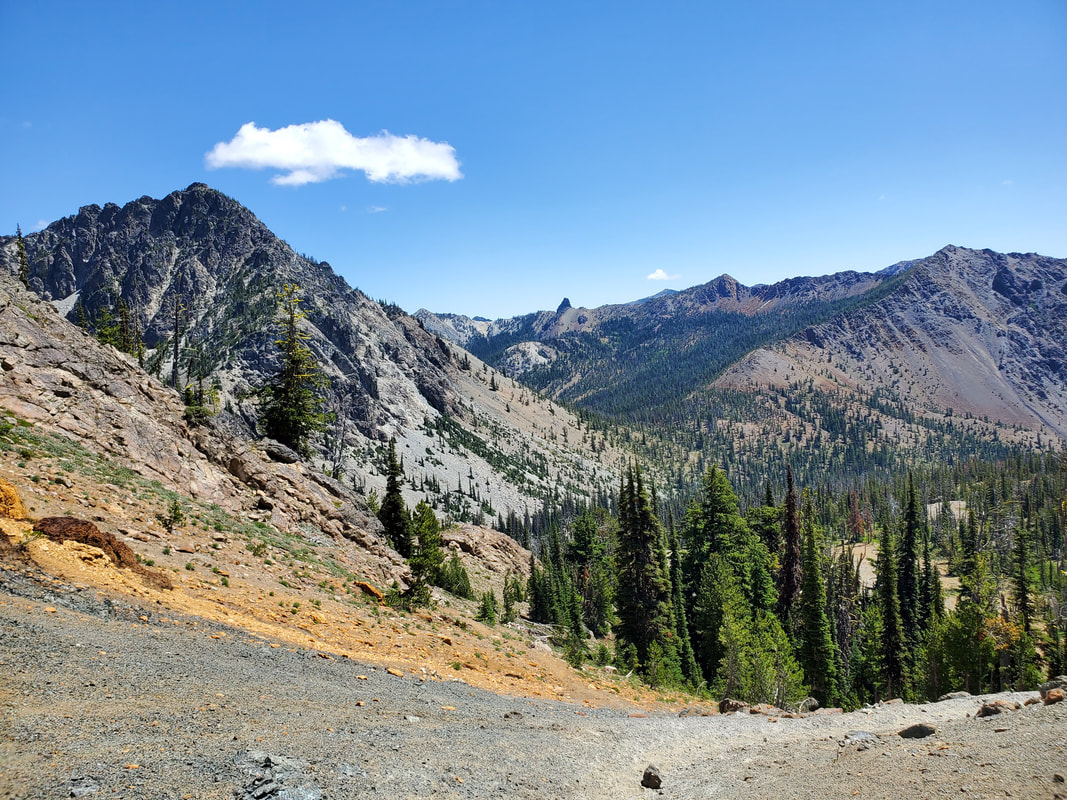
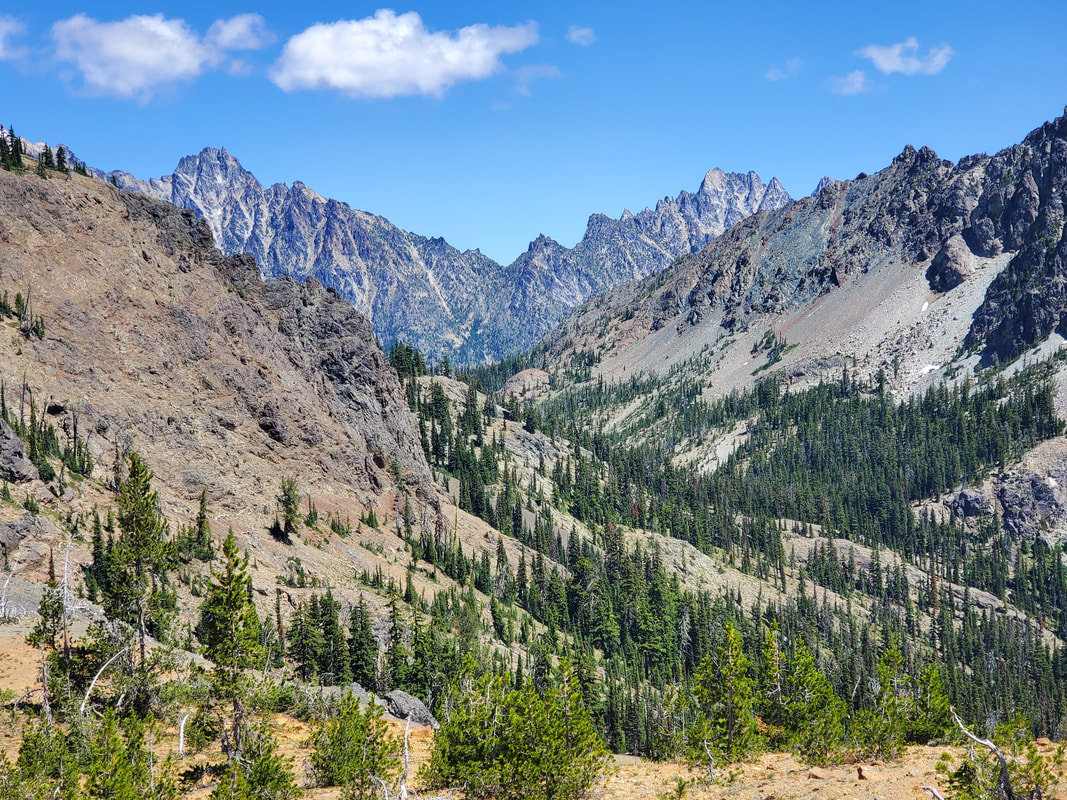
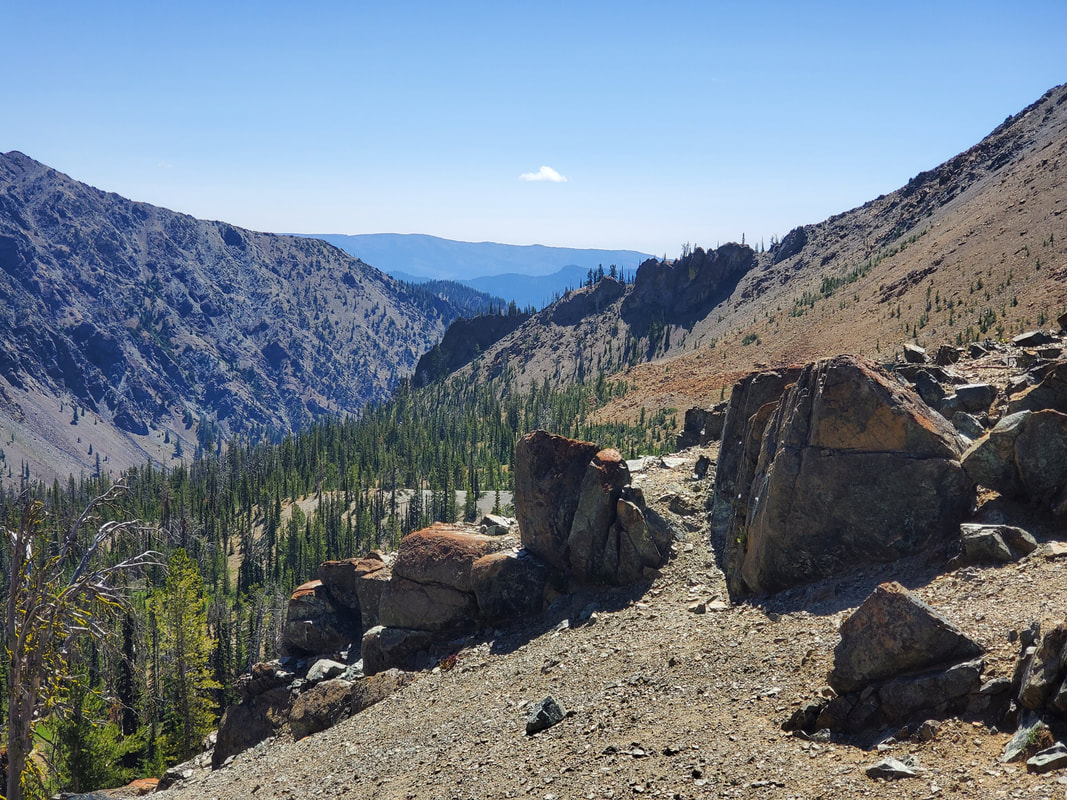
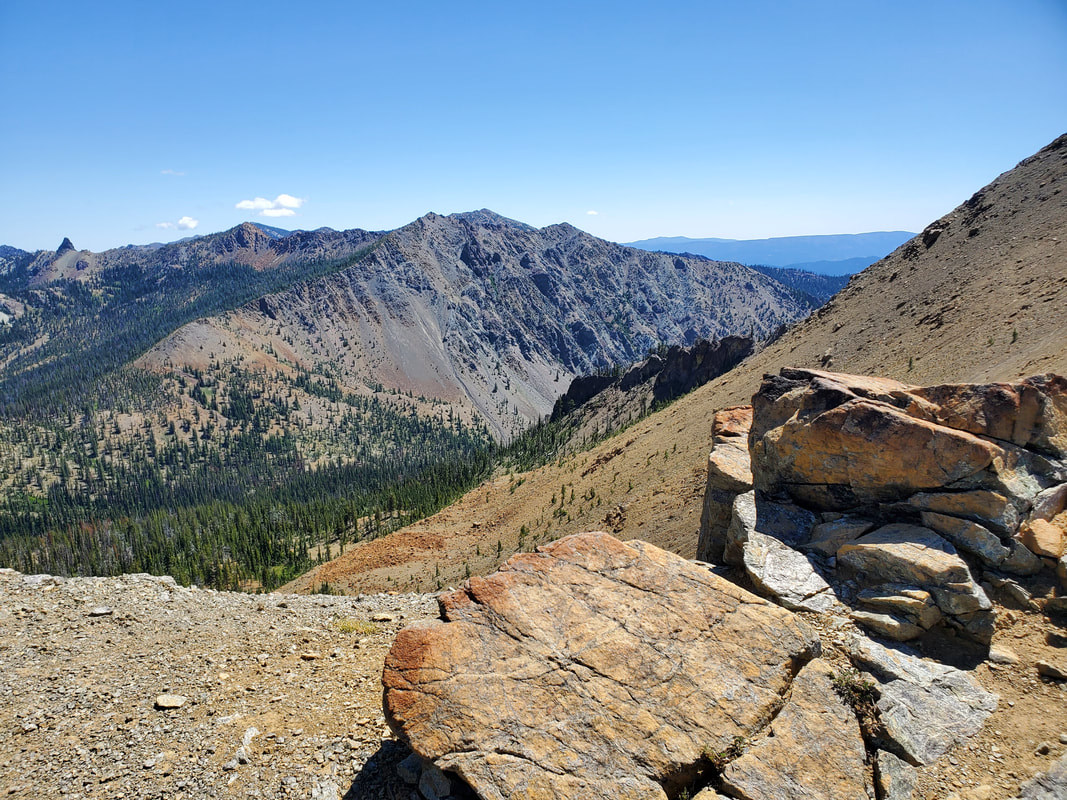
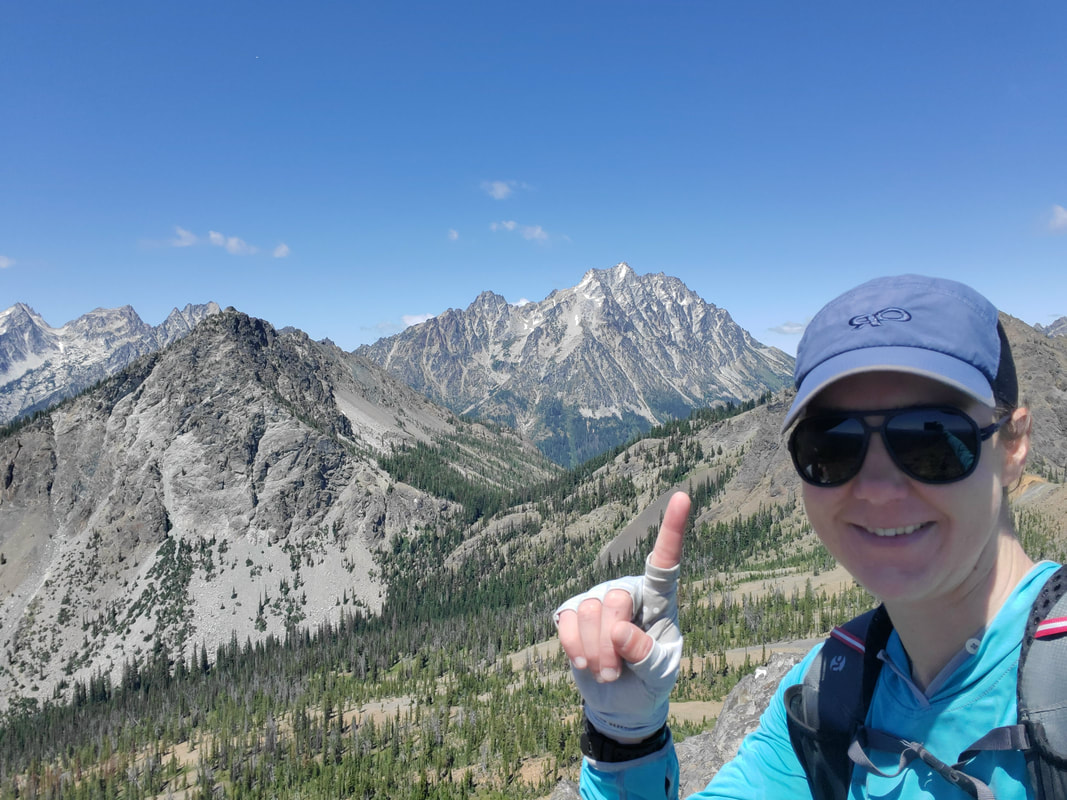
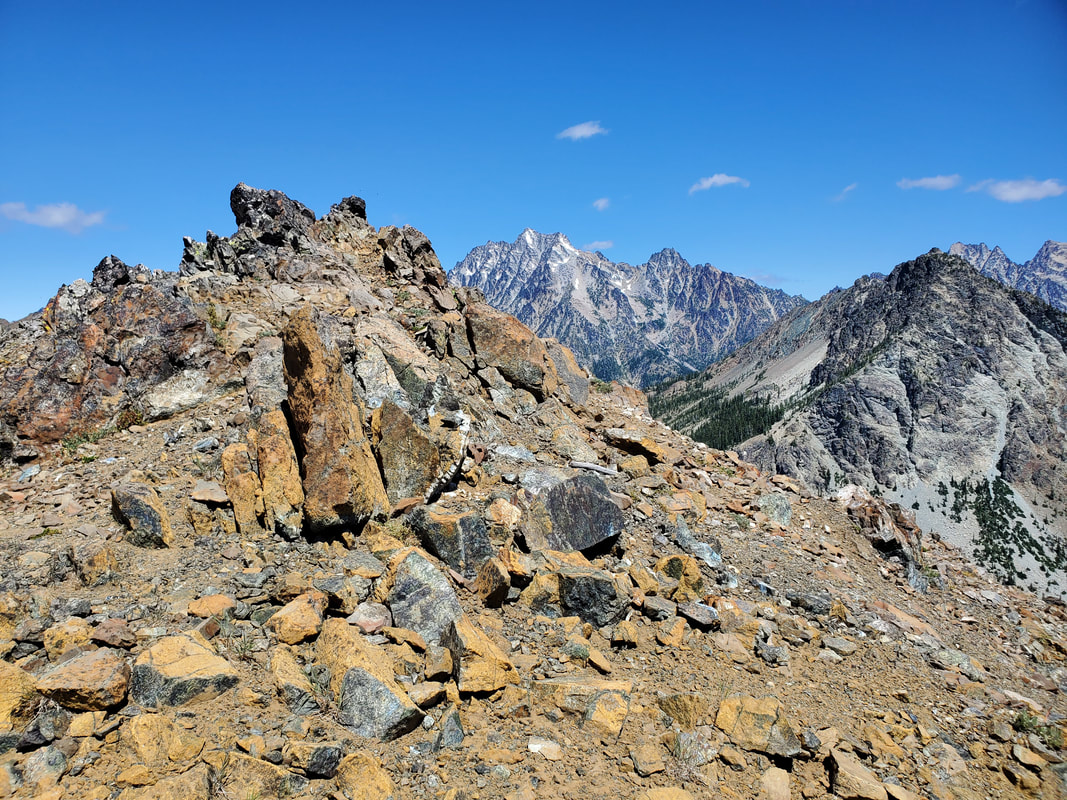
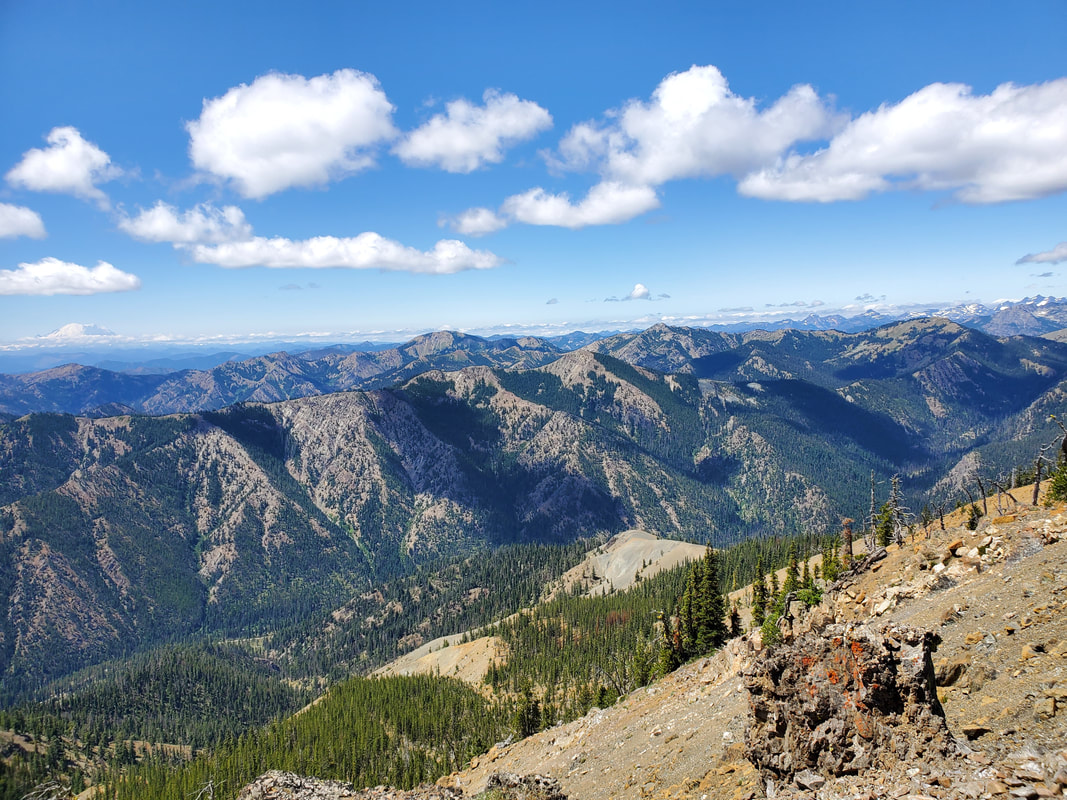
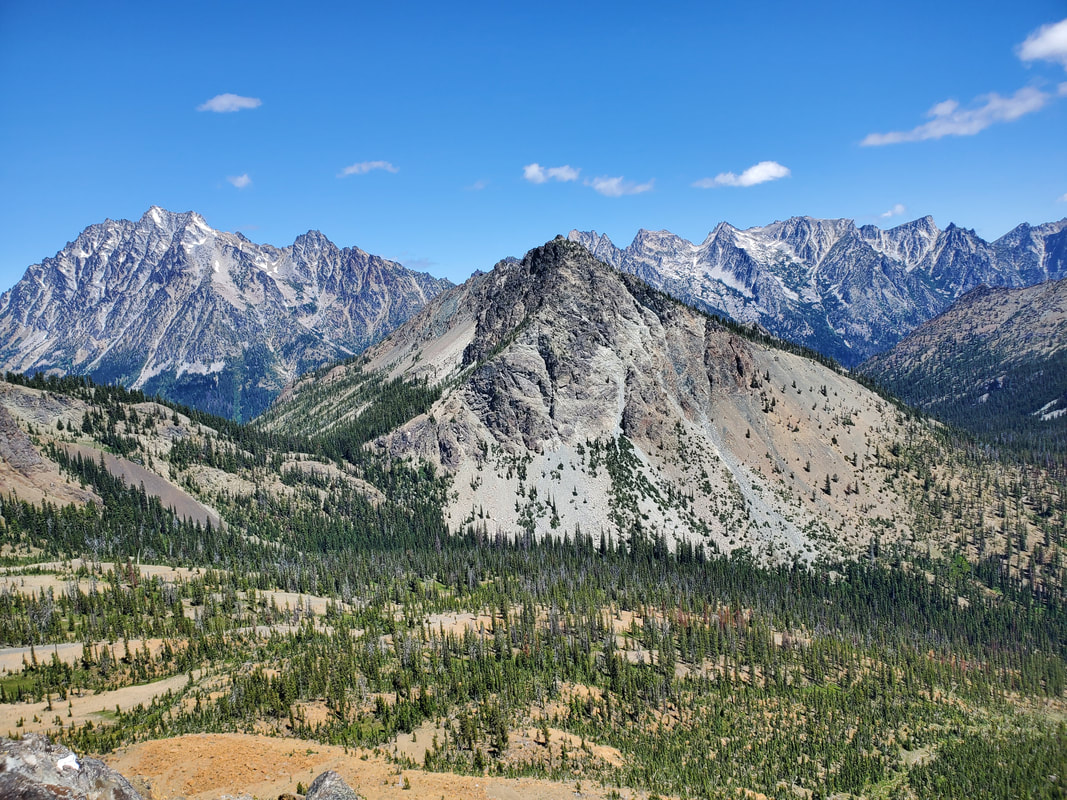
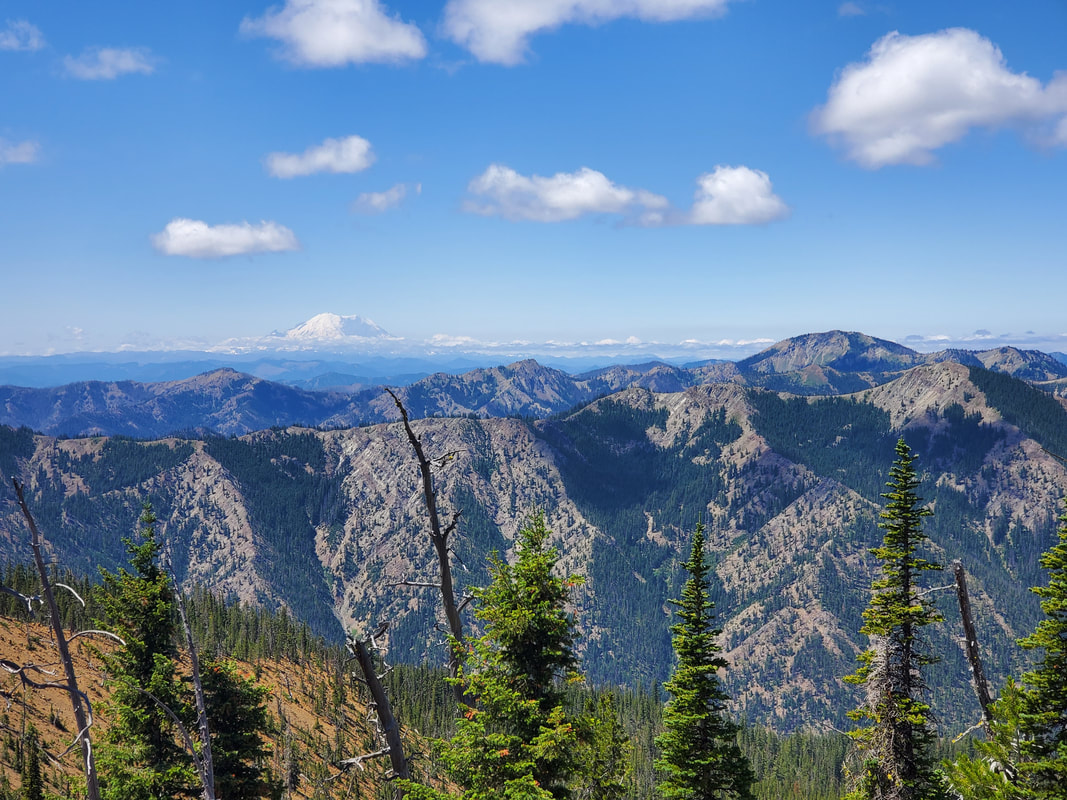
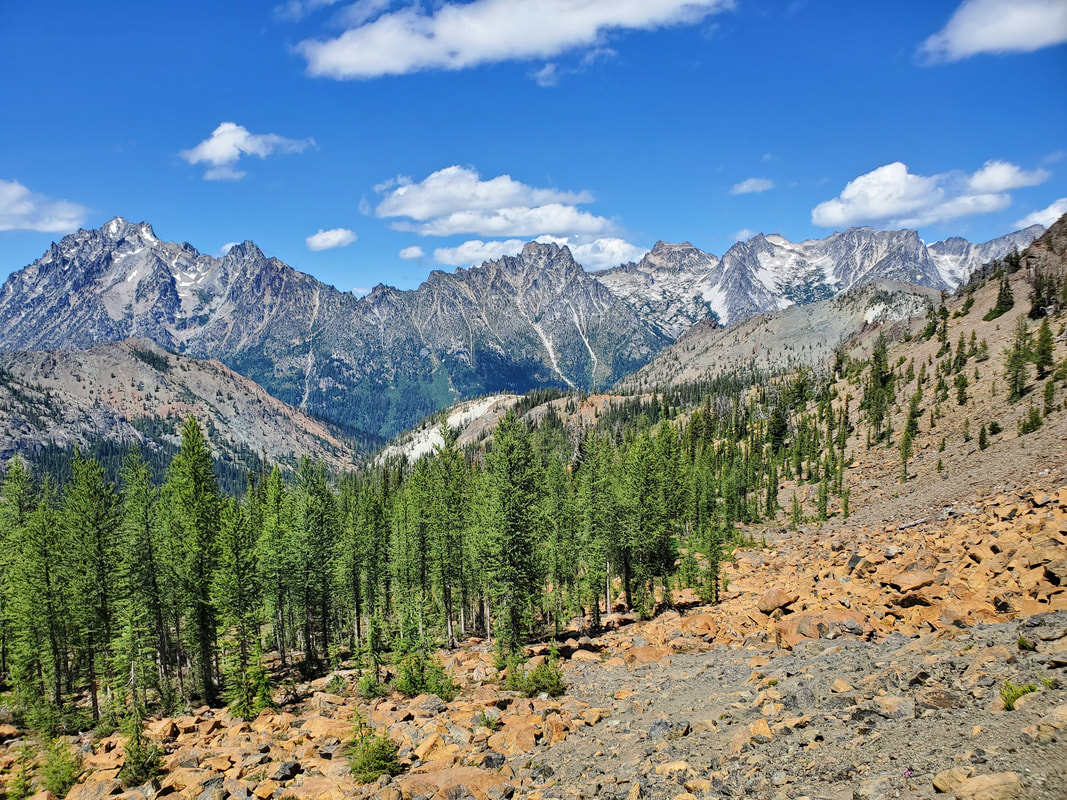
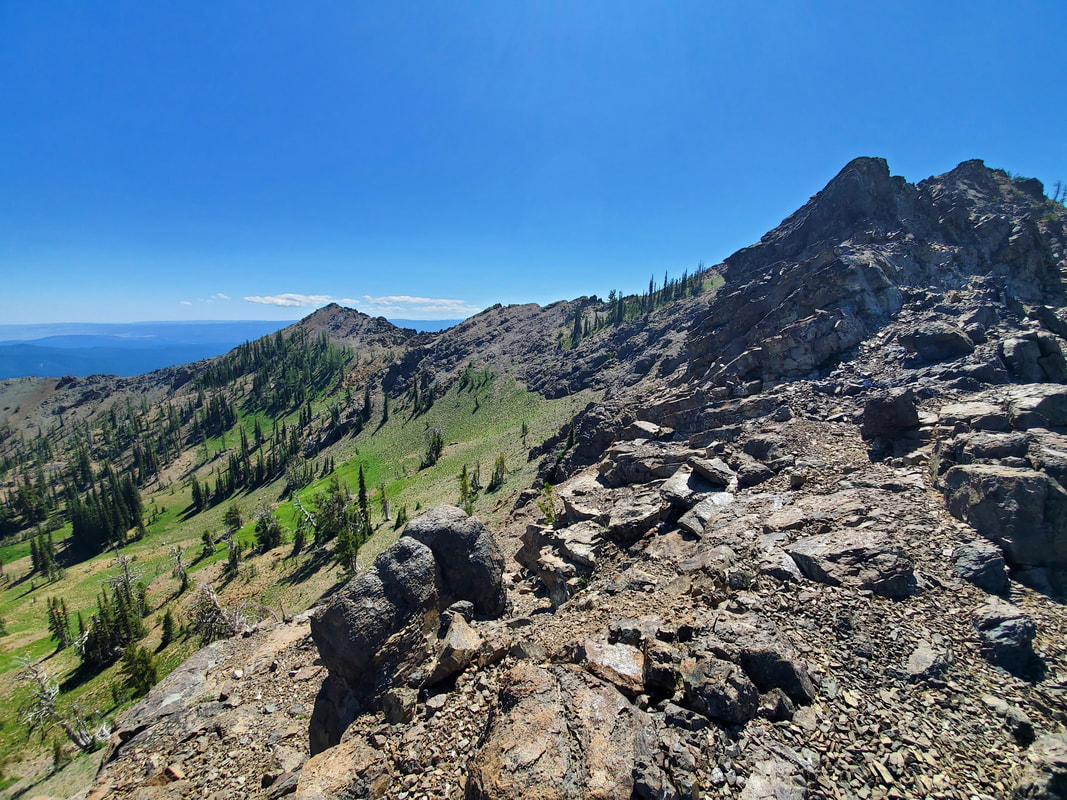
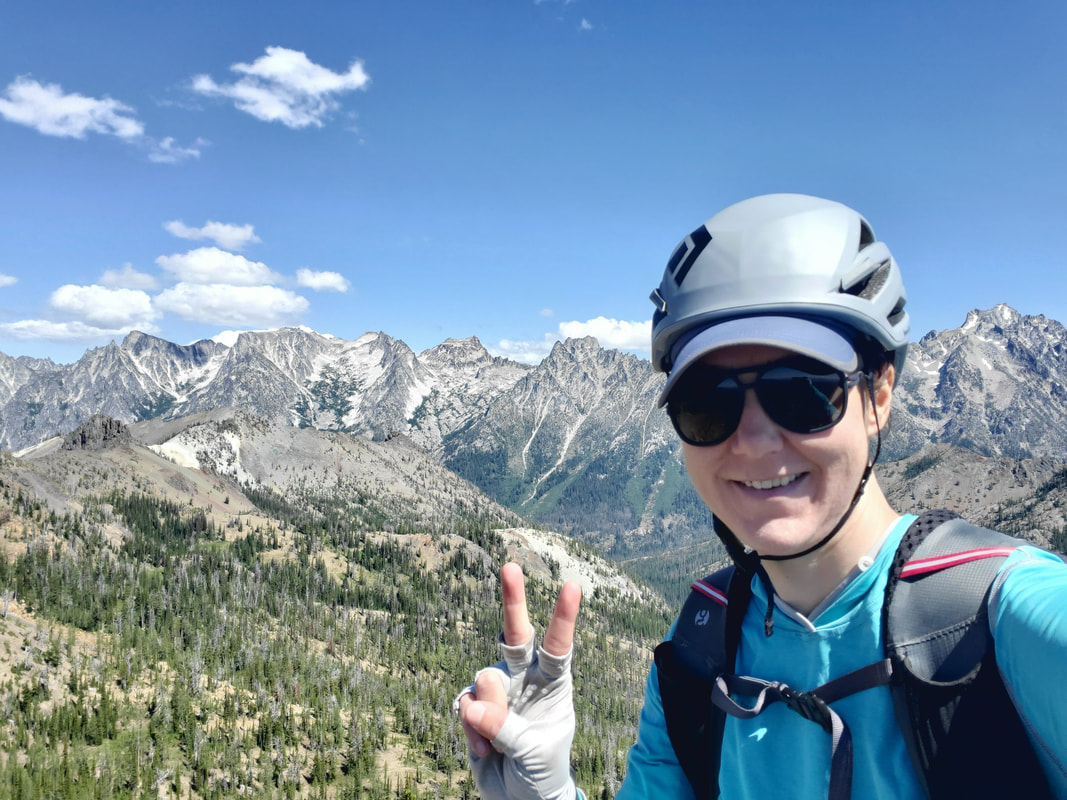
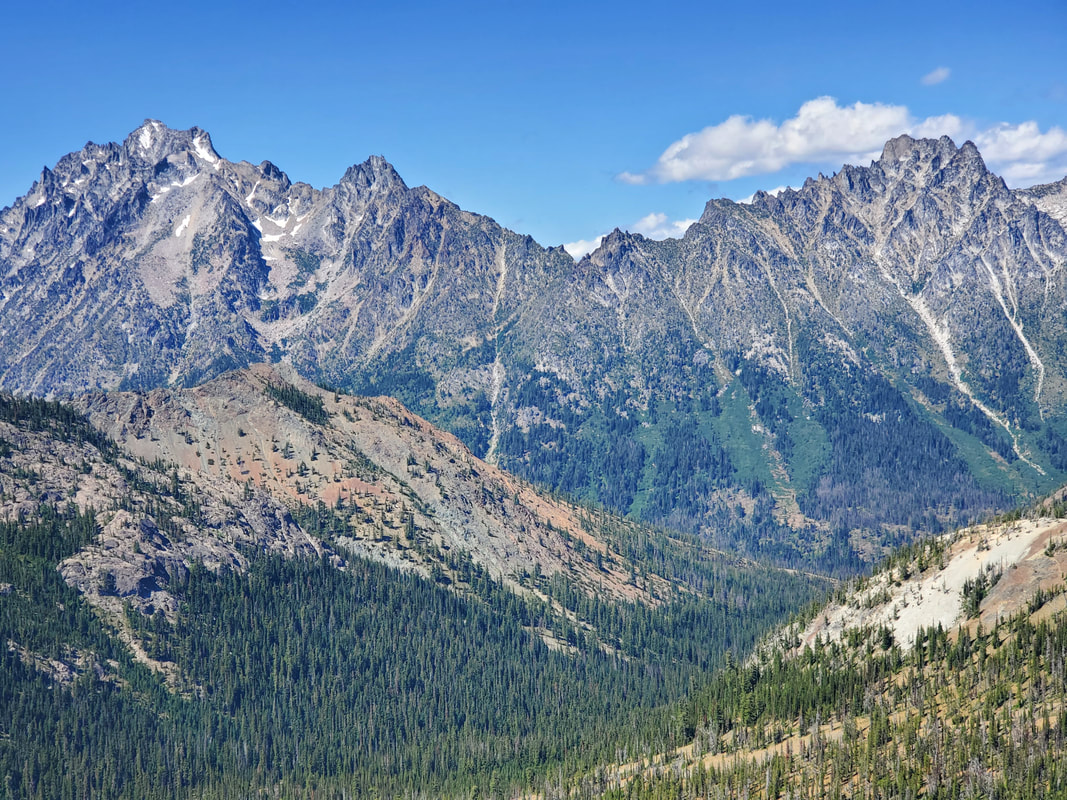
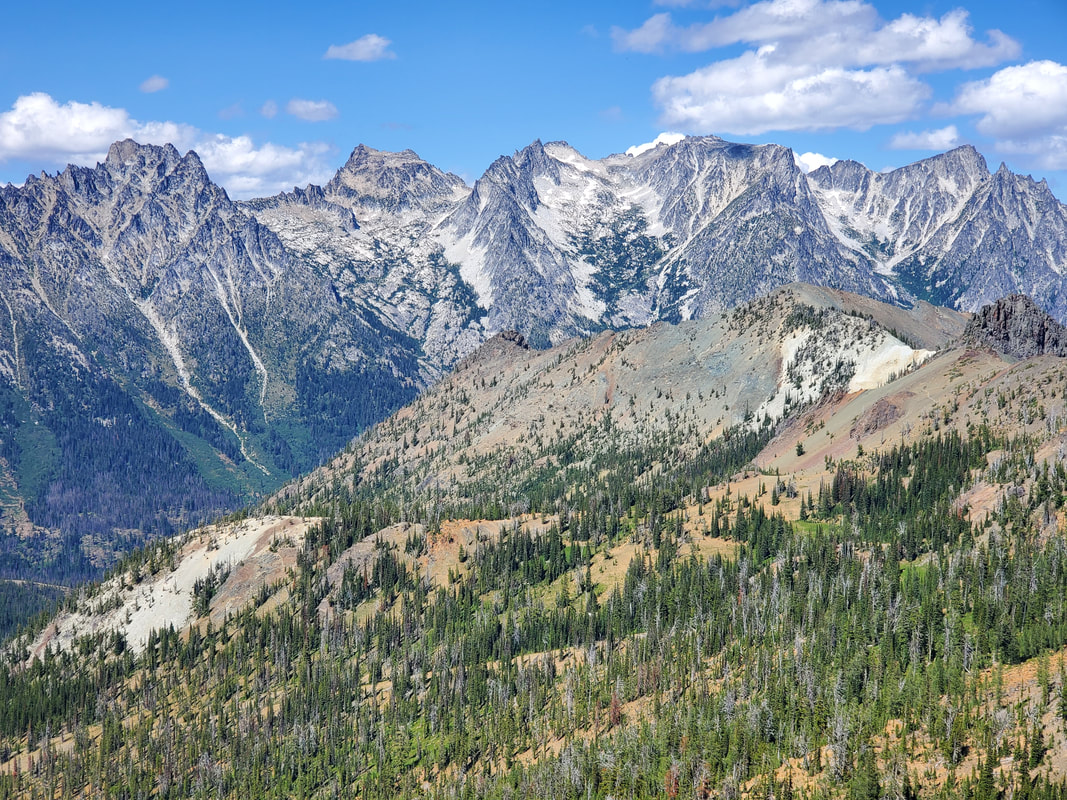
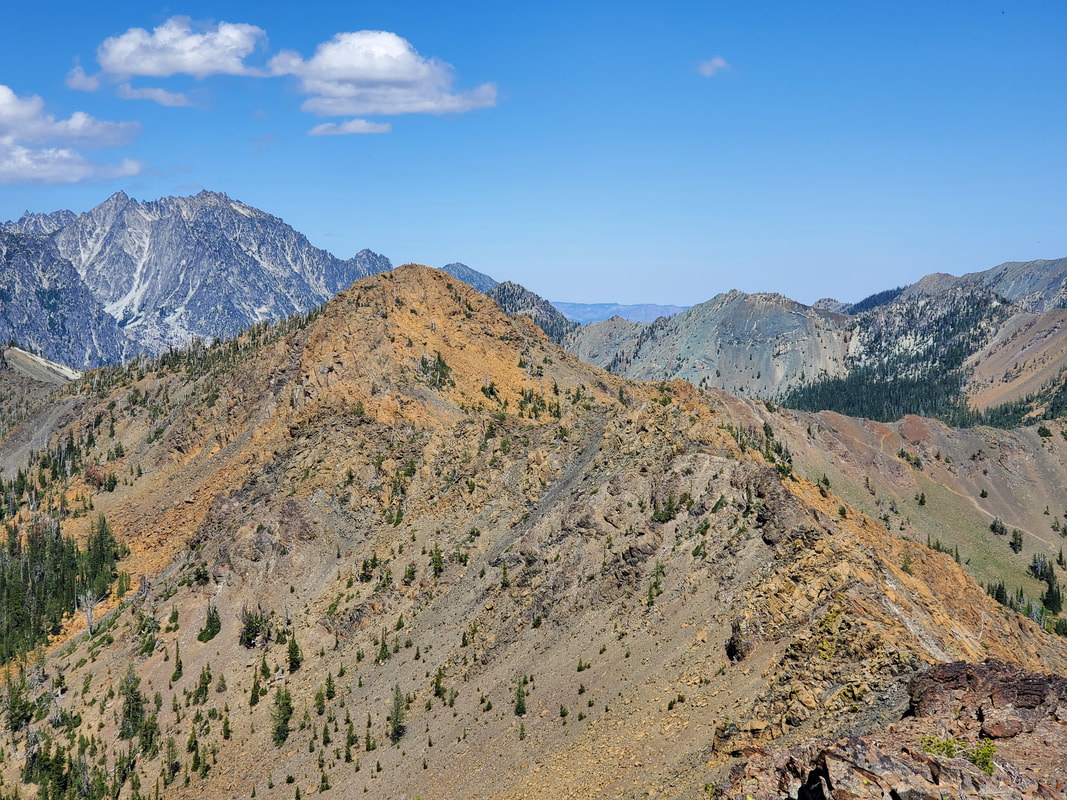
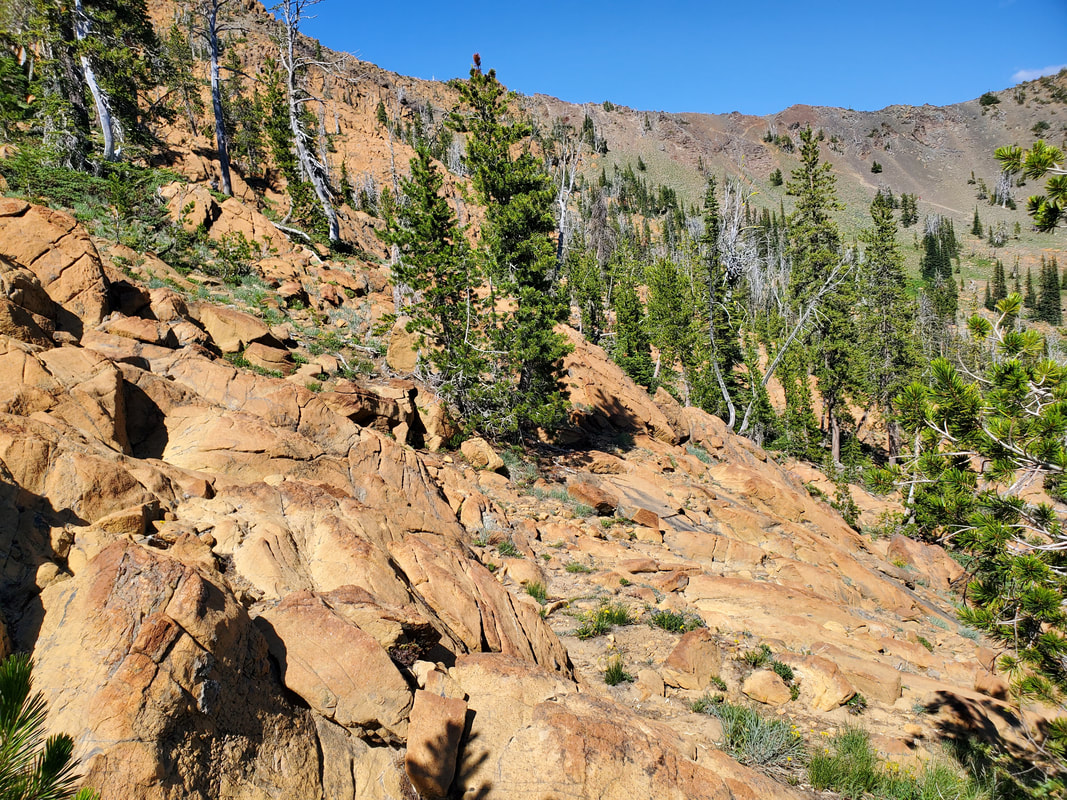
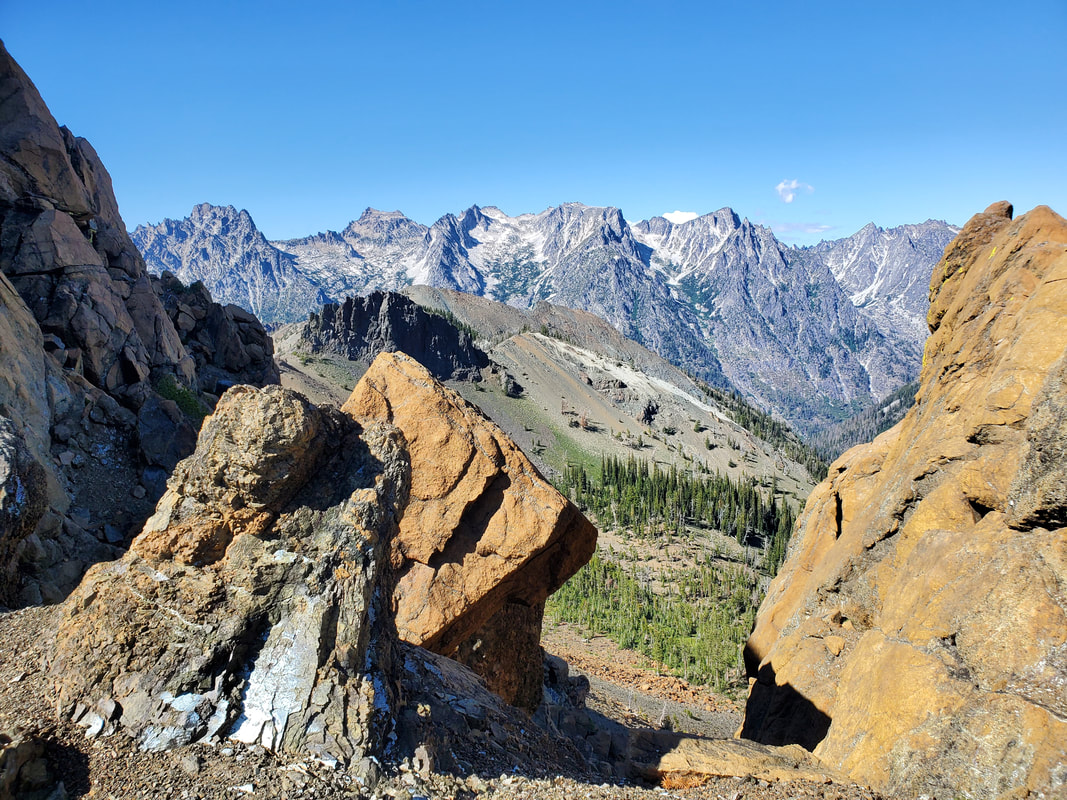
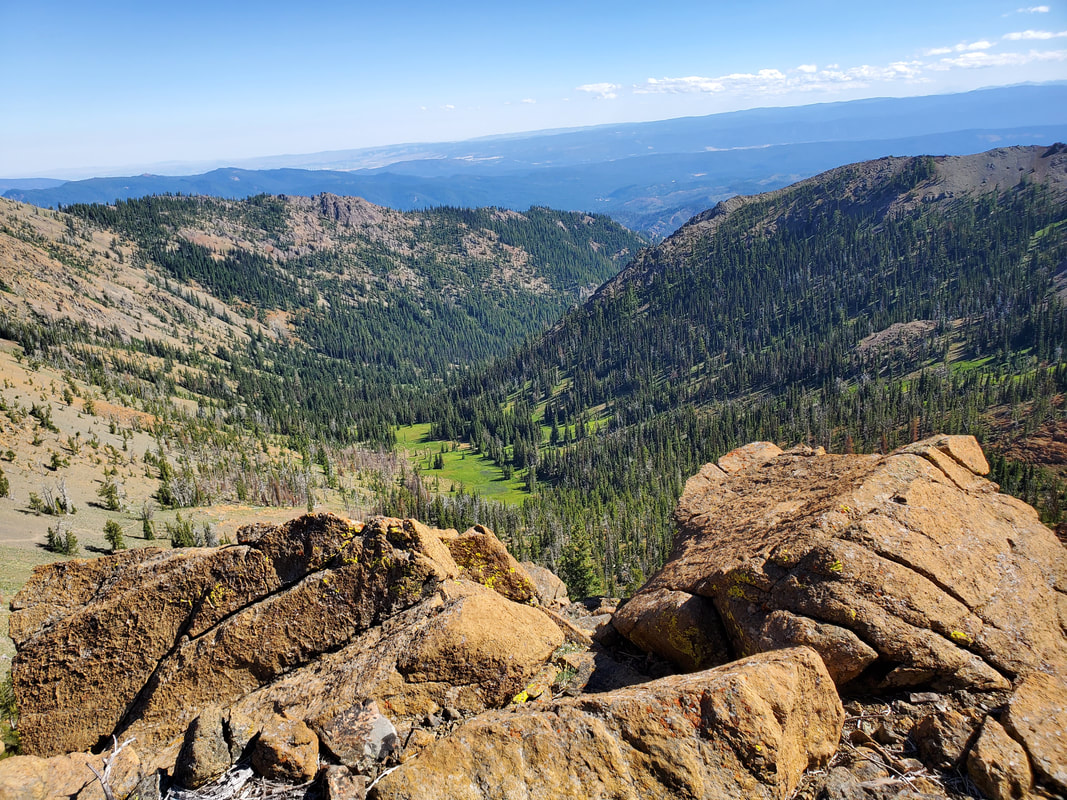
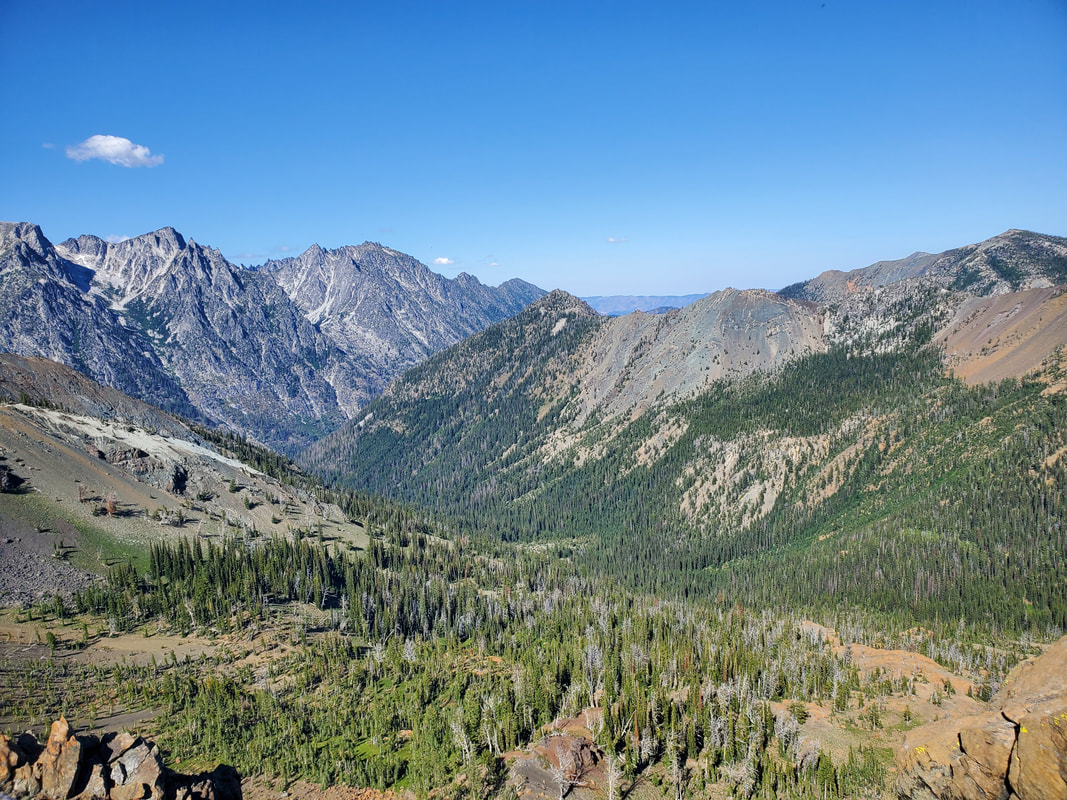
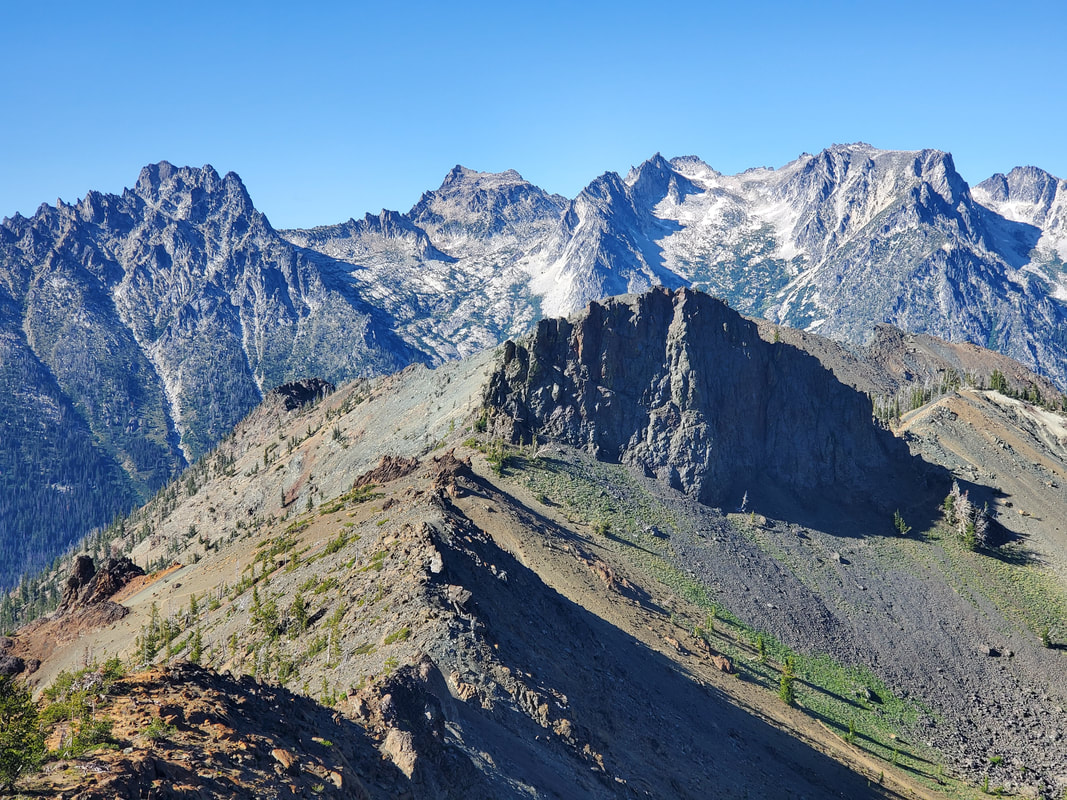
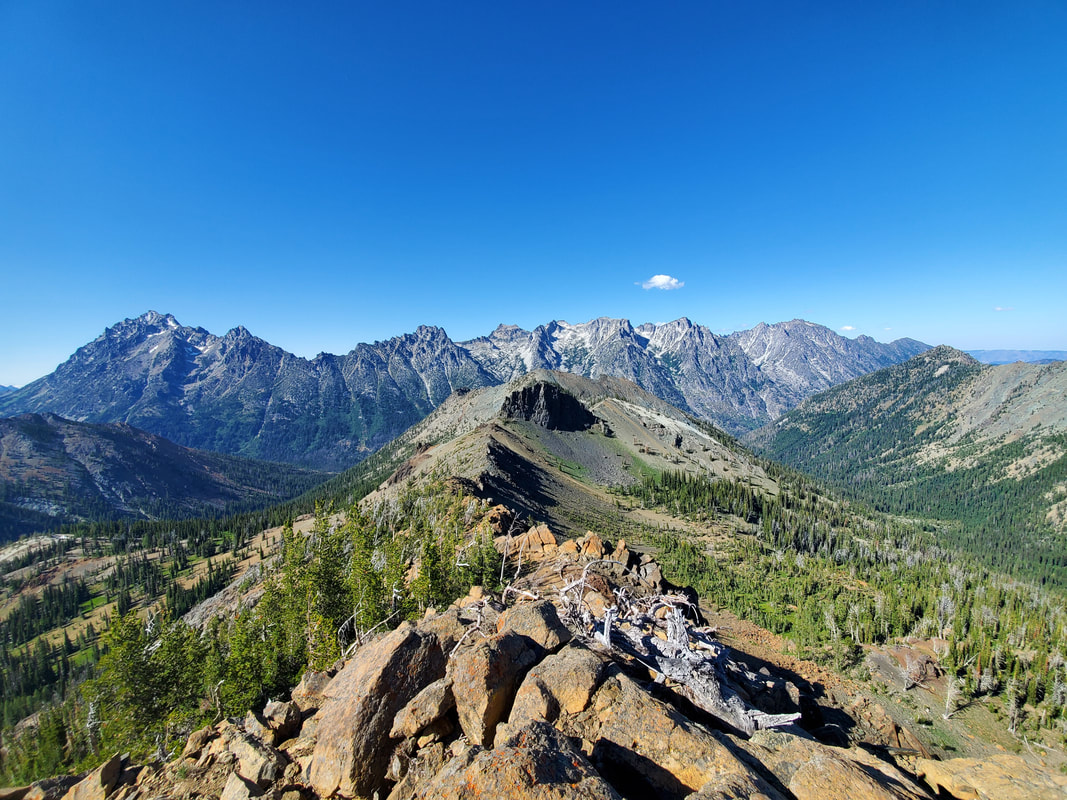
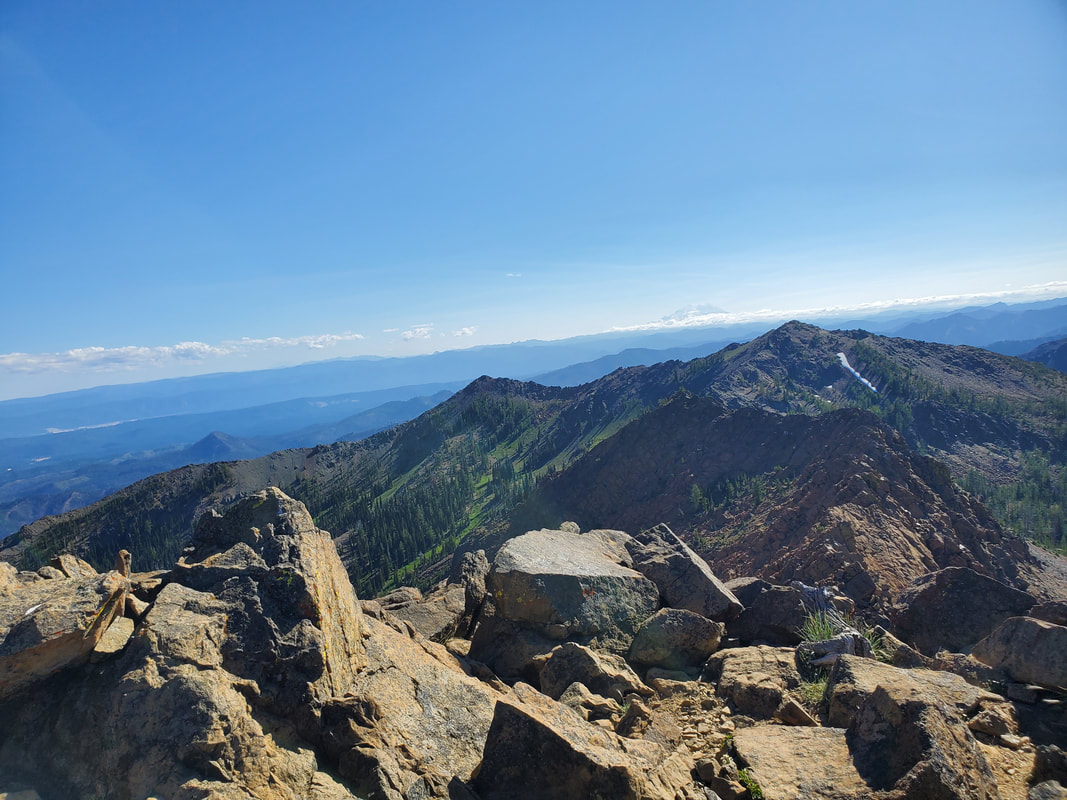
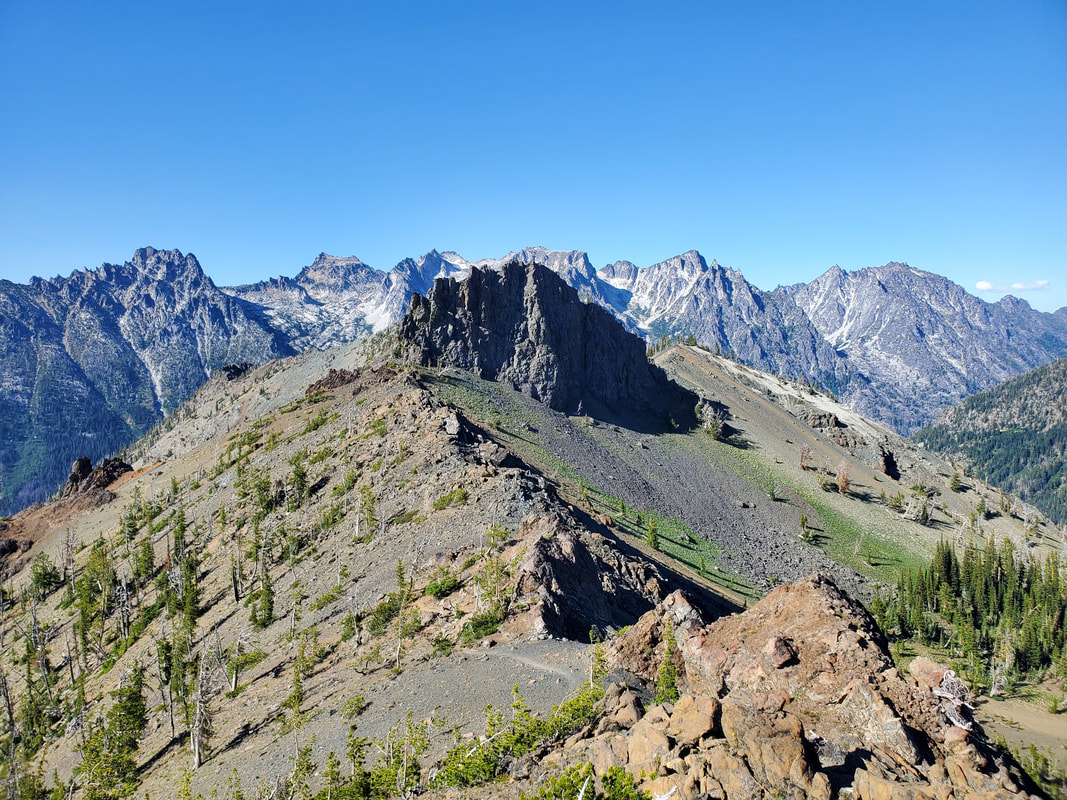
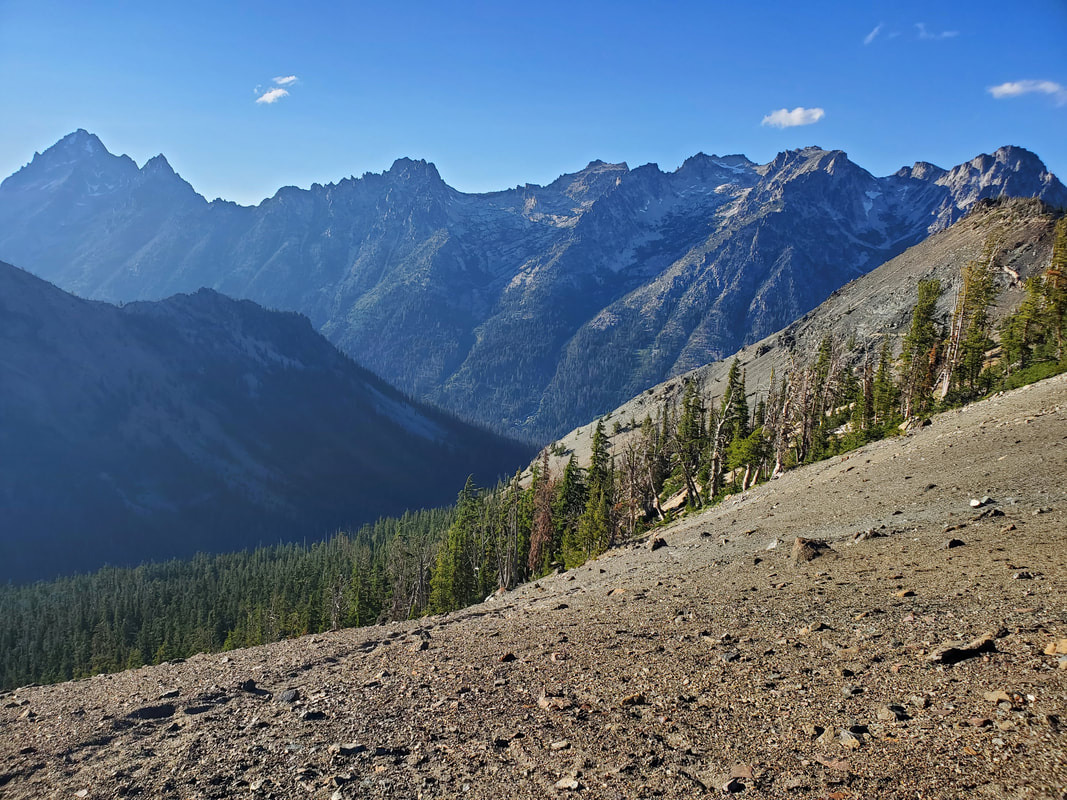
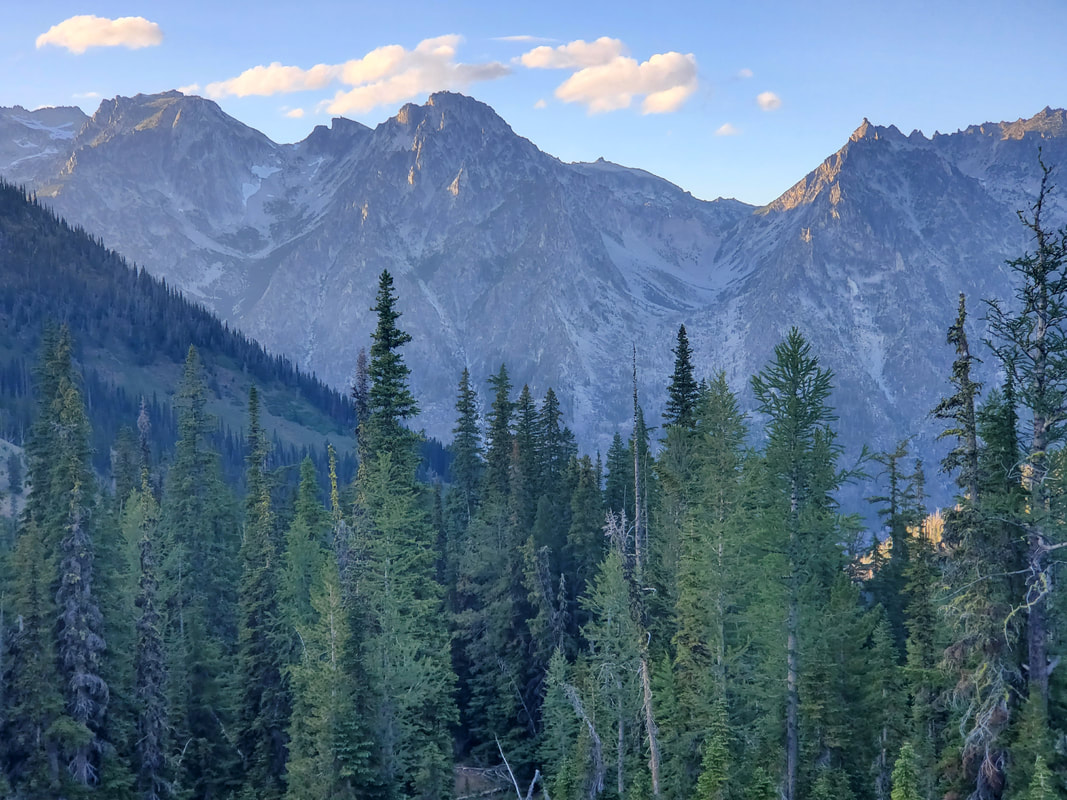
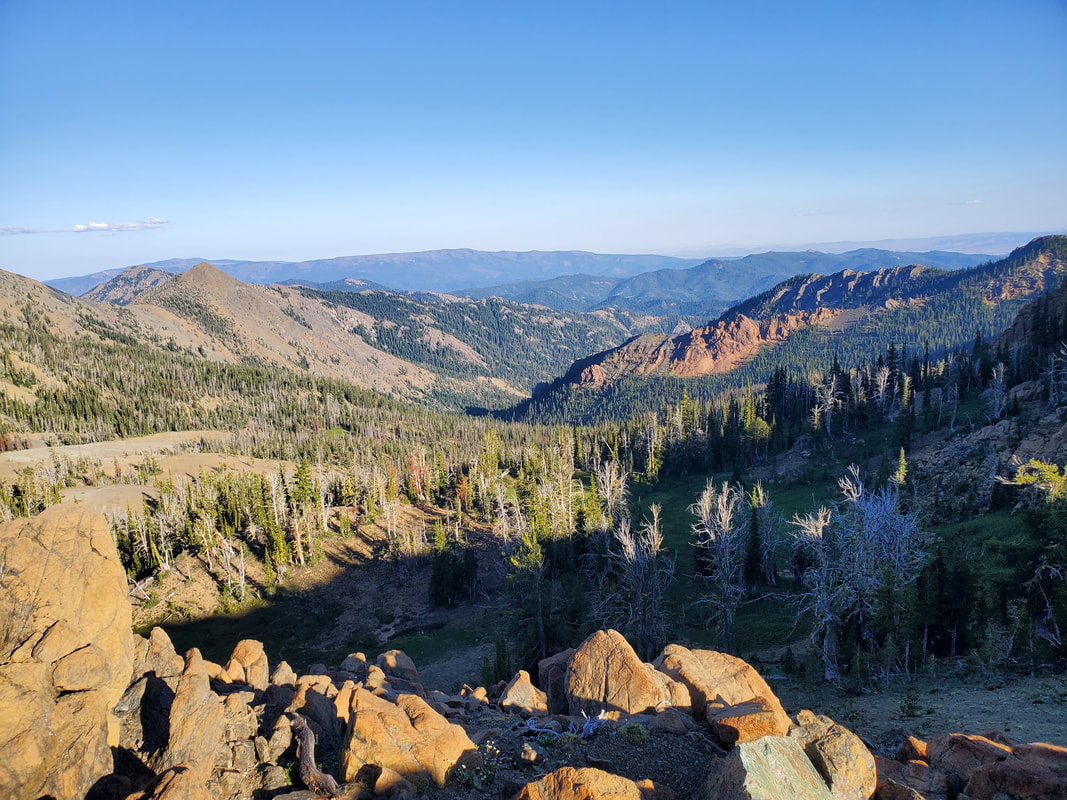
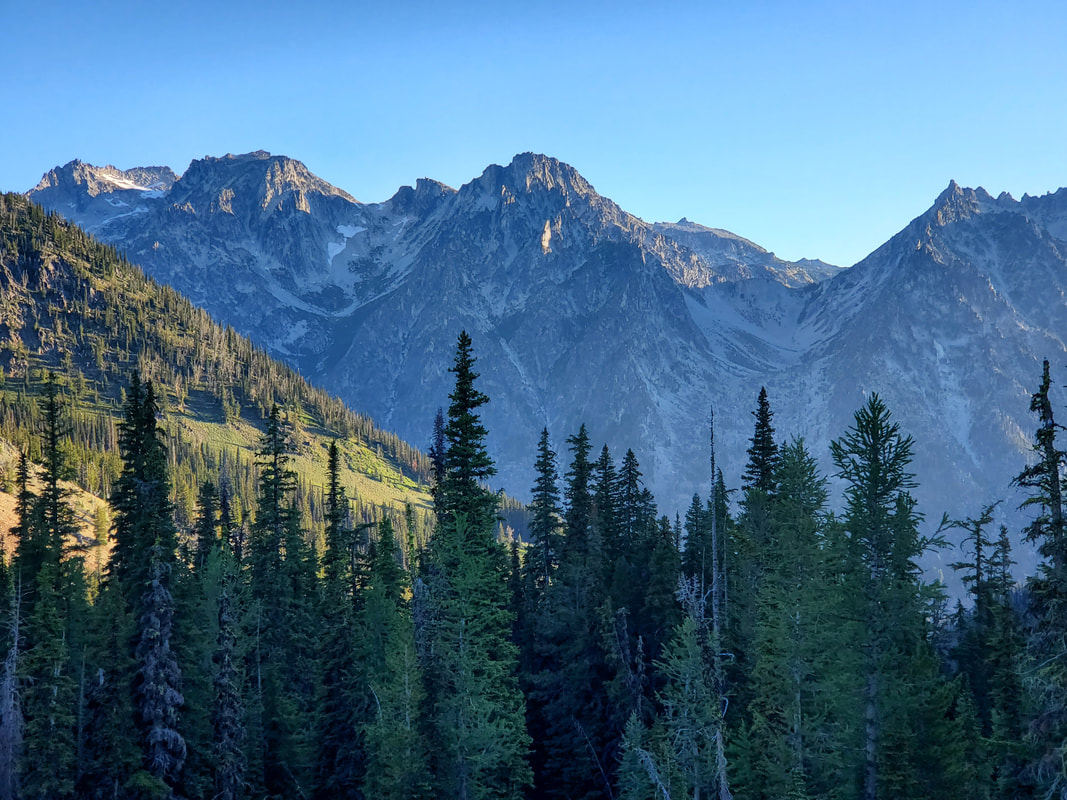
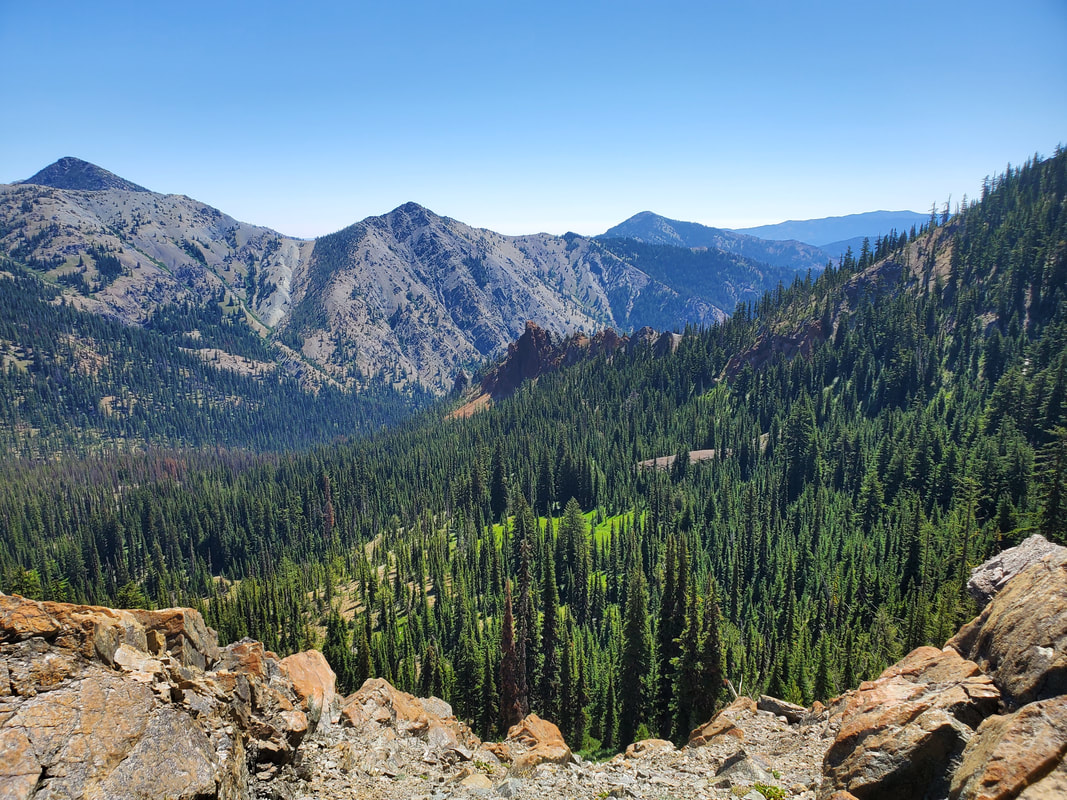
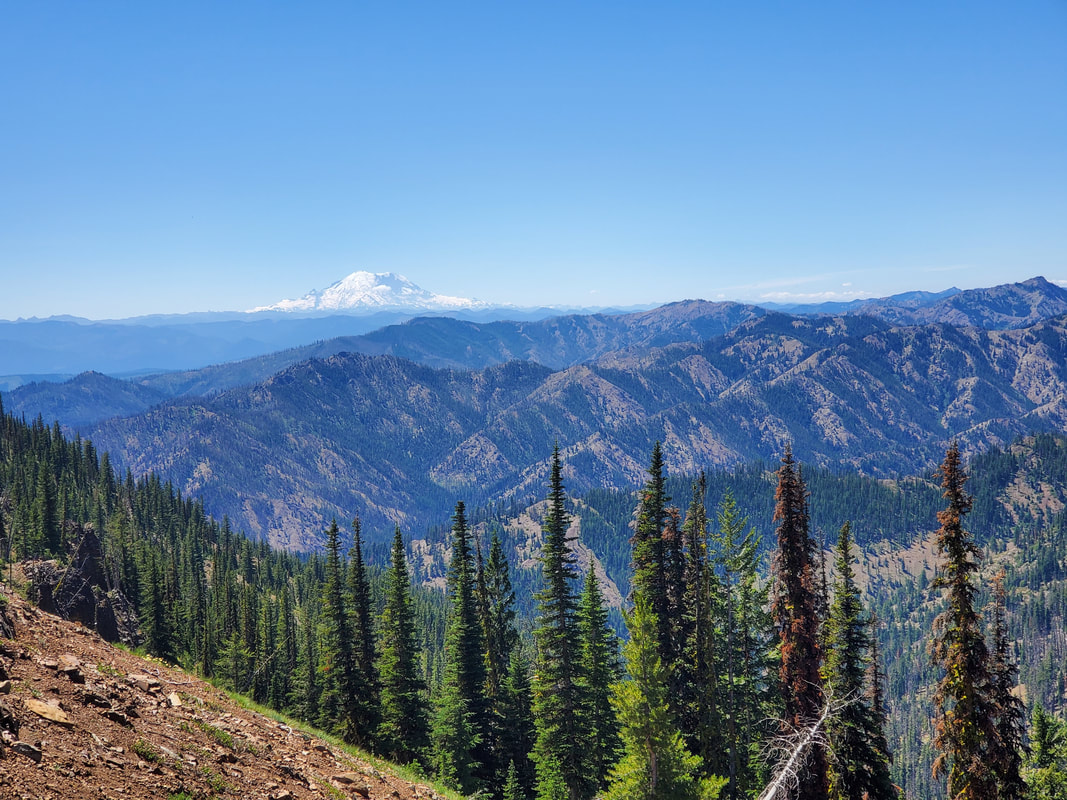
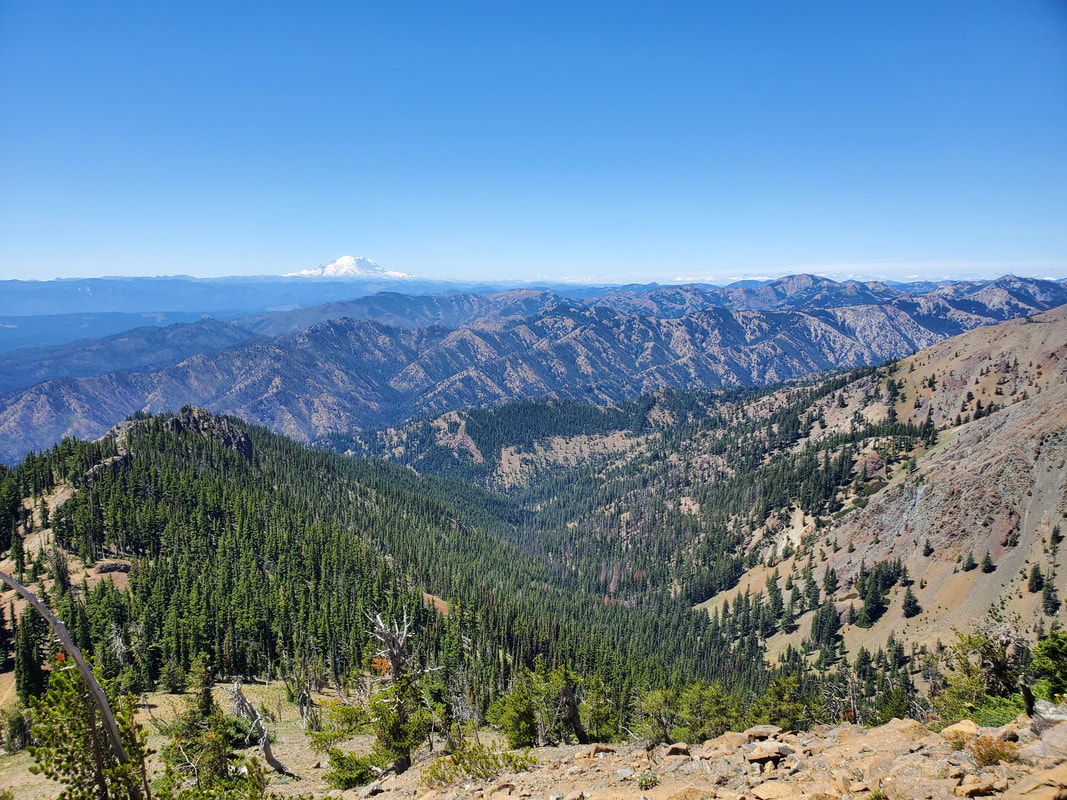
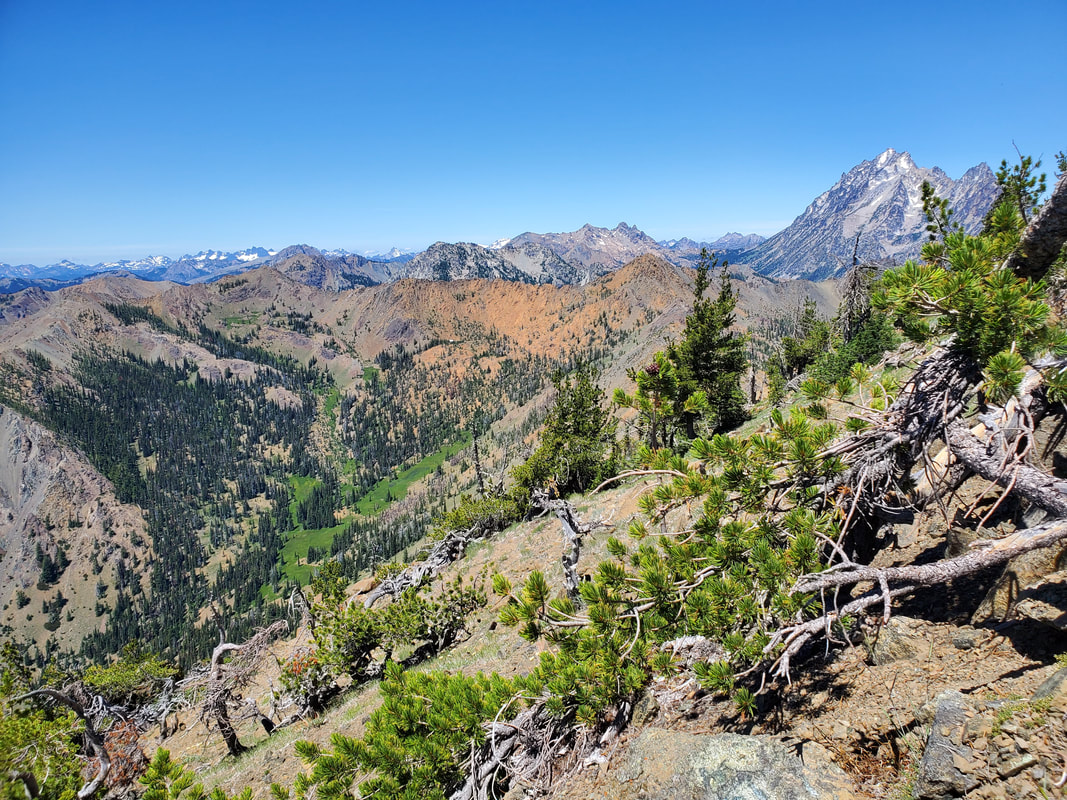
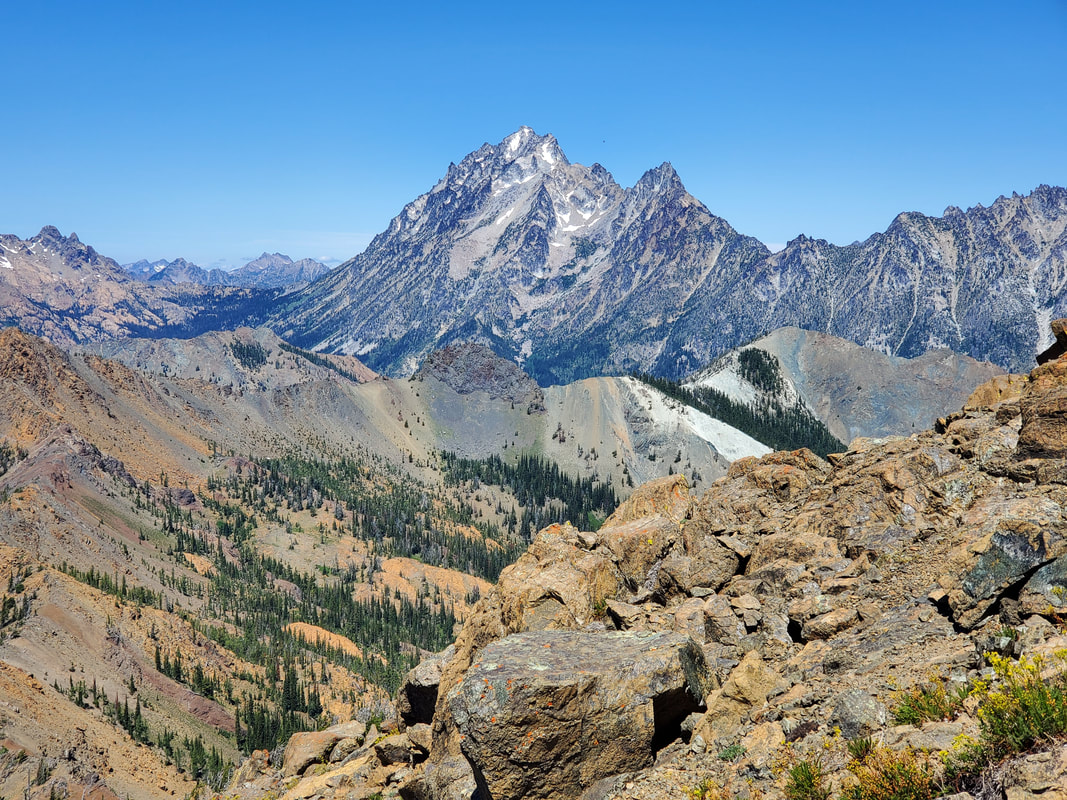
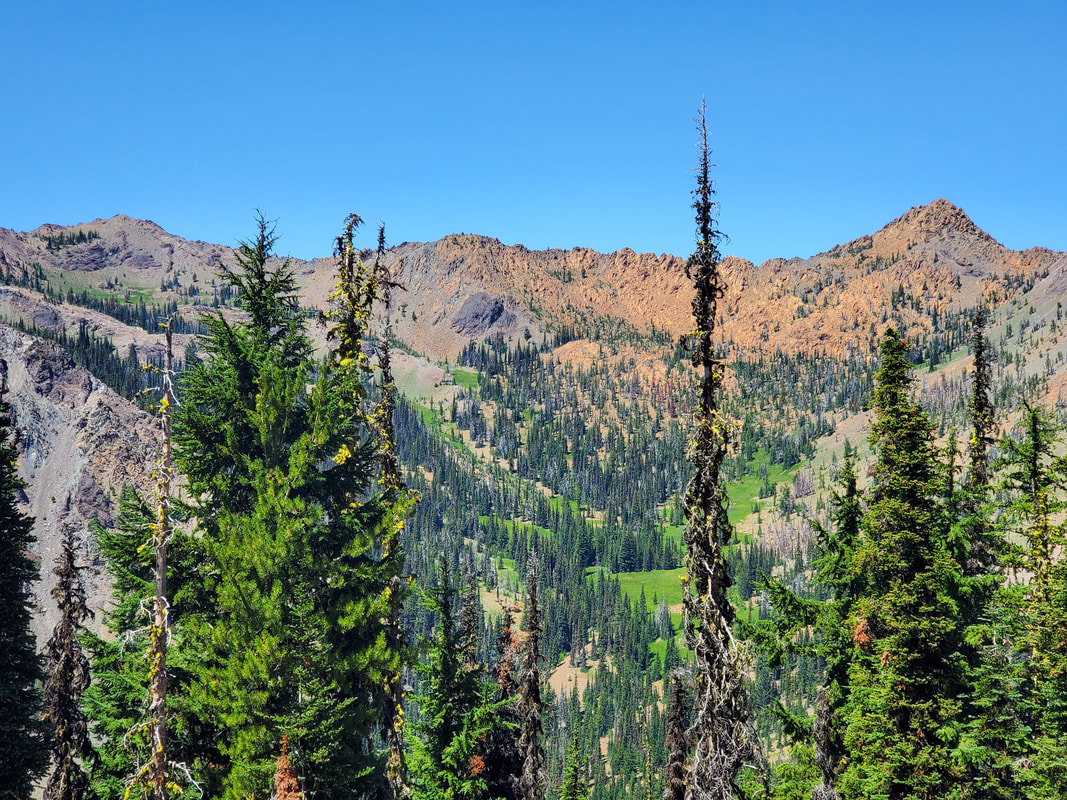
The Teanaway Valley is east of the Cascade Range in Washington. It still blows my mind how different the landscape is on each side of the Cascades. In Teanaway you will find dry, sandy, and rocky landscape in the sub-alpine and alpine environments with mostly pine forest at the lower elevations. On each of the four peaks I enjoyed great views looking back west across the Cascade Range. It was an interesting perspective to see the green Cascades from the east side, as opposed to the west side (or middle) which are my usual spots. The Teanaway area also backs up to the south side of the Stuart Range which is anchored by you guessed it - Mount Stuart. The north side of the Stuart Range forms the popular Enchantments area (still on my to-do list). The peaks in the Teanaway area span from roughly 6,200 - 7,200 feet in elevation, but many of them are not technical and can be summited via scrambling (no rope) and with minimal to moderate exposure (class 2 and 3 scrambling). Seemed like a fun adventure to me!
So, what did I find out? Teanaway is a playground of in your face views, accessible peaks and ridgelines, and tons of possibilities to explore - both on and off trail. Mid-July was perfect timing as well. The wildflowers were still in bloom and water sources were still plentiful in the dry environment. I accomplished a lot in just over 24 hours in the area. But if you have the time, there is enough in Teanaway to keep you occupied for multiple days of peak bagging and exploration!
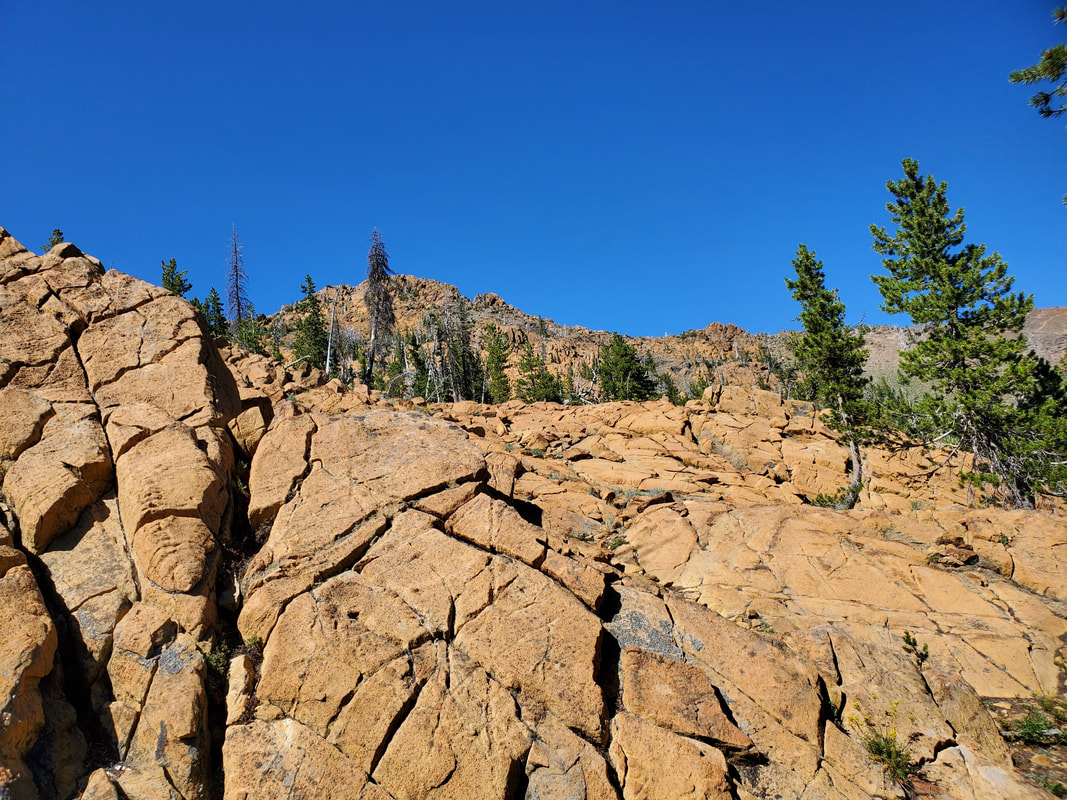
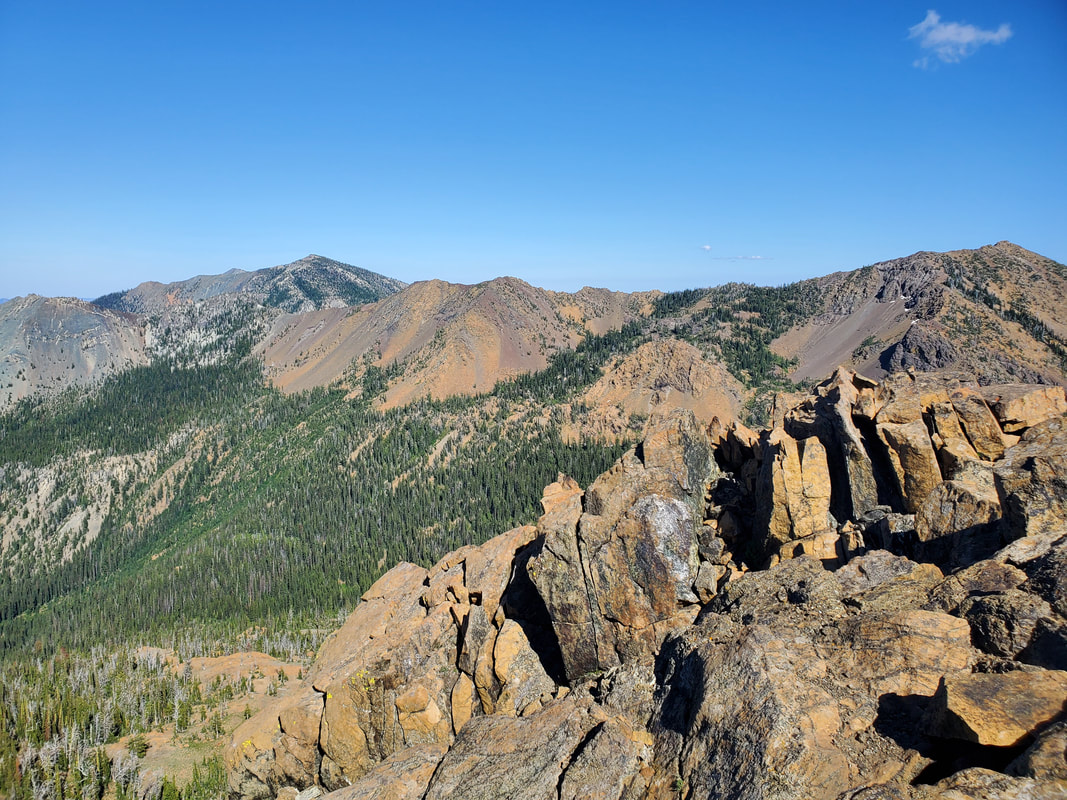
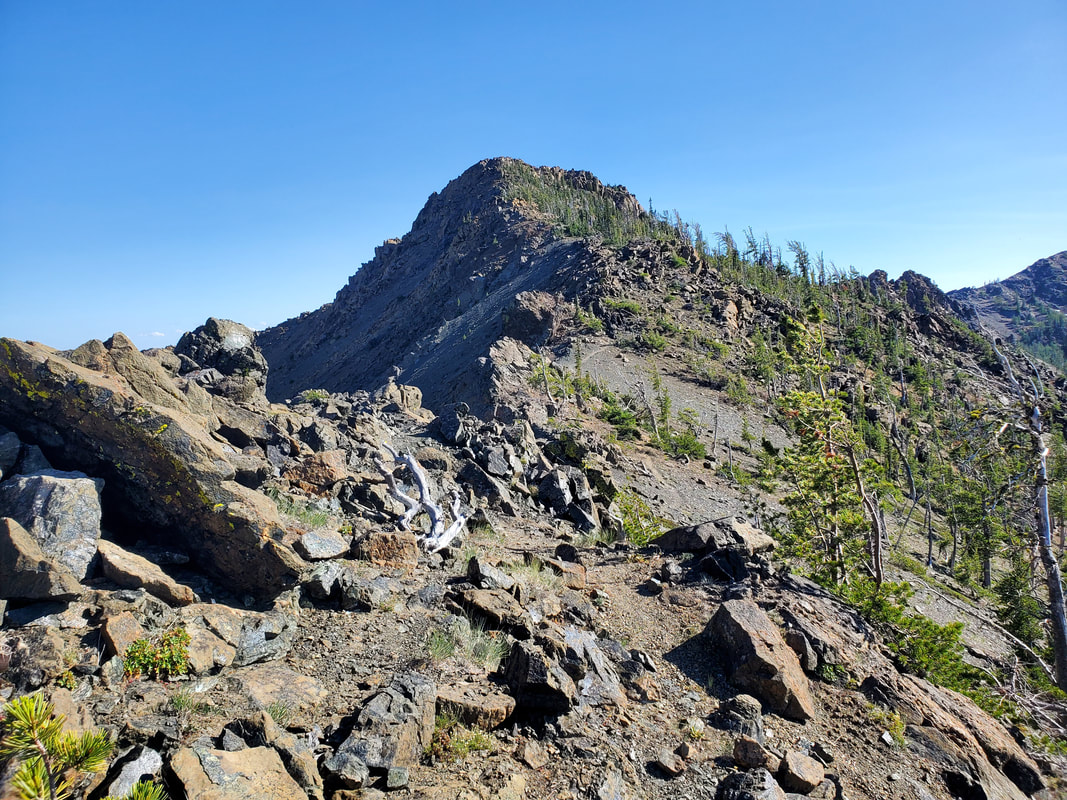
On Saturday morning I made the two and a half hour drive from Seattle to the small Beverly Turnpike trailhead and headed out hiking just before 10AM. My plan was to make my way clockwise around the area by connecting multiple trails with a few peaks and off trail sections mixed in between. There are multiple trailheads that access the Teanaway area from all sides. But, no matter how you plan it, the price of admission is about 3,000 feet of vertical gain in two to three miles up the valley and into the sub-alpine. After a few, quick forest miles I had made it up above tree line and towards my first peak - Iron Peak. The ridgeline up to Iron Peak was straightforward and consists of a well worn boot path over a few patches of rock near the top. This was the least technical of my four summits and a great one to start the trip out with! The views opened up and I got a taste of the beauty that I would experience non-stop for the next 24 hours!
#1 - Iron Peak (6,510)
After dropping back down from Iron Peak, I rejoined the lightly forested trail and headed east towards Mary's Peak. I took a bit of an unorthodox approach to Mary's Peak by coming at it through the forest from the north versus the open valley on the south. I thought I could make it work (or at least try) and in the end it did pan out just fine. After studying the map for the path of least resistance, I headed off trail and followed a creek drainage up the slope through the forest and up above the tree line again. Standing on the rockfall beneath Mary's Peak I scanned for a possible scramble route to the summit and located a good path up. About 20 minutes later I was standing on the summit of peak number two - Mary's Peak!
#2 - Mary's Peak (6,683)
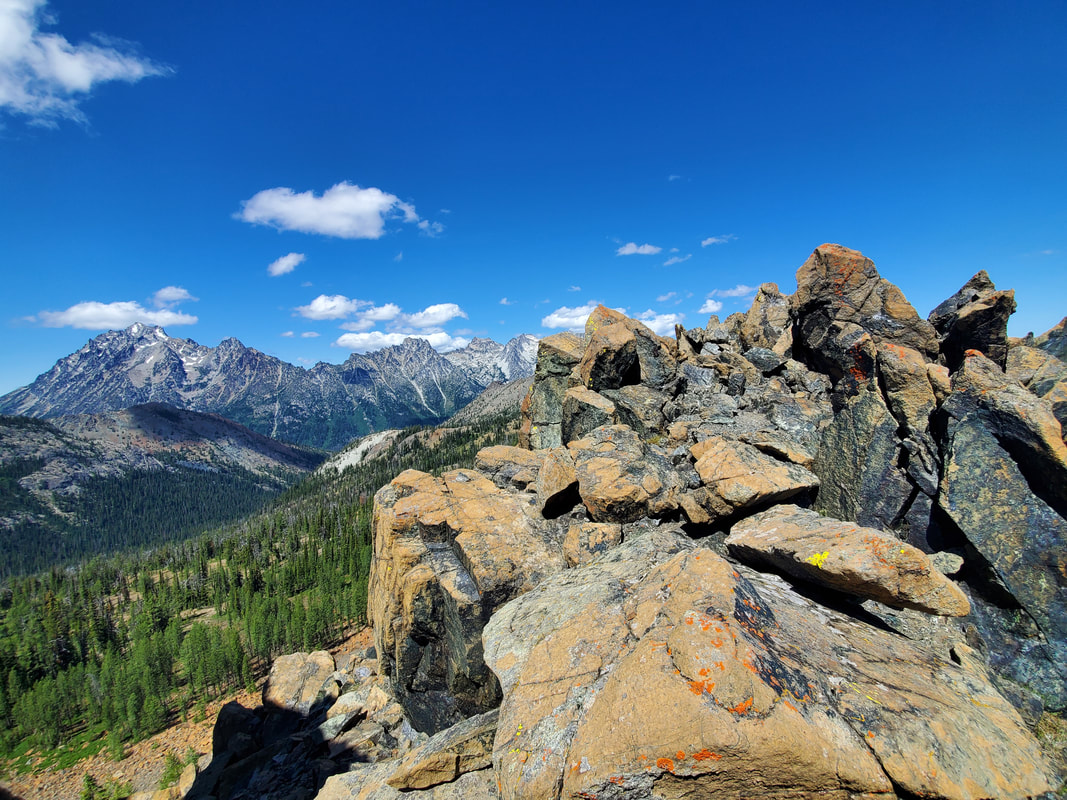
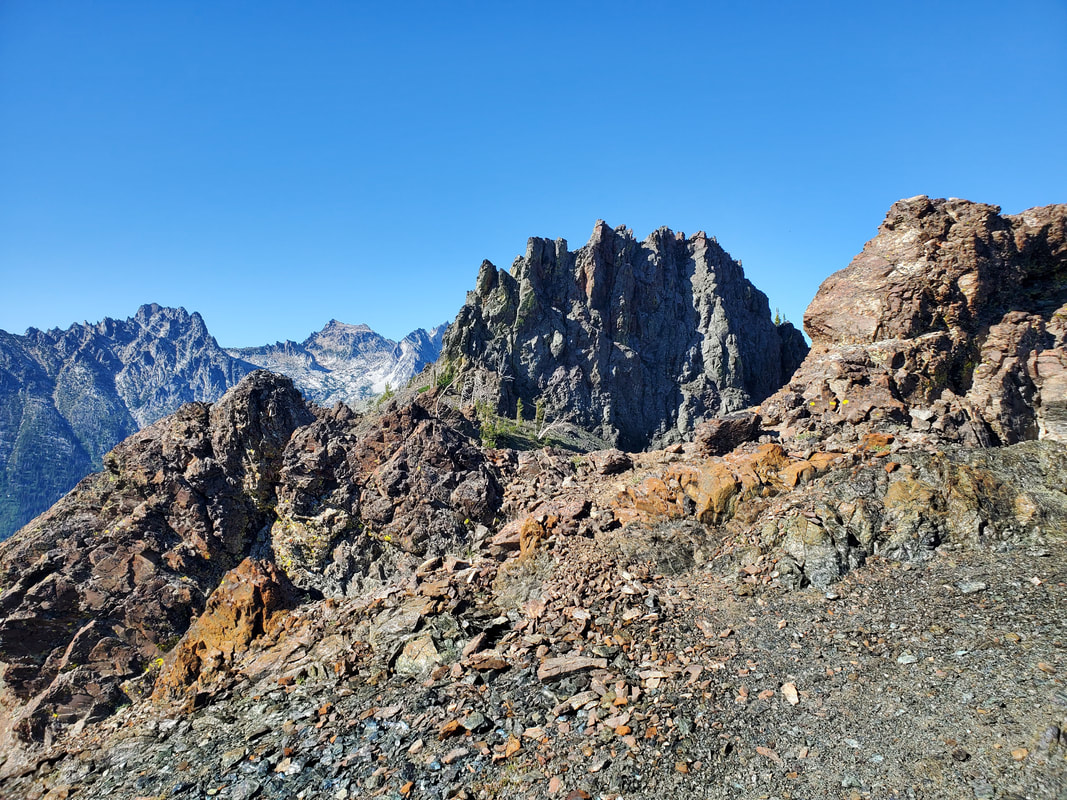
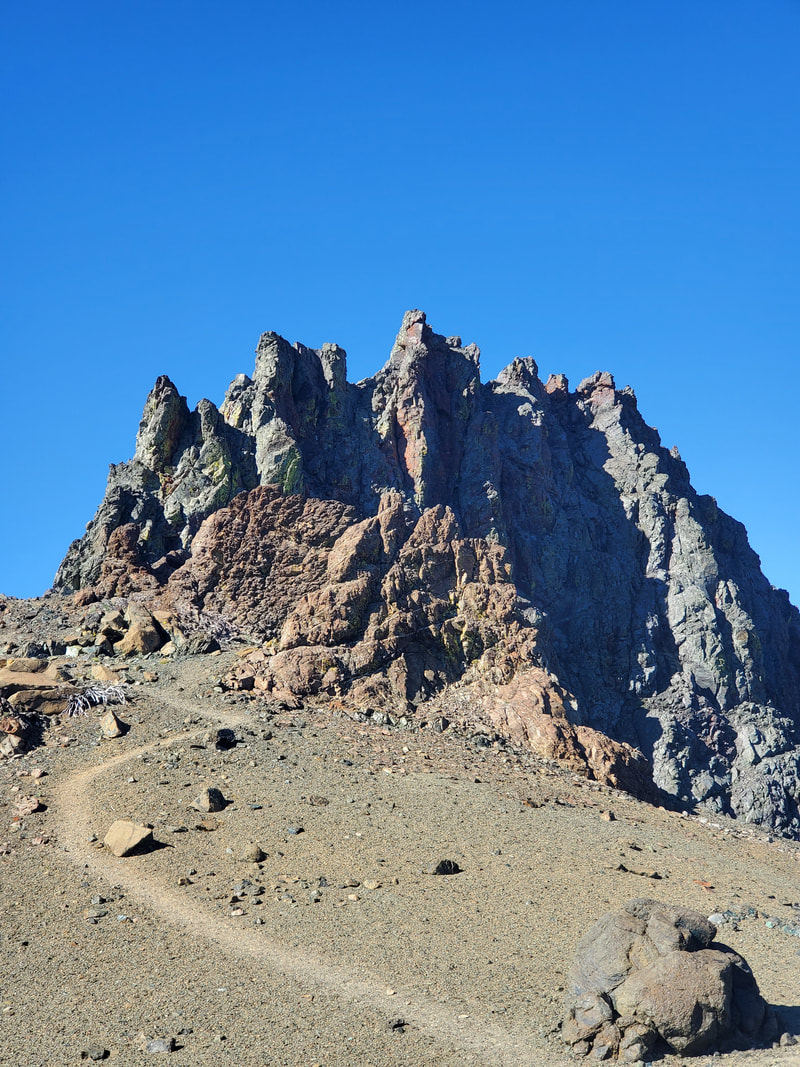
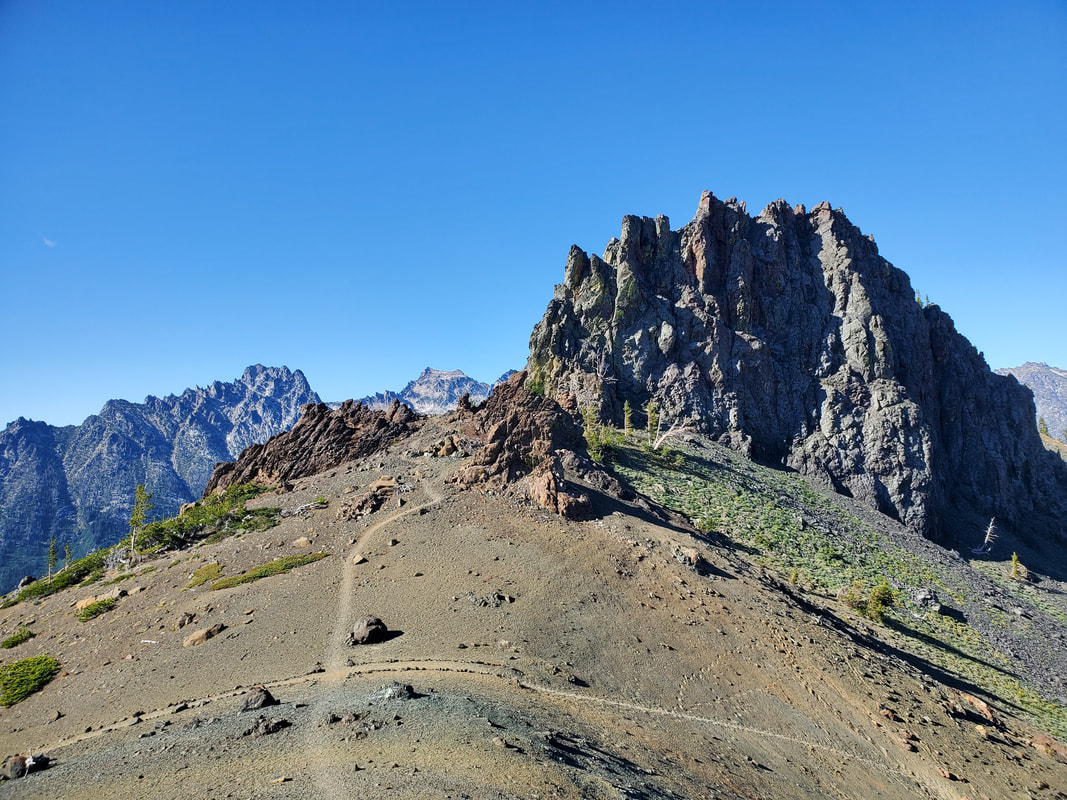
After Mary's Peak my next destination was just across the ridgeline to Bean Peak. It is possible to make a ridgeline traverse from Mary's Peak to Bean Peak, which is most efficient and prevents losing any elevation. But looking at it in person...Nah, not for me right now! Instead I sacrificed the elevation I'd just gained and dropped off Mary's Peak down into the valley to the south below. I tried to stay as high as possible across the slope of valley wall and made my way back towards an established trail leading up to Bean Peak. The rocky summit block of Bean Peak was a bit tricky to navigate and required the most scrambling technique of the four peaks. I took my time going up, made a few route course corrections along the way, and was proud when I found my way to the top!
#3 - Bean Peak (6,742)
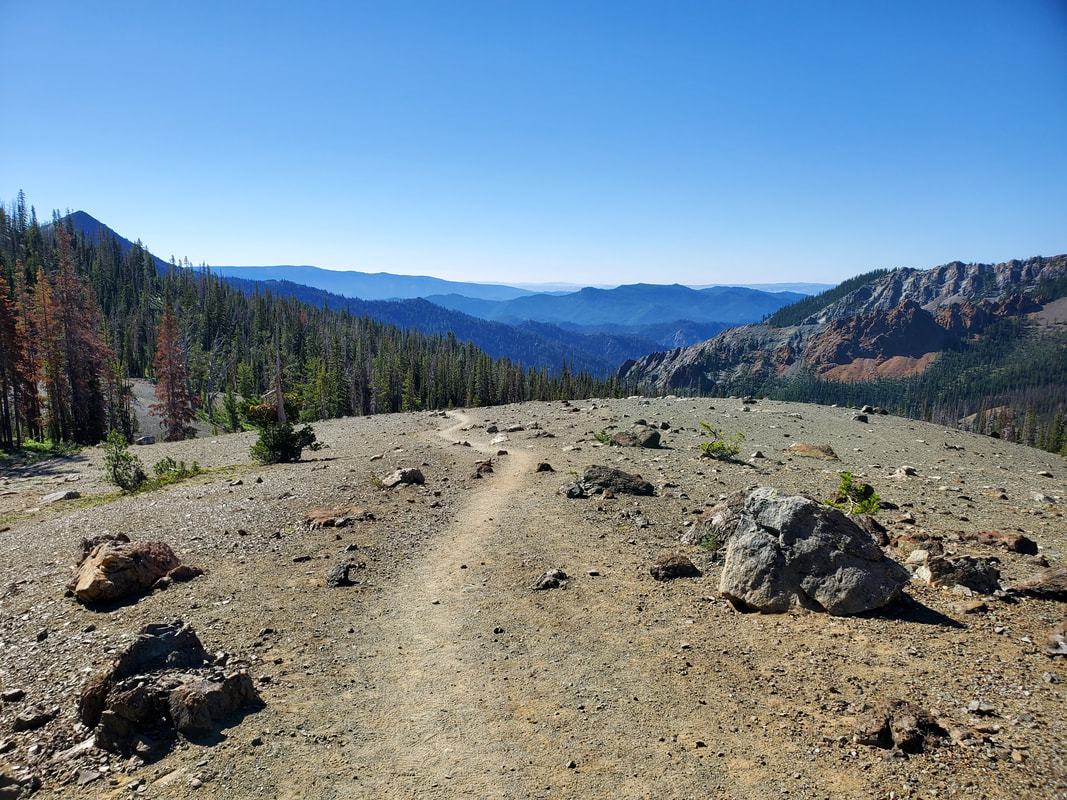
From the summit of Bean Peak, I dropped down off the north side and onto the saddle running from Bean Peak towards Volcanic Neck. The saddle was easy to traverse and I quickly followed a sandy boot path that headed east down into the valley below.
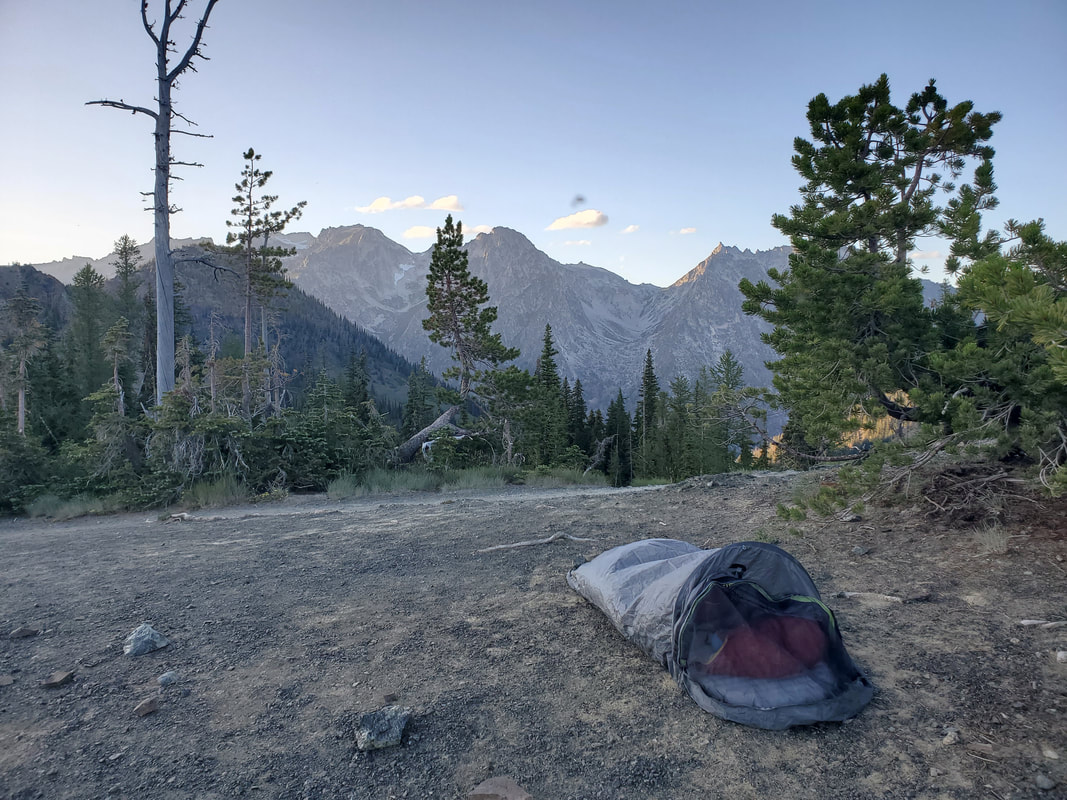
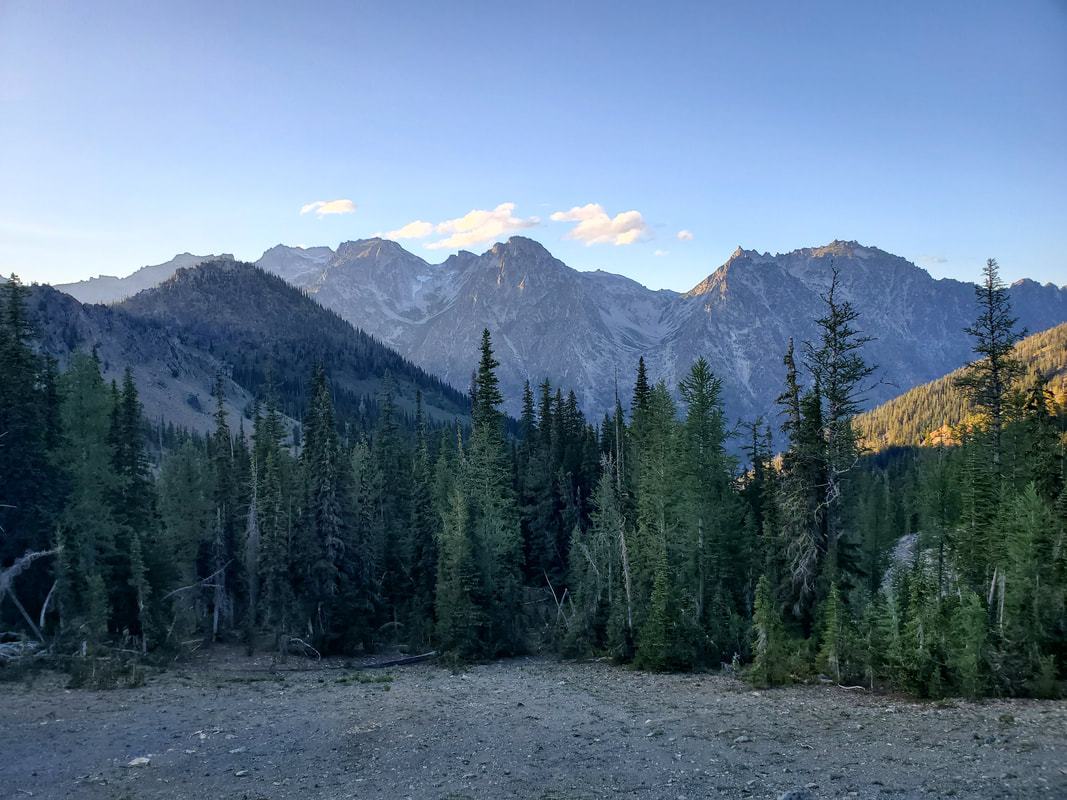
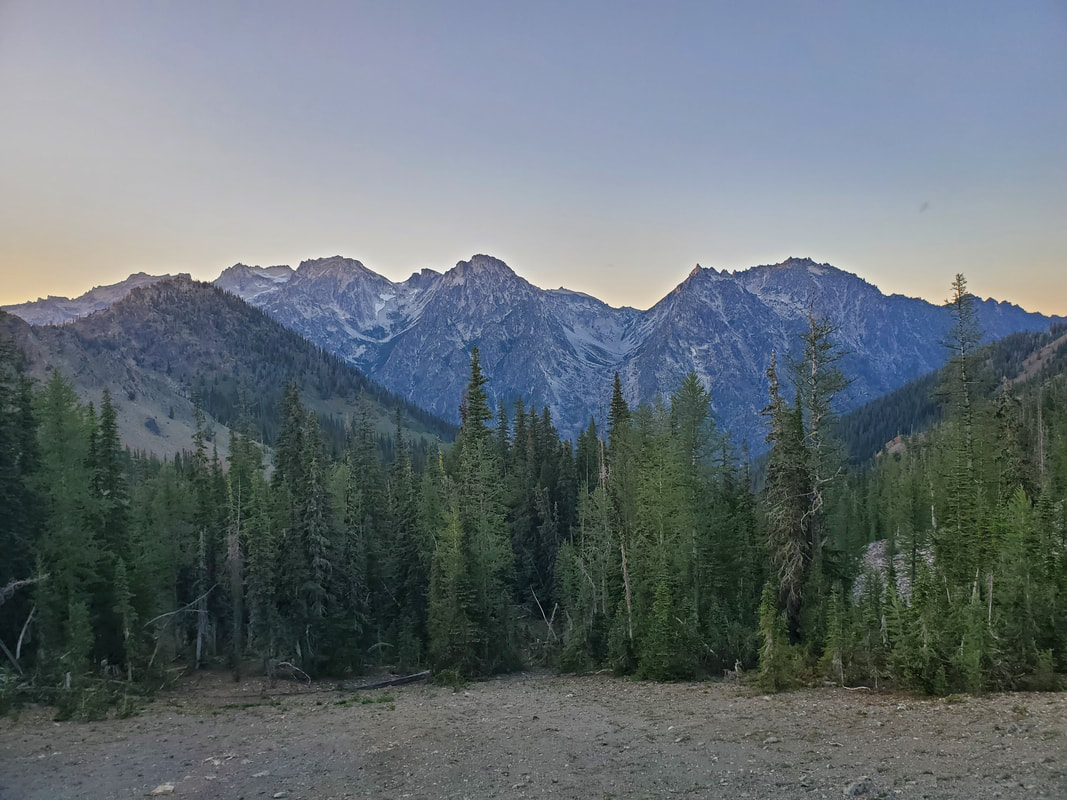
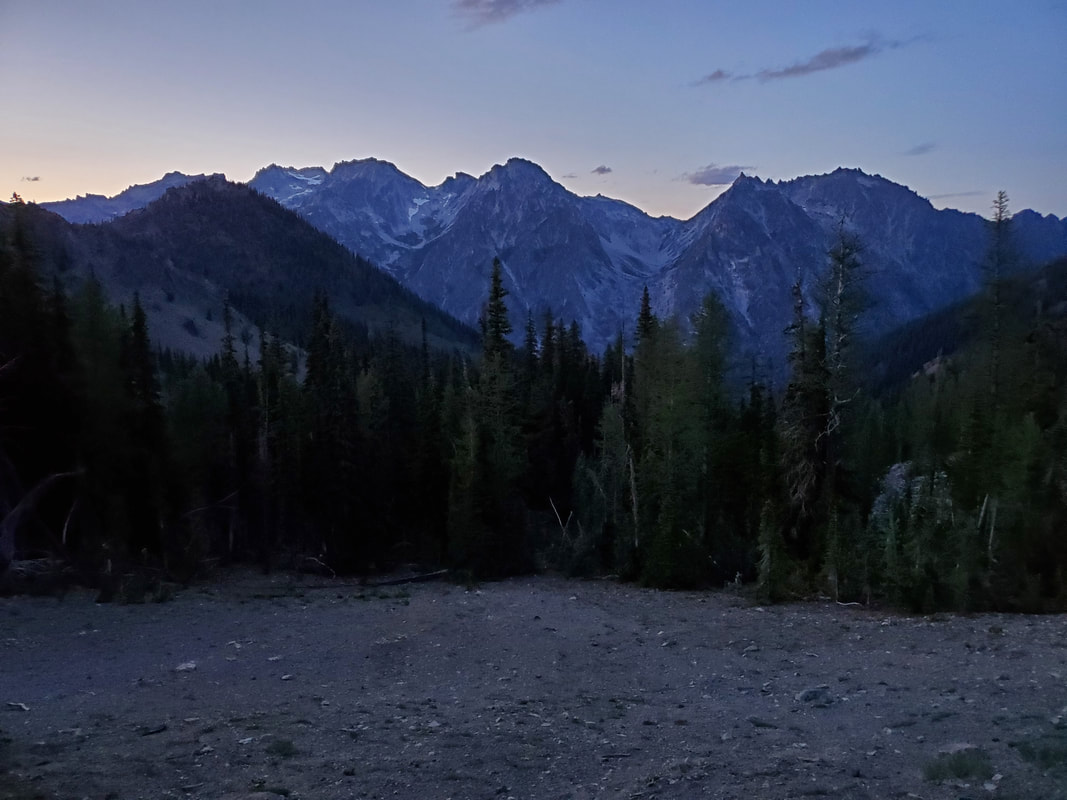
I hiked along the trail across the valley, up the far side valley wall, and dropped back down into the next valley. Around 7PM I reached my destination for the night - Navaho Pass. The campsite views certainly did not disappoint. I slept under the stars in my bivy as there was zero rain chance at the time in the Pacific Northwest!
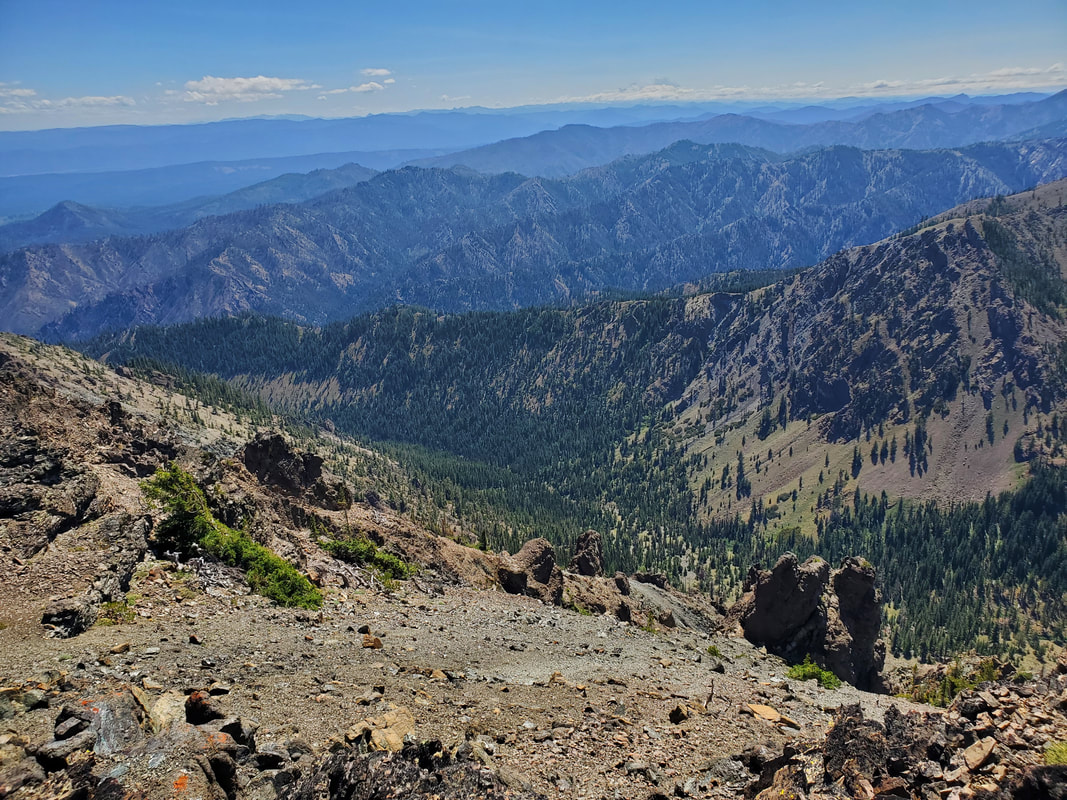
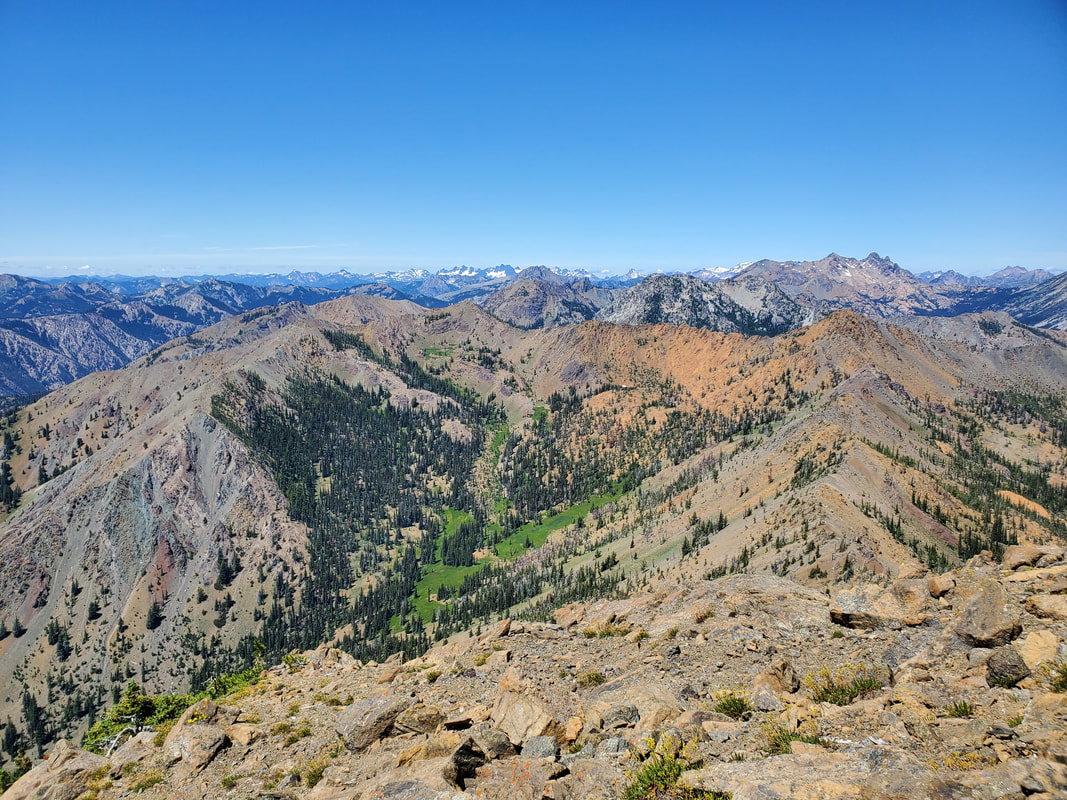
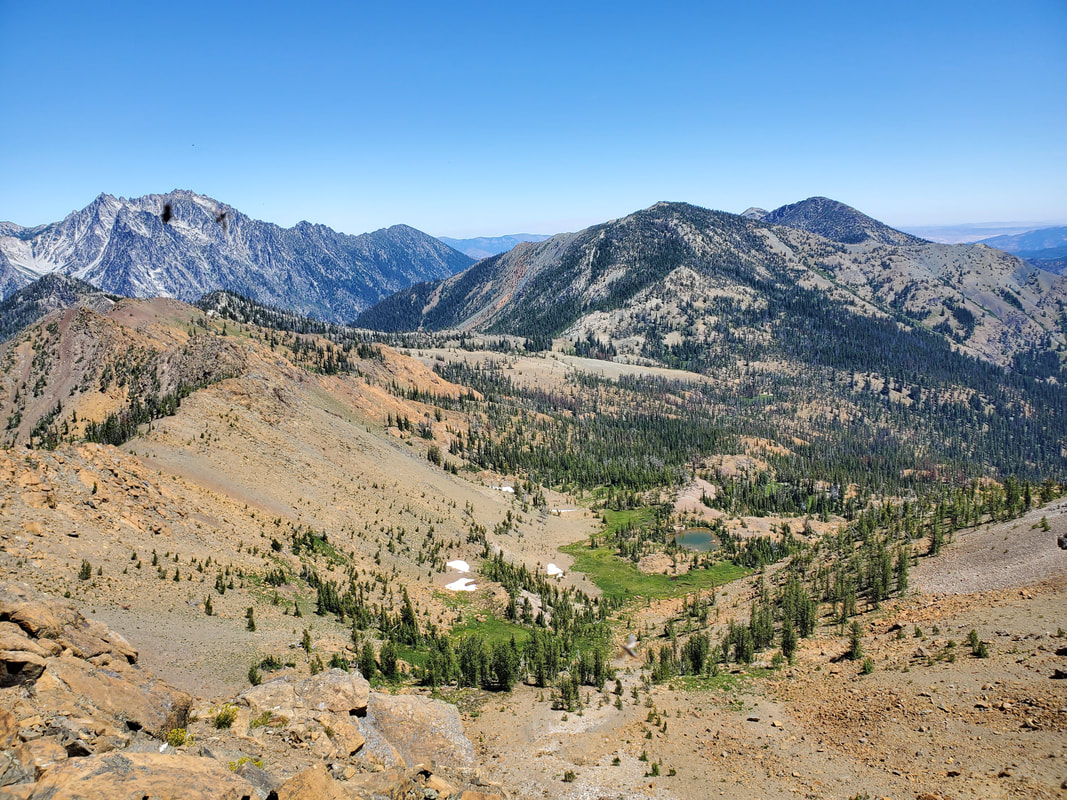
The next morning I headed out from Navaho Pass continuing clockwise on my loop. I hiked up and down a couple valleys before reaching the junction with Earl Peak. Luckily I had time for one more peak scramble before I needed to head back towards the car! Earl Peak is a straightforward scramble with a boot path to the top. It is steep with more than enough loose scree and sand to keep you focused though. Earl Peak was the tallest peak I climbed and the views seemed to give the best perspective across the entire Teanaway area. From the vantage point I was able to trace my route from the entire trip. Pretty cool to see the aerial view, or almost out of body view, of the route you have just traveled.
#4 - Earl Peak (7,036)
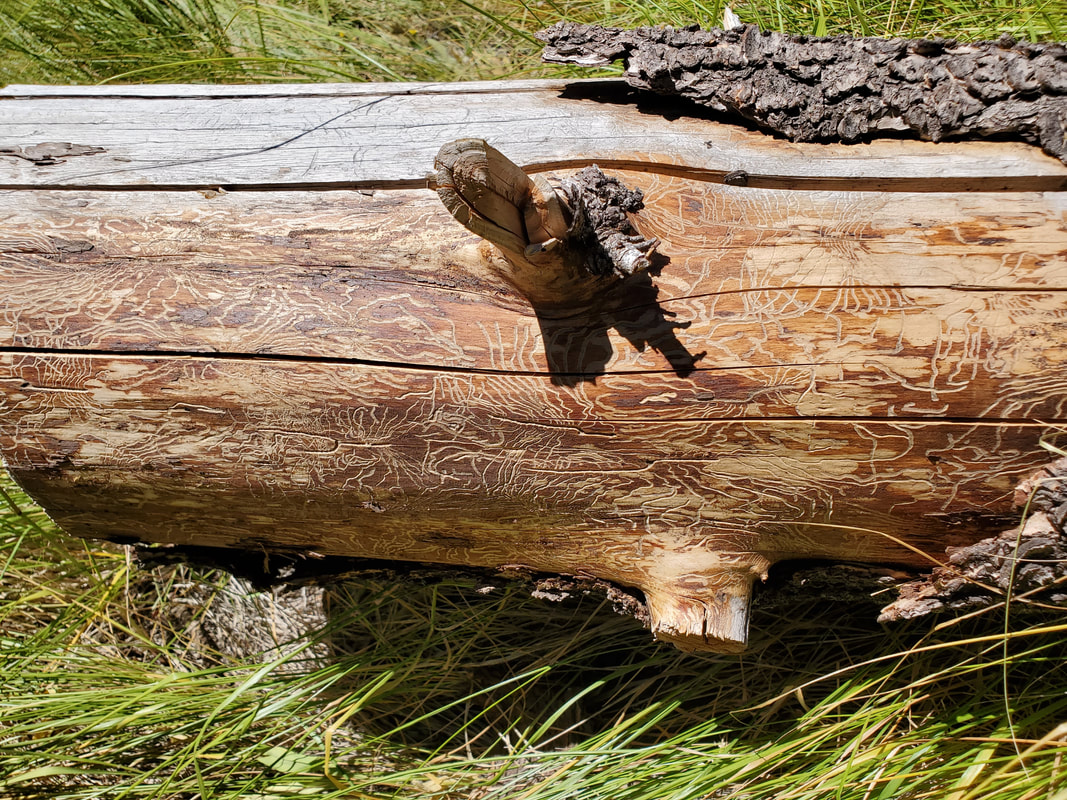
After scrambling back down Earl Peak, there was nothing else left to do except the ~3,000 foot decent through a valley and back to the car. Beautiful all along the way of course. I stopped in my tracks once to view this log with apparent etchings. Turns out the etchings were marks left by the peeling bark (there were others around as well).
View the below map with my actual route tracked via my GPS watch. My start/end point is at the bottom of the map where labeled footbridge.
